This guide will walk you through setting up and configuring your HUIDU HD-VP1240A LED video processor. You will learn how to connect your hardware, install the HDSet software, and configure your screen settings. We also cover input selection, multi-window display, and common troubleshooting. No prior experience is needed—just follow the steps in order. Let’s get started.
catalogue
1.HUIDU HD-VP1240A LED Video Processor overview
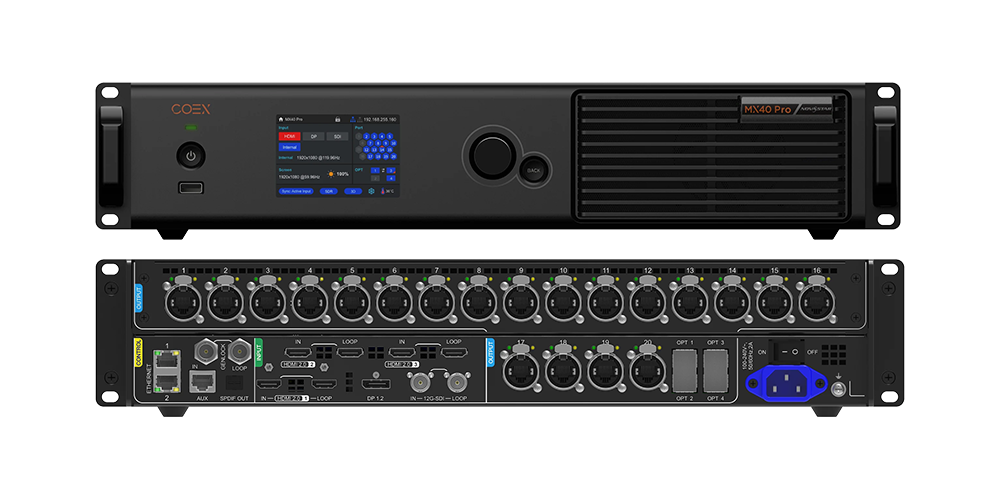
HD-VP1240A is a professional 2-in-1 LED video processor that integrates video processing and signal sending into a single device. It is designed for medium to large-scale LED installations that require multiple input sources, high-resolution display, and flexible screen management.
The processor accepts up to seven synchronous video signals—including HDMI 2.0, DP, Type-C, and DVI—and outputs through 12 Gigabit Ethernet ports directly to LED receiving cards. It supports a total load of 7.8 million pixels, with a maximum width of 16000 pixels and height of 4000 pixels. Each of the 12 Ethernet ports can handle up to 650,000 pixels, making it suitable for large and high-resolution LED walls.

Key Features of HUIDU HD-VP1240A
- 2-in-1 Design: Integrates video processing and sending functions, eliminating the need for a separate sender unit
- 12 Gigabit Ethernet Ports: Connect directly to receiving cards; each port supports up to 650,000 pixels
- Four-Screen Display: Supports up to four independent screens or a single screen with multiple windows in any layout
- 4K@60Hz Input: Accepts ultra-HD signals for true point-to-point display on large screens
- Multiple Input Options: Includes HDMI 2.0, HDMI 1.4, DP, Type-C, and DVI inputs for wide device compatibility
- Built-in Wi-Fi: Standard wireless module enables mobile APP control without extra hardware
Key Specs of HUIDU HD-VP1240A
| Parameter | Specification |
|---|---|
| Model | HD-VP1240A |
| Type | LED video processor + sending controller |
| Maximum Load Capacity | 7.8 million pixels |
| Maximum Width | 16,000 pixels |
| Maximum Height | 4,000 pixels |
| Ethernet Output Ports | 12 × Gigabit Ethernet |
| Video Inputs | HDMI ×3, DVI ×2, DP/Type-C ×1 |
| Maximum Input Resolution | 4K@60Hz |
| Window Layers | Up to 4 windows |
| Scene Presets | 8 presets |
| Audio | 3.5 mm audio input / output |
| Control Methods | USB-B, Wi-Fi, RS232, IR |
| Wireless Control | Mobile APP supported |
2.What Equipment Do You Need Before Setting Up the HD-VP1240A?
Before configuring the HUIDU HD-VP1240A LED video processor, make sure all the necessary equipment is prepared. Having the correct devices and cables ready will make the setup process smoother and help avoid connection or configuration problems during installation.
Below are the basic components typically required in a standard LED video processor setup:
| Equipment | Purpose |
|---|---|
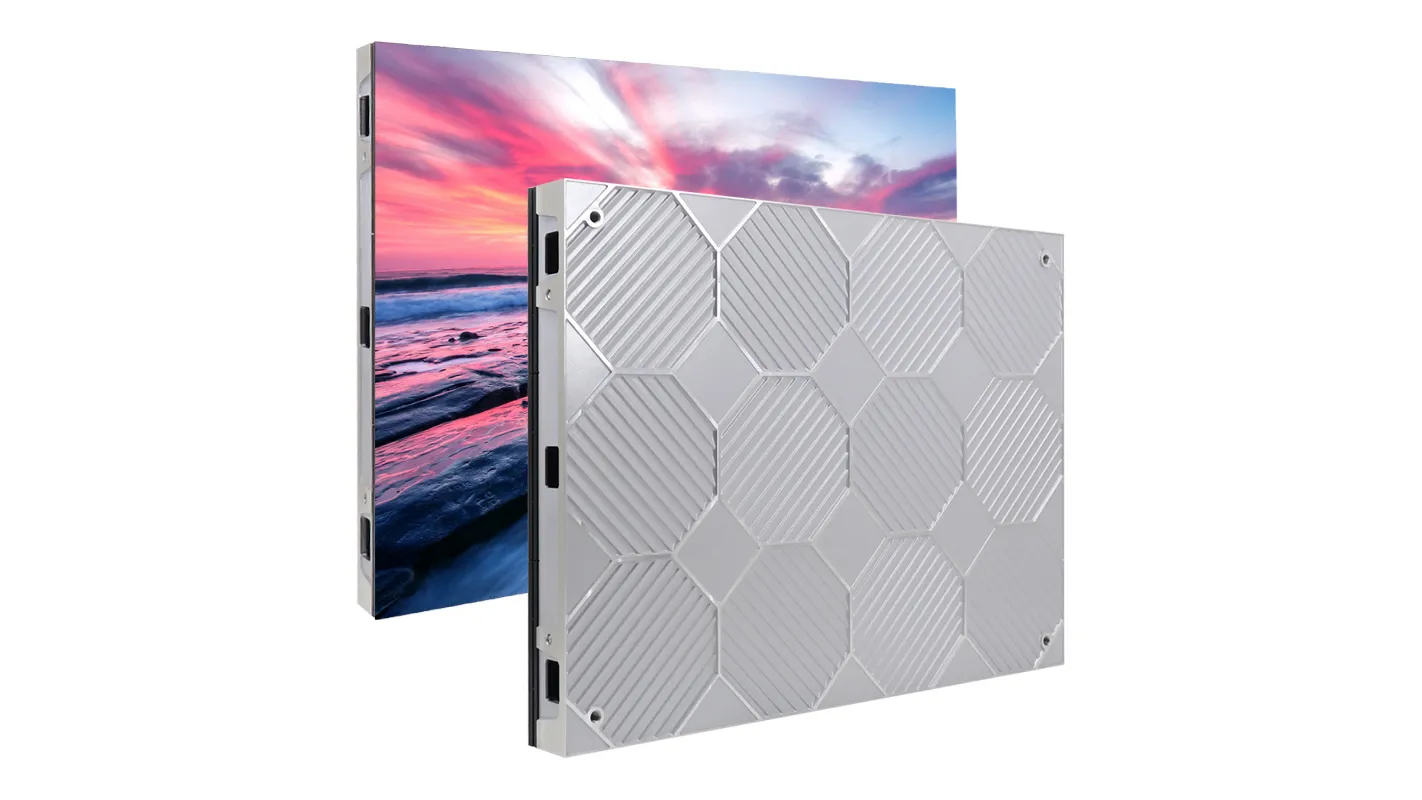
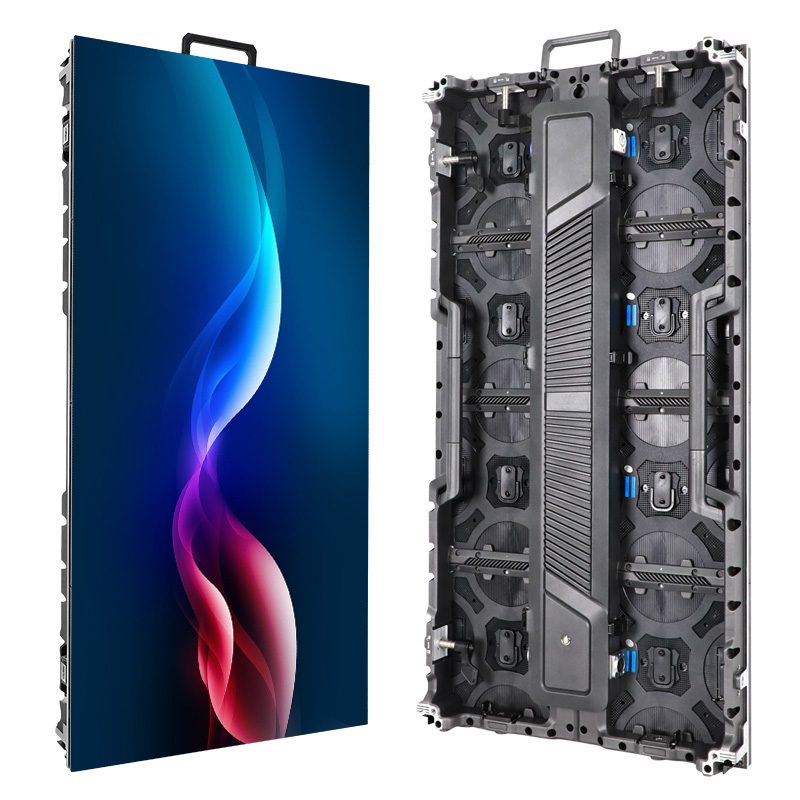
| LED Display Cabinets | The LED screen that will display the video content |
| LED Receiving Cards | Installed inside the cabinets to receive data from the processor |
| Signal Source Device | Computer, media player, or camera that provides video input |
| HDMI / DVI Cable | Used to connect the signal source to the video wall processor |
| Ethernet Network Cables | Connect the HD-VP1240A to the LED receiving cards |
| Control Computer | Used to run HDSet software for configuration |
| HDSet Software | The configuration software for screen setup and control |
| Power Supply | Provides power for the processor and LED display system |
3.How to Connect the HD-VP1240A LED Video Processor to an LED Screen
After preparing the required equipment, the next step is to connect the HUIDU HD-VP1240A LED video processor to the LED display system. A typical connection involves three parts: the signal source, the processor, and the LED screen.
Step 1: Connect Input Sources
On the rear panel, connect your video sources:
- HDMI 1 (4K@60Hz), HDMI 2/3 (4K@30Hz), DP (4K@60Hz), Type-C (4K@60Hz, shared with DP), or DVI 1/2 (1080p@60Hz).
- For audio from these sources, it’s embedded automatically. If you need separate analog audio, connect a 3.5mm cable to AUDIO IN.
- Type-C and DP cannot be used simultaneously; default is DP. Enable Type-C in [Advanced Settings].

Step 2: Connect the processor to the LED receiving cards
Use Ethernet cables to connect the 12 Gigabit Ethernet output ports on the HD-VP1240A video wall processor to the receiving cards installed in your LED cabinets. These network ports transmit the processed video signal directly to the display modules. Each port supports up to 650,000 pixels.
Step 3: Connect Audio Output (Optional)
If you need sound from the processor, connect a 3.5mm cable from AUDIO OUT to your amplifier or powered speakers.
Step 4: Connect the control computer
Connect a computer to the processor using a USB-B cable. This computer will run HDSet software for screen configuration and system control. You can also connect via RS232 for central control systems if needed.

Step 5: Connect power and turn on
Attach the included Wi-Fi antenna if you plan to use wireless control. Then connect the power cable to the AC input and plug it into a power outlet. Press the front panel switch to power on the unit. The LCD display should light up showing the current status.
4.How to Install HDSet Software for the HD-VP1240A LED Video Processor
Before you can configure your LED screen, you need to install the HDSet software on your computer. HDSet is the official PC software for the HD-VP1240A that allows you to adjust screen parameters, set up multi-window layouts, and manage scene presets.


- Step 1: Get the software from the included CD or download the latest version from the HUIDU technical support website.
- Step 2: Open the software package and select your preferred language for installation. Click [OK] to proceed.
- Step 3: An installation wizard will appear. Click [Next] to continue. Choose the installation location (click [Browse] to change the default folder if needed), then click [Install] to begin the installation.
- Step 4: Wait for the installation to finish. Once done, HDSet is ready to use on your computer.
- Step 5:Use a USB-B cable to connect the HD-VP1240A video wall processor to your computer. This connection allows HDSet to communicate with the processor for screen configuration and real-time adjustments.
What You Can Do with HDSet:
Once installed, HDSet gives you full control over the HD-VP1240A’s features:
- Screen Configuration: Set up your LED display with up to 16000 pixels width and 4000 pixels height.
- Network Port Assignment: Configure the 12 Gigabit Ethernet ports, each supporting 650,000 pixels.
- Input Source Management: Switch between HDMI 2.0, HDMI 1.4, DP, Type-C, and DVI inputs.
- 4K@60Hz Signal Handling: Ensure point-to-point display for ultra-HD content.
- Multi-Window Layout: Create up to four independent screens with any layout.
- Scene Presets: Save and recall up to 8 different configurations for different events.
- Image Adjustment: Fine-tune brightness, contrast, saturation, and sharpness.
- Firmware Updates: Check and update MCU, DSP, FPGA, and Wi-Fi versions.
5.How to Configure the LED Screen Parameters in the HD-VP1240A
After installing HDSet and connecting your computer to the processor via USB-B, configure your LED screen as follows:
Step 1: Enter screen configuration
Launch HDSet, select your device from the list, click [Process] to connect to the LED video processor, then click [Screen Configuration] to access the main setup interface.

Step 2: Set screen dimensions
Enter your LED screen’s total width and height in pixels. Maximum width is 16000 pixels, maximum height is 4000 pixels. Total pixels (width × height) cannot exceed the 7.8 million pixel loading capacity of this video wall processor. For example, 3840×1800 (6.9M) works, but 3840×2160 (8.3M) exceeds the limit.
Step 3: Configure the 12 Gigabit Ethernet ports
HD-VP1240A has 12 Gigabit Ethernet ports for connecting to receiving cards. Each port supports up to 650,000 pixels. For each port:
- Set the X (horizontal start) and Y (vertical start) positions
- Define the output area by setting width and height
- Ensure start position + size does not exceed total screen dimensions
- Total pixels assigned across all ports must match your screen size
Step 4: Apply and verify
Click [Apply] to save settings to the processor. Use test patterns or play content to confirm the display works correctly.
| Parameter | Value |
|---|---|
| Total Loading Capacity | 7.8 million pixels |
| Max Width | 16000 pixels |
| Max Height | 4000 pixels |
| Ethernet Ports | 12 (each 650,000 pixels max) |
| Input Support | 4K@60Hz via HDMI 2.0/DP/Type-C |
| Configuration | HDSet software via USB-B |
6.How to Set the Input Source on the HD-VP1240A Video Wall Processor
HD-VP1240A video wall processor supports multiple input sources, allowing you to switch between different devices such as laptops, media players, or cameras at any time. This section explains how to select and configure input sources.
Input Source Overview
The LED video processor offers the following input interfaces:
| Interface | Quantity | Max Resolution | Notes |
|---|---|---|---|
| HDMI 2.0 | 1 | 3840×2160@60Hz | HDMI 1 |
| HDMI 1.4 | 1 | 3840×2160@30Hz | HDMI 2 & HDMI 3 |
| DP | 1 (shared with Type-C) | 3840×2160@30Hz | Default mode |
| Type-C | 1 (shared with DP) | 3840×2160@30Hz | Enable in advanced settings |
| DVI | 2 | 1920×1080@60Hz | DVI-I socket |
Switching Input Sources via Front Panel
The front panel of the LED wall processor includes a dedicated SOURCE area with buttons for each input type:
- Press the desired input button (HDMI 1, DP, DVI 1, etc.). The LCD display will show the selected source and its resolution.
- To assign a different input to a specific window, first press WIN1~WIN4 to select the window, then press the source button.
- The processor switches to the chosen source immediately.

Configuring Input Sources in HDSet Software
For detailed input settings, use HDSet software connected via USB-B:
- Launch HDSet and connect to your video wall processor.
- In the main interface, locate the Input source section for WIN 1–4.
- For each window, select the desired input source from the dropdown.
- Adjust input resolution and refresh rate if needed:Three general resolutions available, plus custom resolution settings. Default refresh rate is 60Hz
- Click Apply to confirm changes.
Using the Capture Function
The Capture feature lets you select a specific portion of the input source to display:
- In HDSet, go to the Capture section.
- Enable the intercept switch.
- Set intercept width and intercept height (up to maximum input source dimensions).
- Adjust X and Y starting positions to define the captured area.
- The LED video processor displays only that portion. If capture size matches screen size, it shows point‑to‑point; otherwise, it scales to fit.
Saving Input Configurations as Presets
Once you have set up input sources and window assignments, save the configuration as a scene preset:
- Up to 8 scene presets available
- Recall via MODE button on front panel or through mobile APP
- Existing templates support replacement, deletion, and loading
7.How to Use Multi-Window Display on the HD-VP1240A
HD-VP1240A LED video processor supports four-screen display, allowing you to show up to four independent windows on your LED wall in any layout. This is ideal for applications like conferences, shopping malls, and exhibitions where multiple sources need to be displayed simultaneously.
Using the Front Panel
- Select a window: Press WIN1, WIN2, WIN3, or WIN4 on the front panel.
- Choose an input source: Press the corresponding button in the SOURCE area (HDMI, DP, DVI, etc.) to assign a source to that window.
- Adjust window position and size: Press MENU and navigate to the layout settings. Use the multi‑function buttons to set the X/Y start coordinates and width/height for the selected window.
- Repeat for other windows as needed.
Using HDSet Software
- Connect your computer to the video wall processor via USB‑B and launch HDSet.
- Go to the Screen Layout section.
- For each window (1–4): Select the input source from the dropdown. Enter the desired X start, Y start, width, and height.
- The preview area shows the arrangement in real time.
- Click Apply to send the configuration to the LED wall processor.
8.FAQs
 Top 15 LED Screen Suppliers In Japan (2026 Latest)
 Top 10 LED Display Suppliers In German (2026 Latest)