

LED Car Displays for Fleet Advertising
An LED car display is a programmable screen integrated with a vehicle for advertising or information. This guide helps fleet operators, advertising businesses and vehicle integrators compare roof, window and side-screen equipment for purchase. Match the selected display to the vehicle, mounting position, electrical supply, viewing distance and content-control workflow.
- Define the vehicle model, screen position, dimensions and nearby viewing distances.
- For window screens, check the actual glass, heat, reflections and driver sightlines.
- Agree cabinet weight, mounting responsibility, power conversion and cable protection.
- Confirm the controller, connectivity, recurring software or data costs, and offline playback.
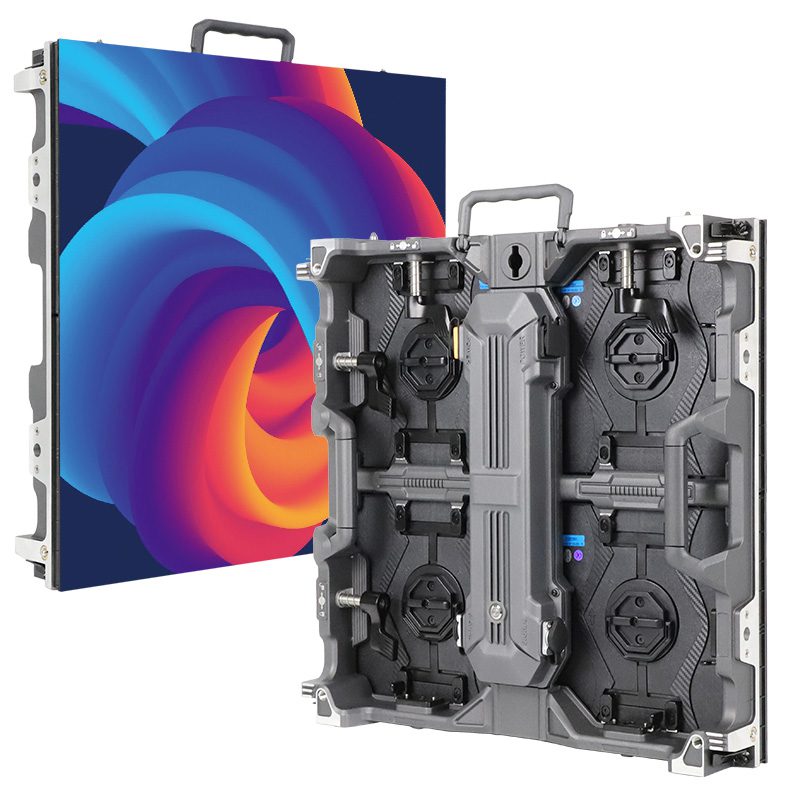
EA500H9 Rental LED Display
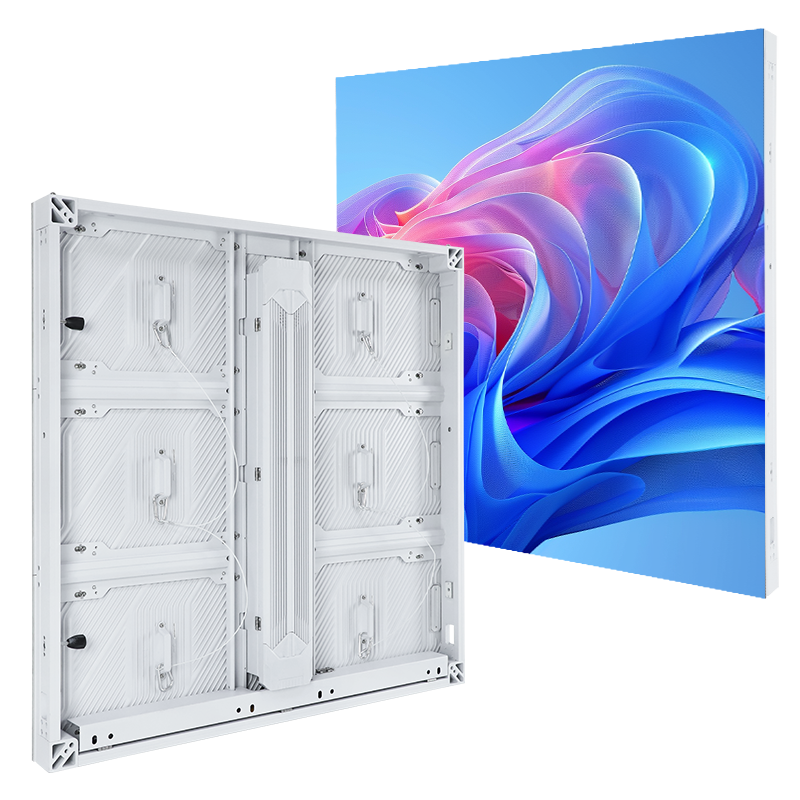
EA960F4 LED Advertising Screen
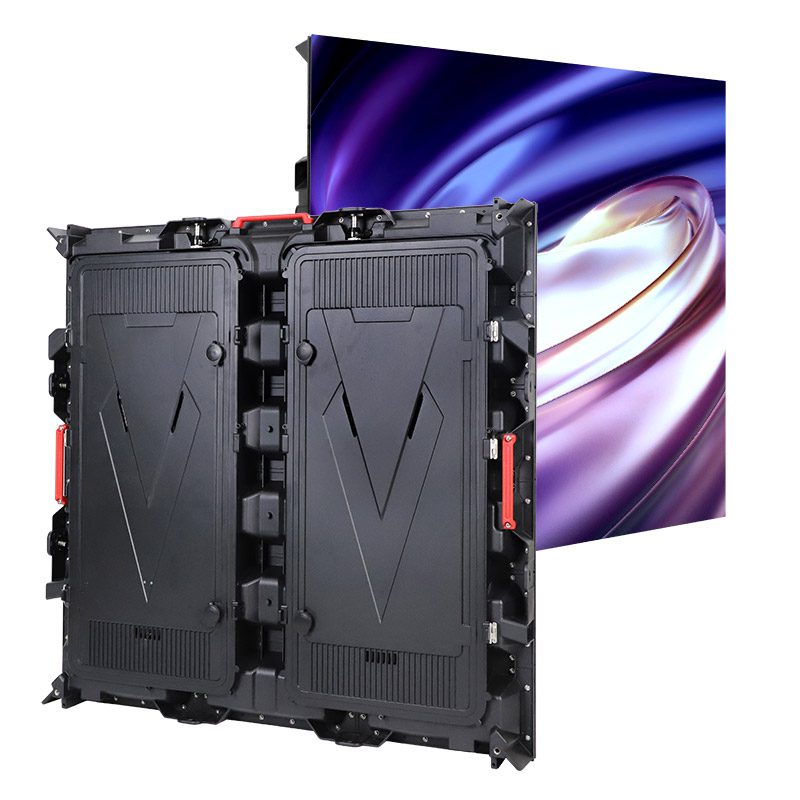
EA960R4 Outdoor LED Board
Who Benefits from an LED Car Display?
Advertisers and agencies
- Move campaigns through multiple high-traffic areas instead of buying one fixed location.
- Schedule creative by time, route, and campaign objective.
- Change promotions remotely without printing or replacing static vehicle graphics.
Fleet operators and vehicle owners
- Create a new advertising inventory option when local rules and vehicle operation allow it.
- Use coordinated content across branded taxis, buses, or delivery fleets.
- Choose modular, serviceable hardware to reduce downtime.
Event organizers and public-information teams
- Move announcements between venues, roadshows, and temporary event zones.
- Use daylight-readable displays for schedules, wayfinding, or public notices.
- Update urgent information from a central control platform.
Plan Your Vehicle LED Display
LED Car Display Solutions by Vehicle Type
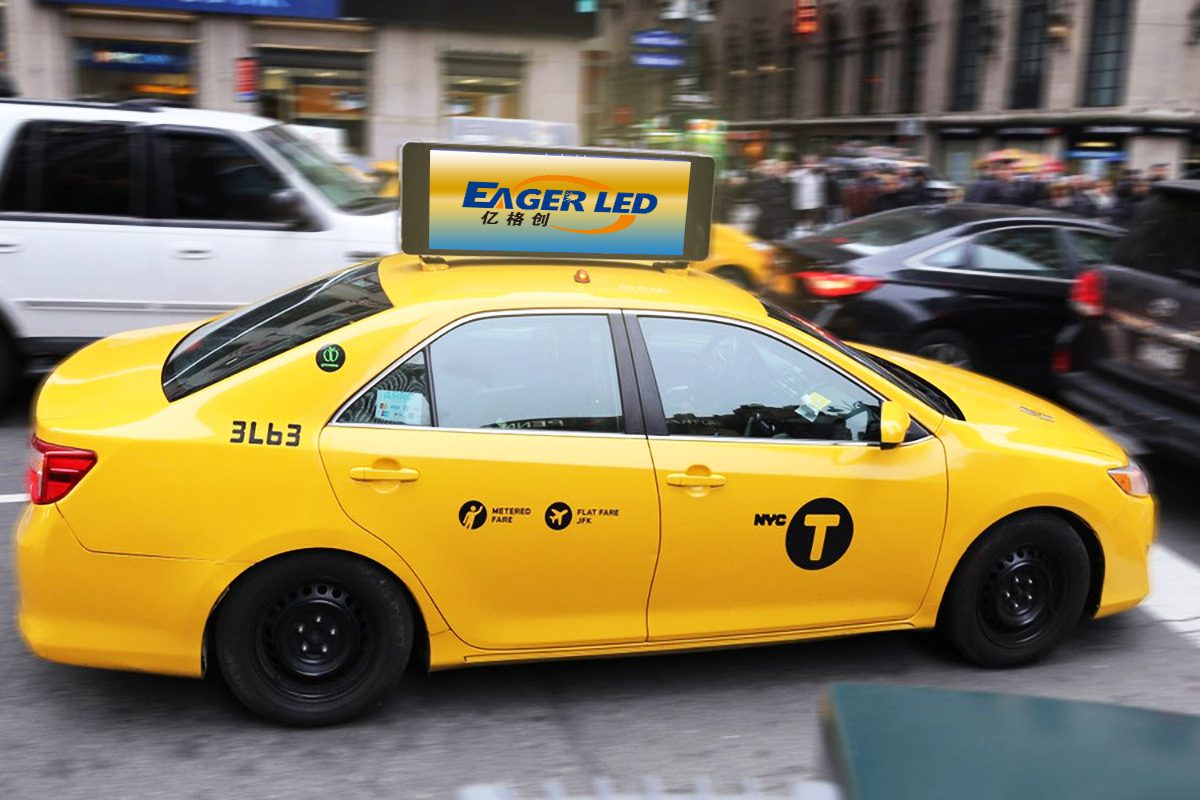
Taxi-Top LED Screen
A taxi-top LED screen provides a compact, repeatable format for city routes and transport hubs.
- Best for short messages and bold creative.
- Supports scheduled local campaigns.
- Requires a low-profile, weather-resistant mounting system.
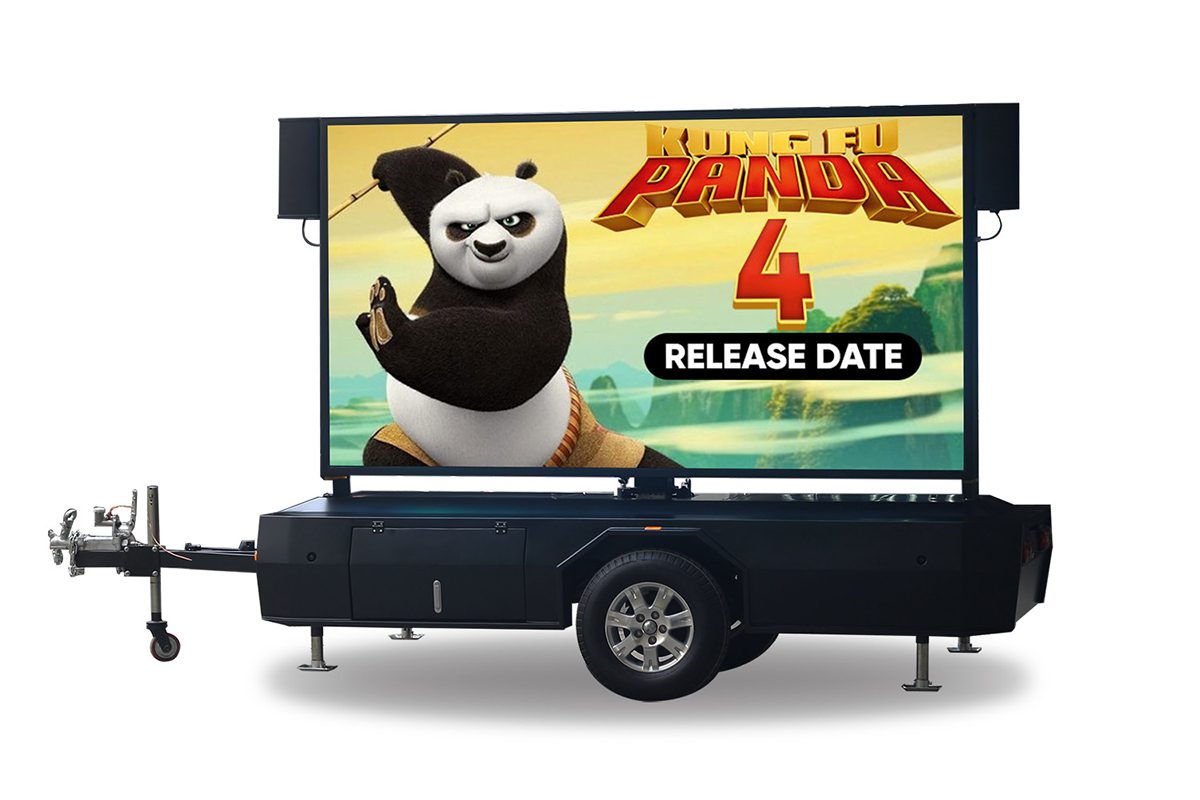
Mobile LED Trailer
A mobile LED trailer creates a large display area that can be positioned at roadshows, concerts, launches, and temporary promotions.
- Move it between high-value locations.
- Choose an outdoor-rated cabinet for day and night use.
- Match trailer capacity, screen size, power, and wind loading before installation.
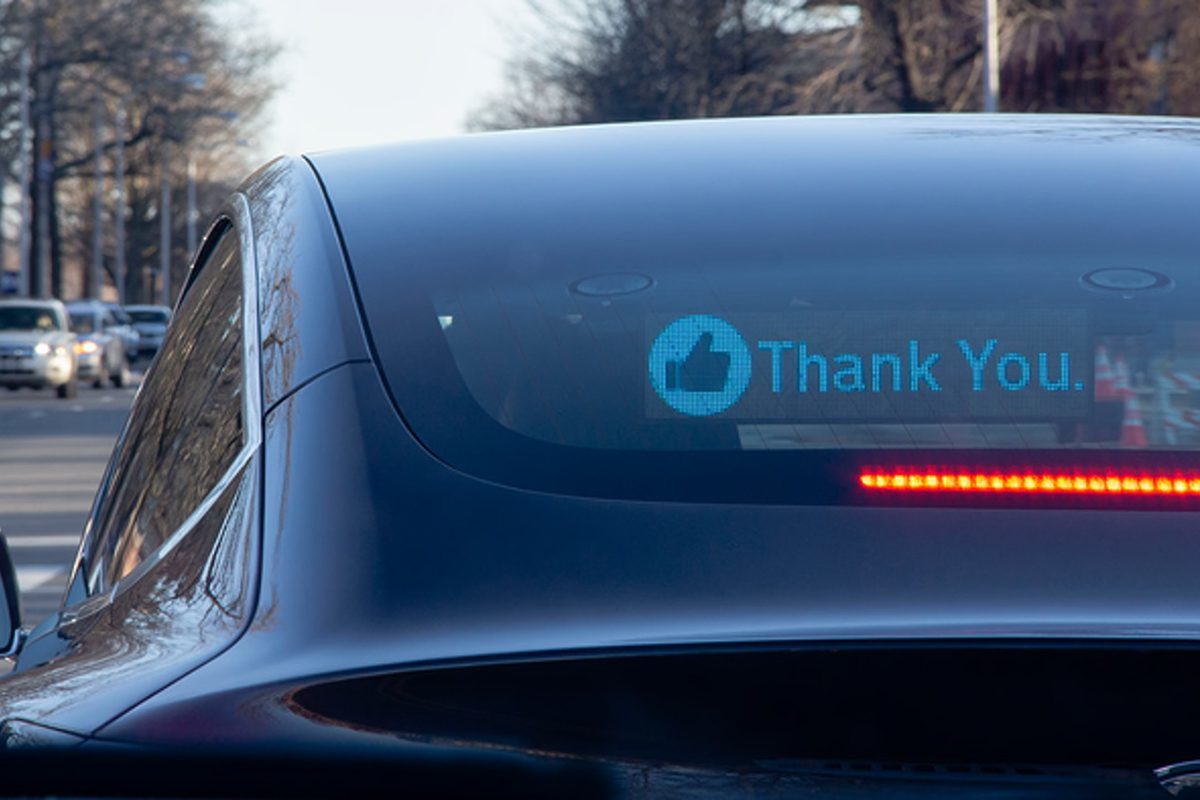
Car-Window LED Display
A car-window advertising screen needs an installation assessment for the actual vehicle and glass. Check the available display area, mounting clearance, rear or side visibility and maintenance access. Sunlight, tinted glass and reflections can change the image seen from outside; review sample content through the intended window.
- Specify the nearest viewing position and required message detail before selecting pixel pitch.
- Confirm heat management and secure retention for the selected assembly.
- Keep driver sightlines and required vehicle equipment unobstructed.
- Confirm local or remote media updates, user permissions and offline behavior for the fleet.
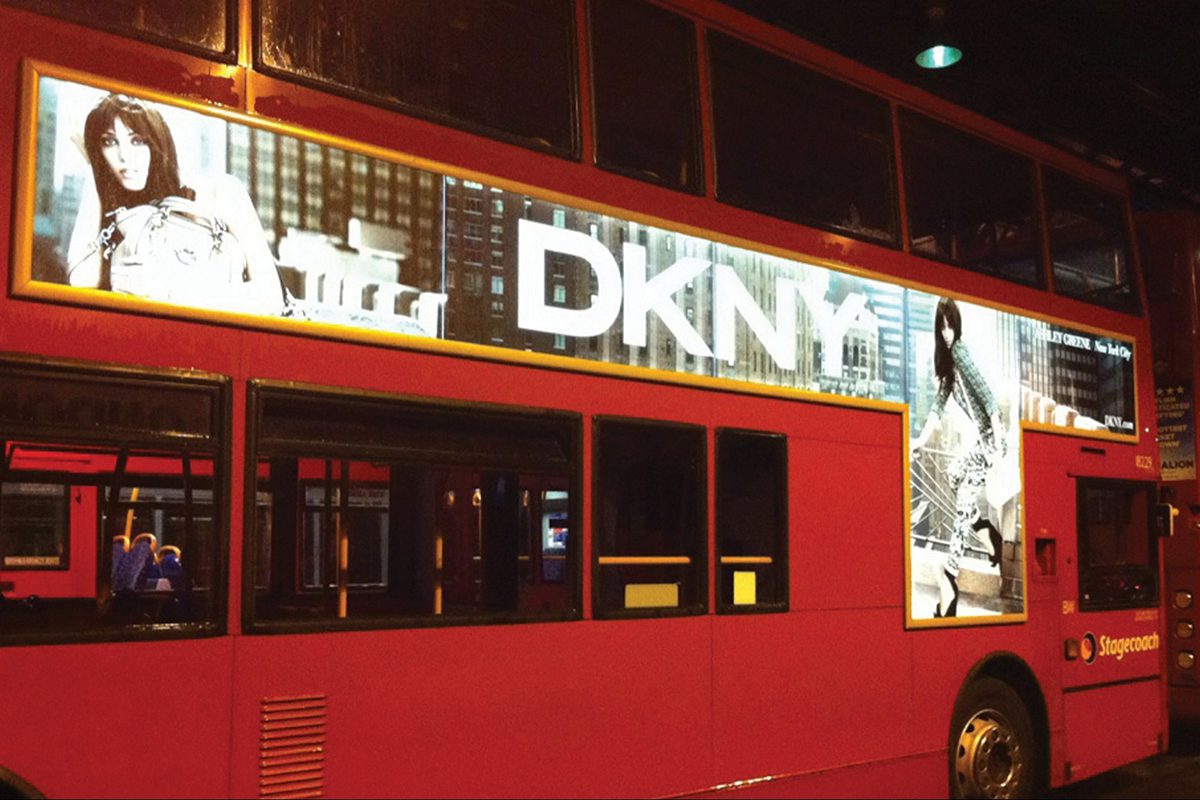
Bus LED Display Board
A bus LED display board provides a wider canvas for route information, public notices, or commercial campaigns.
- Supports text, images, animation, and video.
- Needs vibration-resistant, weatherproof installation.
- Must preserve access to lights, mirrors, doors, plates, and service panels.
Plan Your Vehicle LED Display
LED Car Display Buying and Installation Guide
On this page: vehicle LED equipment guide
Start with the vehicle and operating workflow, then define the display package. Roof, rear-window, bus-side and trailer installations have different mounting, power and service requirements. The guide below separates equipment selection from local vehicle integration and campaign operation.
What Is an LED Car Display?
An LED car display is a programmable LED screen installed on a taxi, bus, van, truck, trailer, or private vehicle. Depending on the installation, it can show advertising, route information, public notices, or event content.
Unlike a printed vehicle wrap, the display can change campaigns without replacing physical media. Content may be loaded locally by USB or managed wirelessly across a fleet.
Key Specifications to Compare
Ingress and vibration protection. Assess the exact cabinet, mounting system and connectors for the planned exposure, road vibration and maintenance routine. An outdoor label or a protective surface coating alone does not qualify a complete vehicle installation.
Temperature. Request the operating limits and cooling requirements of the selected modules, receiving hardware, power equipment and controller. Consider heat behind glass and inside enclosed vehicle spaces, not only the outdoor air temperature.
Control and connectivity. Ask which local-update and remote-network functions the selected controller actually supports. For fleet management, confirm permissions, scheduling, update confirmation and behavior when connectivity is lost. Clarify SIM/data plans and software fees separately from hardware.
Brightness and dimming. Use the proposed model’s rated output and test the intended content in daylight at the viewing position. Specify an appropriate automatic or scheduled night-time dimming method.
Vehicle power. Provide the vehicle electrical architecture, available supply and required operating hours with the engine on or off. A qualified vehicle electrical specialist should assess the display, converter, wiring and protection as a complete load.
Weight and access. Confirm cabinet weight, mounting interfaces, service access and cable routes before fabrication. A generic indoor, architectural or transparent display should not be assumed suitable for a vehicle or rear window without model-specific assessment.
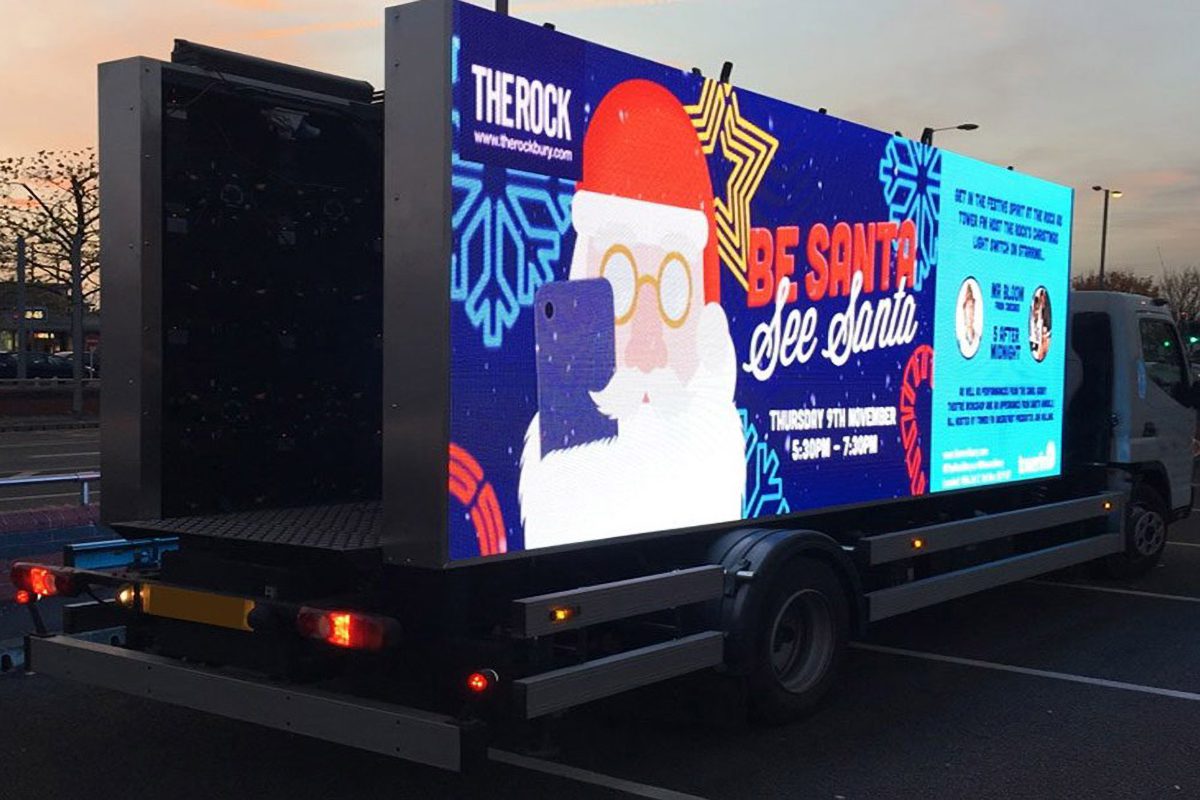
Why Use LED Car Displays for Advertising?
High-Impact Content Formats
LED vehicle screens can show text, images, animation, and video. Because motion, viewing time, and distance are limited on the road, the most effective creative uses one message, a strong visual, and a short call to action.
Mobile Reach Across Multiple Routes
A moving screen can serve several neighborhoods during one route. However, reach depends on vehicle hours, route quality, traffic patterns, screen orientation, and local advertising rules; define those inputs before estimating campaign value.
Schedule by Time, Route, and Audience
Use the control platform to schedule content around three practical signals:
- Time: commute periods, lunch hours, and event windows
- Location: approved business districts, venues, and service areas
- Audience context: commuters, shoppers, visitors, or event attendees
Route logs and playback records make delivery easier to document.
Service Life and Reliability
LED system life is not a single guaranteed number. It varies with drive current, daily operating hours, heat, vibration, moisture, power quality, and maintenance. Ask for the rated lifetime and warranty conditions of the exact module, power supply, and control system.
Build a Modern Brand Presence
Dynamic vehicle media can create a modern brand presence, but professionalism depends on execution. Use accurate color, readable type, restrained animation, and consistent fleet templates instead of filling every pixel with motion.
Update Campaigns Remotely
Cloud-managed LED car displays allow operators to replace campaigns, schedule regional content, and monitor playback without visiting every vehicle.
- Seasonal promotions
- Limited-time offers
- Route-specific campaigns
- Service alerts and public information
How LED Car Display Technology Works
An LED car display combines five systems: LED modules, cabinet and mounting hardware, power conversion, a control system, and network or local media delivery. Reliability depends on how these systems are specified together, not on the panel alone.
Choose Pixel Pitch by Viewing Distance
Pixel pitch is the center-to-center LED spacing. Choose it using the nearest relevant viewing position, screen dimensions and the smallest text or visual detail needed. Review the final native resolution and representative content rather than assigning one universal pitch to every roof, window or bus-side installation.
LED Module Types for Vehicles
Standard outdoor LED modules prioritize brightness, weather protection, and UV resistance. They are commonly used for taxi roofs, delivery vehicles, bus exteriors, and trailers.
Flexible LED modules use a soft PCB and protective surface to follow curved structures. Confirm whether the selected module is rated for the intended indoor, window-facing, or exposed outdoor position.
A GOB protective surface can be one feature of a proposed module. Ask for its stated protection, service method and intended use. The coating does not replace cabinet sealing, vibration assessment, temperature checks or approval of the mounting and electrical installation.
LED Car Display Control Systems
The control system stores media, maps pixels, schedules playback, and sends data to receiving cards. Choose the controller after confirming total pixel resolution, number of screens, communication method, sensor inputs, and reporting needs.
Common controller ecosystems include NovaStar, Colorlight, and Linsn. Download resources:
Remote Control and Cloud Platforms
Select a connection method that matches fleet size and operating conditions:
- Wi-Fi or Bluetooth: local setup and short-range updates
- 4G/5G: remote updates while vehicles operate across a service area
- USB or TF card: offline media transfer and backup
- Cloud platform: centralized scheduling, device groups, and playback management
Vehicle-Safe Installation Structure
A vehicle installation needs a lightweight cabinet, modular service access, vibration-resistant fasteners, waterproof connectors, and strain relief for every cable. For temporary events, compare a purpose-built rental LED screen system with a permanent vehicle mount.
Brightness and Thermal Management
Use a light sensor or time schedule to reduce brightness after dark. Size the cooling system for the enclosed vehicle location, expected ambient temperature, and display duty cycle. Monitor cabinet temperature and power status when the control platform supports it.
Compare LED Car Display Types
| Type | Installation Position | Control Method | Application Scenario | Key Features |
|---|---|---|---|---|
| Top Screen | On the roof of a taxi | Model-dependent remote playback; verify GPS functions | Brand or service advertisement | Roof load, secure mounting and dimming |
| Rear Window Screen | Rear window of private car or truck | Verify selected controller update methods | Personal content or small ads | Model-specific mounting, heat and visibility checks |
| Side Screen | On the side of a bus or delivery truck | Cloud control | Local campaigns and event promotion | Large display, good for targeting |
| Wrap-around Screen | On show car or event vehicle | Multi-system control | Brand promotion or roadshow | Full-vehicle visual impact |
Plan Content by Audience and Time
What to Display
Commercial advertising
- Brand campaigns with one clear message
- Local service promotions with a short URL or contact point
- Time-limited offers and event announcements
Public information
- Approved route, traffic, weather, and service notices
- Event schedules and wayfinding
- Emergency messages issued by authorized teams
Personal or entertainment content
- Celebration messages and creative visuals
- Video or sports content only when the vehicle is safely parked and local rules allow it
When to Display It
| Time Period | Suggested Content Type | Target Audience |
|---|---|---|
| Morning peak (7:00–9:30) | Breakfast ads, new coffee products | Office workers, commuters |
| Lunchtime (11:30–13:30) | Food deals, product promotions, weather info | Office workers, nearby shoppers |
| Afternoon (14:00–17:00) | Supermarket sales, food ads | Local residents, remote workers |
| Evening peak (17:30–19:30) | Entertainment shows, movie trailers | Commuters, diners, event audiences |
| Night (after 20:00) | Night market ads, bar promos, ride discounts | Evening visitors, late-shift commuters |
LED Car Display Installation Checklist
Plan the mounting, power, signal, brightness, and legal review before ordering the screen. A qualified vehicle upfitter or electrical professional should approve the final installation for the specific vehicle.
Step 1: Choose a Safe Position
Choose a position that is visible without obstructing the driver or required vehicle equipment.
- Taxi: roof unit or approved rear-window installation
- Bus: side, front, or rear body position with service access
- Van or ride-hailing car: approved interior window position or engineered exterior mount
Check local vehicle-modification, electrical, advertising, brightness, and road-safety rules before installation. Never cover lights, mirrors, license plates, cameras, emergency exits, or the driver’s sightline.
Step 2: Engineer the Mounting Structure
Calculate cabinet weight, wind load, bracket strength, fastener fatigue, and vibration before fabrication. A lightweight aluminum cabinet can reduce mounting load and improve heat transfer, but the final structure still needs engineering for the vehicle and operating speed.
The EA960F3 outdoor advertising screen uses a sealed die-cast aluminum cabinet with internal cabling, making it a practical reference for vehicle-mounted designs.
Use corrosion-resistant brackets, locking fasteners, vibration isolation, and a secondary retention method where required. Inspect attachment points on a defined maintenance schedule.
Route power and signal cables inside protected channels. Add suitable fusing, grounding, strain relief, waterproof connectors, and separation from hot or moving parts. Document cable paths so future service does not introduce new hazards.
Step 3: Size the Power System
Choose one of two power architectures:
- Vehicle electrical system: suitable when the alternator, battery, converter, wiring, and protection devices are sized for the complete display load.
- Independent power source: suitable for larger screens or long operating periods when the display must not drain the starter battery.
Verify voltage, peak current, grounding, isolation, and shutdown behavior with a qualified installer.
Step 4: Configure Playback and Remote Control
Match the sending device, receiving cards, media player, and cloud platform to the screen’s pixel map.
- Configure the cabinet layout and receiving-card file.
- Test local playback before enabling remote access.
- Set secure credentials, device groups, schedules, and brightness rules.
- Confirm how the system behaves when mobile data or GPS is unavailable.
Step 5: Test Protection and Safety
For exposed installations, specify the required IP rating for both cabinet faces and every connector. Add grounding, surge protection, over-current protection, and anti-static handling procedures.
Finally, run a parked vibration, heat, brightness, and emergency-shutdown test before road use. Recheck fasteners, cables, seals, and ventilation after the first operating period.
EagerLED Vehicle Display Case Study
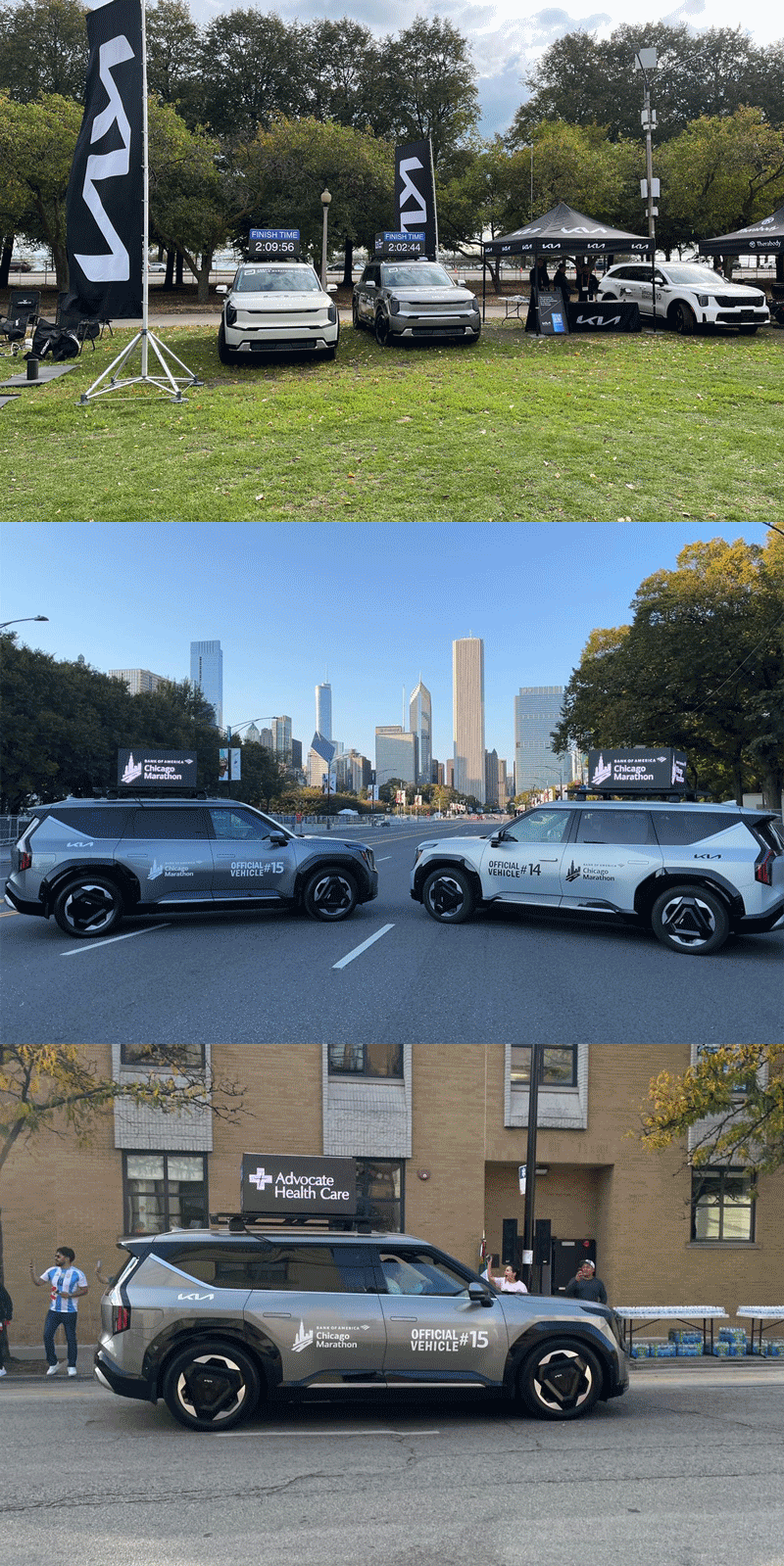
In October 2024, a US customer installed an EA500C5S P3.91 outdoor LED display on a vehicle roof. The project used 4G remote control for real-time media updates.
This configuration illustrates the core specification path: outdoor-rated cabinets, a pixel pitch selected for street viewing, engineered roof mounting, and remote content management. Campaign performance still depends on route, operating hours, creative quality, and local rules.
Frequently Asked Questions
Choose the Right LED Car Display
Send the vehicle model or drawings, proposed display position, active dimensions, viewing distances, operating climate and power details. Include fleet quantity, engine-on and parked operation, content-update method and destination. Ask the quotation to identify cabinets, processing, cables, mounts, spares, packing and integration work as separate inclusions or exclusions.
