
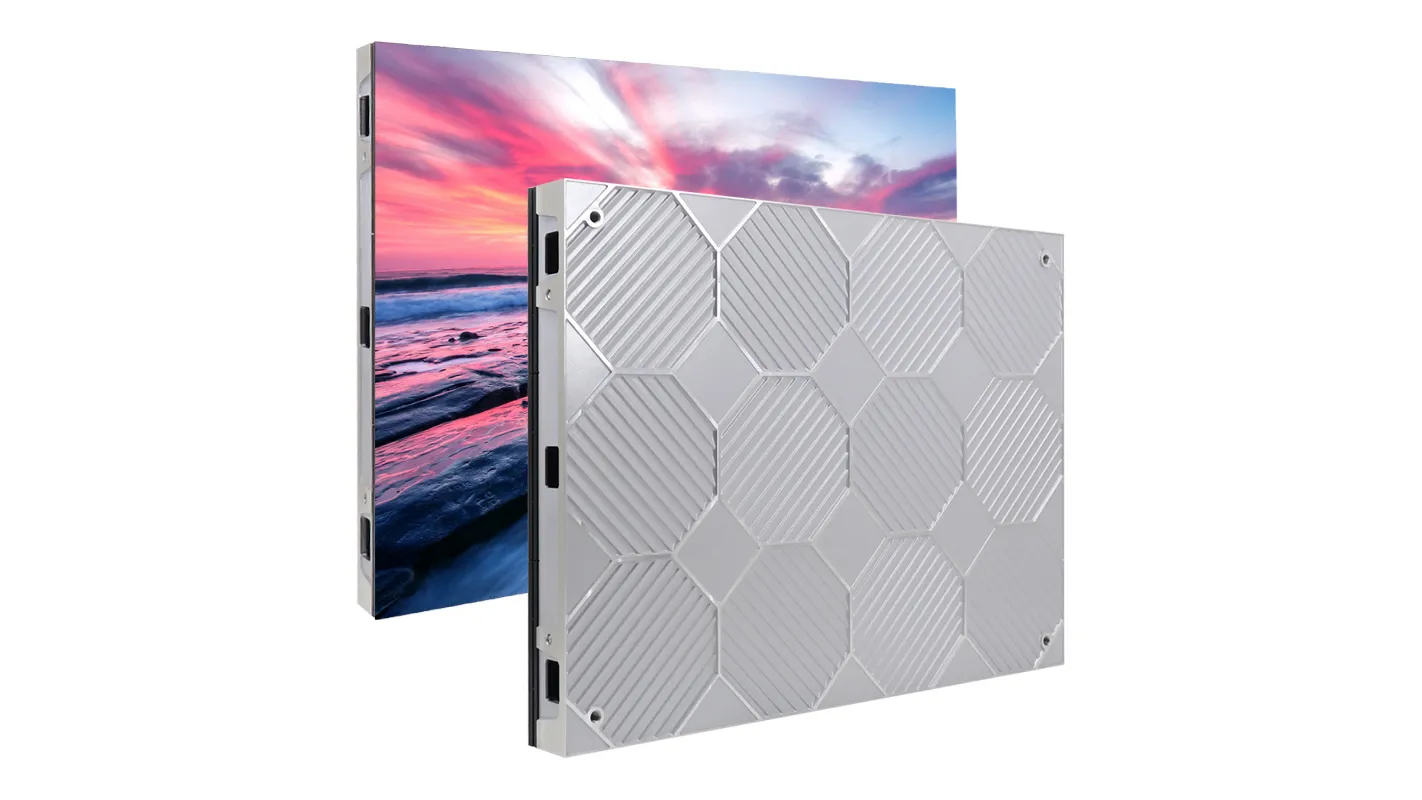
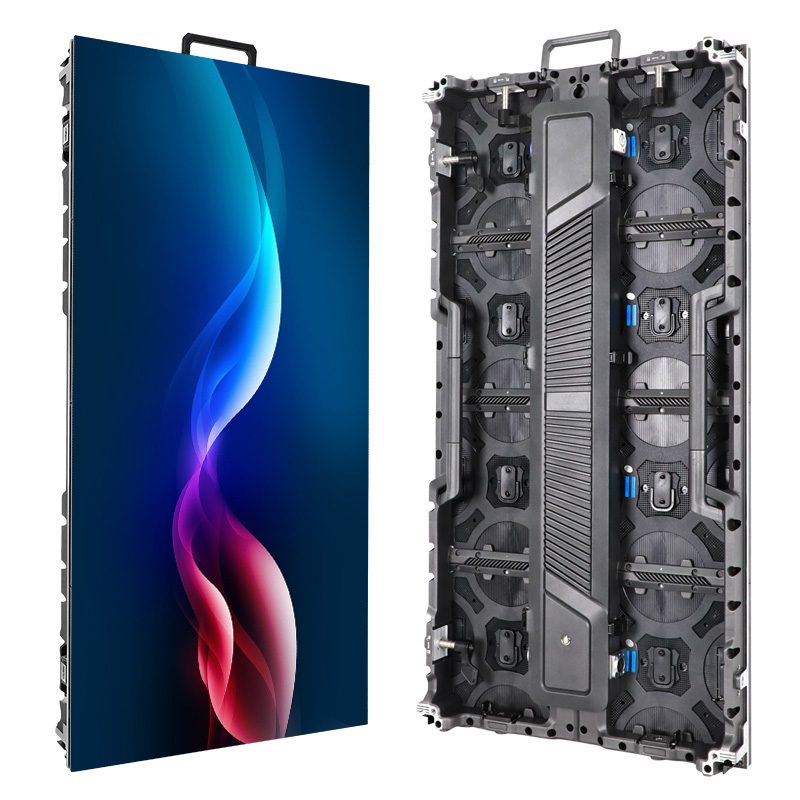
Black spots on LED display systems usually come from a failed LED, a damaged module, a loose data or power connection, moisture, or a control-system fault. A fixed single dot normally points to one LED package; a dark rectangle that matches a module points to the module or its connections; and a dark area that flickers or moves is more likely a signal, cable, receiving-card, or power issue. Start with a full-screen color test, record the pattern, power the display down safely, and replace only the confirmed faulty part.
Black spots on LED display installations do not automatically mean the whole screen has failed. Modular LED walls are designed so technicians can isolate a cabinet, LED module, HUB board, receiving card, ribbon cable, or power supply. The pattern of the black area is the fastest clue, so avoid replacing parts before you know whether the defect stays in exactly the same pixels.
Key takeaways
- Use solid red, green, blue, white, and black test screens to separate pixel faults from signal faults.
- Match the shape of the dark area to the physical layout of the LED module or cabinet.
- Do not open a powered cabinet. Isolate power and follow the display manufacturer’s service procedure.
- Most black spots on LED display systems can be repaired at module or component level.
- Use the exact module batch, pixel pitch, scan mode, and calibration data when fitting a replacement.
Table of Contents
1. Black Spots on LED Display: Fast Diagnosis
Before touching a cable or ordering a spare, display the same solid color across the entire wall. If the black area remains in the same physical position on every input and every color, the fault is probably local hardware. If black spots on LED display content move with a video, screenshot, or source window, the display hardware may be healthy and the issue may be in the media, processor canvas, or source signal.
| What you see | Most likely area | Safe first check | Typical next action |
|---|---|---|---|
| One fixed, pin-sized dark dot | LED package or solder joint | Run red, green, blue, and white screens | Mark the pixel and arrange module or pixel-level repair |
| Several adjacent dark pixels | LEDs, local driver circuit, impact, or corrosion | Inspect the unpowered module surface | Bench-test or replace the affected module |
| A dark rectangle matching one module | Module power, ribbon cable, HUB output, or module | Compare its boundary with the module seams | Reseat or swap-test the module with a known-good spare |
| A whole cabinet, row, or column is dark | Receiving card, HUB board, data chain, or power supply | Check indicators and upstream/downstream cabinets | Have a trained technician isolate the failed stage |
| Black area flickers, moves, or returns after restart | Signal, configuration, cable, or unstable power | Use a known-good source and note when it changes | Check the processor, mapping, data path, and voltage |
01. Read the Shape Before Replacing Parts
The edge of the defect often reveals the affected layer. A precise module-sized rectangle suggests a module input or output issue. A cabinet-sized area suggests cabinet power, receiving-card, or data-chain trouble. Irregular black spots on LED display modules are more consistent with individual LEDs, solder damage, impact, moisture, or heat stress.
02. Know When to Stop the DIY Check
You can safely change test content, restart the controller, photograph the fault, and inspect accessible external connectors. Stop before opening a sealed or energized cabinet. For workplace servicing, the U.S. Occupational Safety and Health Administration explains that unexpected startup or stored-energy release can seriously injure workers and describes proper lockout/tagout practices for controlling hazardous energy in its official guidance.
2. What Black Spots on LED Display Mean
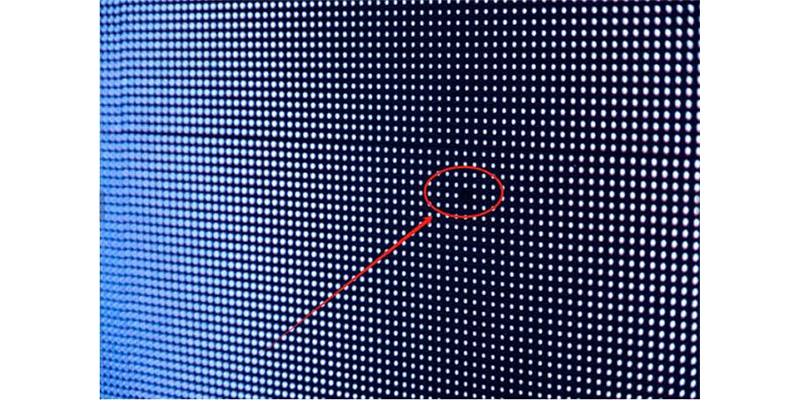
01. Dead Pixel, Stuck Pixel, Dark Patch, or Signal Dropout
A dead pixel is an LED or sub-pixel that does not emit light when commanded. A stuck pixel remains on at one color or brightness. A dark patch covers multiple pixels and may follow a module boundary. A signal dropout can black out a row, column, module, cabinet, or every cabinet downstream in the data chain.
These terms matter because black spots on LED display walls are a symptom, not one diagnosis. Pixel-level defects may require LED rework. Module-shaped defects may only need a cable, HUB port, or replacement module. A processor-canvas error requires configuration correction, not hardware repair.
| Defect type | Visible behavior | What the color test shows | Likely repair level |
|---|---|---|---|
| Dead LED or sub-pixel | One fixed dark point | One or more RGB channels never illuminate | Pixel or module |
| Stuck LED or driver channel | One point remains bright or the wrong color | It does not follow the selected test color correctly | Driver circuit, pixel, or module |
| Module dropout | Regular rectangular dark area | The same rectangle fails on every color | Connector, module, or HUB output |
| Cabinet/data-chain fault | Large section or downstream cabinets fail | Pattern follows the data path | Receiving card, HUB, cable, or power |
| Source or mapping fault | Dark content moves or changes with the source | Built-in test pattern may display normally | Processor, sender, mapping, or source |
02. Why the Defect Location Is Useful
Map the spot to the physical screen, not only to the video image. Note the cabinet number, module position, pixel coordinates if available, and whether the affected area crosses a module seam. When black spots on LED display surfaces align exactly with one replaceable module, that boundary is stronger evidence than the apparent size alone.
This distinction is especially important on a rental LED screen, where frequent handling can loosen connectors or damage module edges. On a fixed indoor LED screen, dust, ventilation, cable strain, and long operating schedules may be more relevant. The diagnostic process is the same, but the likely cause changes with the installation.
3. Causes of Black Spots on LED Display
01. Failed LED Packages and Solder Joints
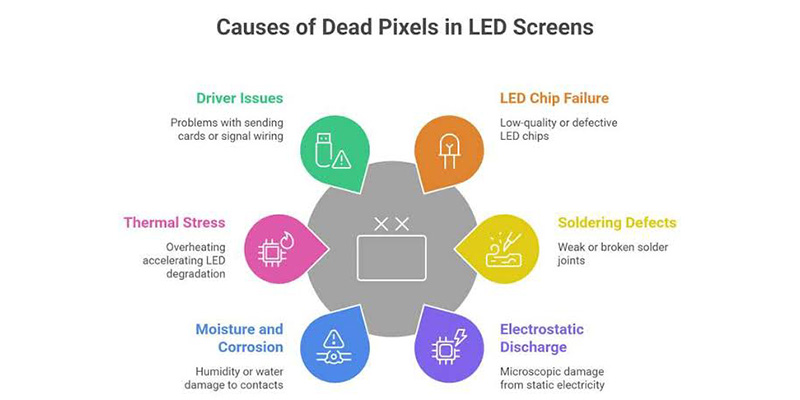
Each visible pixel contains red, green, and blue LED channels. If one channel fails, the pixel shows the wrong color; if all channels fail, it appears black. Mechanical impact, cracked solder, thermal cycling, component aging, and manufacturing defects can interrupt the electrical path. A fixed single point is the clearest pattern.
Do not press the face of the module or try consumer “pixel fixer” animations. Those methods target liquid-crystal behavior and do not repair a failed LED package on a modular video wall. Persistent black spots on LED display hardware need an electrical diagnosis.
02. Module, Driver IC, HUB Board, or Ribbon-Cable Failure
A module contains many LEDs plus driver and row-control circuits. One bad driver output can affect a repeated line or block. A loose or damaged ribbon cable can remove data from a whole module. A failed HUB output can create the same symptom, so swapping only the module may not solve it.
The correct method is substitution with known-good parts, one stage at a time. Keep the display powered off while moving components. If the fault follows the module, the module is suspect. If it remains at the same cabinet position, continue upstream to the cable, HUB, receiving card, configuration, or power path.
03. Power and Control-System Problems
Insufficient or unstable power can black out a module or cabinet, cause intermittent flicker, or create brightness differences. Signal problems may start at the video processor, sending card, network cable, receiving card, or cabinet mapping. Black spots on LED display systems that disappear after a controller restart deserve a configuration and data-path check before parts are replaced.
Record controller model, firmware version, screen configuration, and the exact event that triggered the problem. A known-good test pattern generated by the LED controller is valuable because it separates the display data chain from the external media source.
04. Moisture, Dust, and Ingress
Water and conductive contamination can corrode pads, connectors, LED leads, and circuit traces. The International Electrotechnical Commission states: “Electric and electronic equipment deteriorate or malfunction when water or dust enters the device.” Its IEC IP ratings explanation says the first IP numeral describes protection from solid objects on a 0-to-6 scale, while the second describes liquid protection on a 0-to-9 scale.
An IP rating belongs to a tested enclosure configuration; it is not permission to spray a powered screen or ignore damaged seals. Cable glands, rear doors, gaskets, module joints, and service work can change the real protection of an installed cabinet. For black spots on LED display installations exposed to rain or humidity, inspect for corrosion and moisture paths only after safe isolation.
05. Electrostatic Discharge, Heat, and Physical Impact
Static discharge can damage sensitive electronic components during handling. The EOS/ESD Association notes: “This same static discharge can ignite flammable mixtures and damage electronic components.” Its ESD overview also emphasizes grounding and protected work areas. Module handling should therefore follow the manufacturer’s ESD procedure, using grounded tools and packaging where specified.
Poor ventilation and excessive heat accelerate stress on LEDs, driver ICs, power supplies, and solder joints. Direct impact can crack LED packages or lift pads. When black spots on LED display modules appear immediately after transport, installation, or front-service work, document the affected location and handling event before disassembly.
4. How to Diagnose Black Spots on LED Display
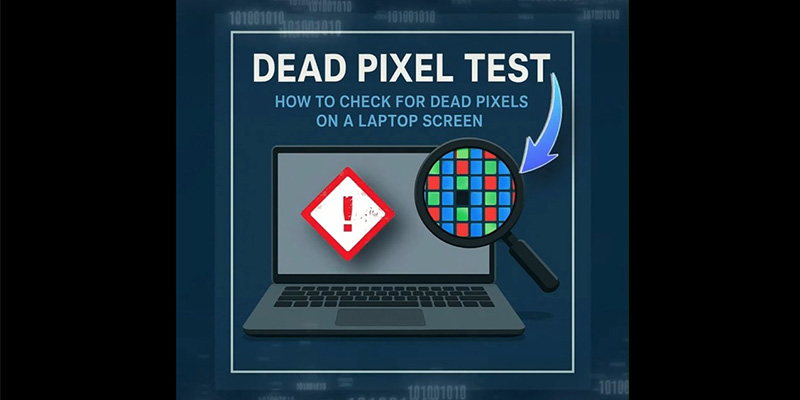
01. Run a Five-Screen Color Test
- Show a full red screen and photograph the defect.
- Repeat with full green and full blue screens.
- Show full white to test all three color channels together.
- Show full black to identify LEDs that stay on or leak light.
- Repeat with the controller’s internal test pattern, if available.
If one sub-pixel channel remains dark, note the failed color. If every channel is dark at the same location, suspect the LED package, local drive circuit, or connection. If black spots on LED display content vanish on the internal pattern, investigate the processor input, source, scaling, and canvas mapping.
02. Map the Pattern to Modules and Cabinets
Stand close enough to locate the exact pixel, then step back to see whether the defect forms a larger pattern. Photograph both distances. Add cabinet and module labels to the photos. This prevents a technician from receiving only a zoomed image with no physical context.
Draw a simple data-chain map from the sending device to the first receiving card and onward. When a cabinet and every cabinet after it go dark, the first failed cabinet or the link feeding it is the logical starting point. When black spots on LED display areas stay inside one module, start locally instead.
03. Separate Source, Signal, Power, and Module Faults
- Source check: use a known-good laptop, media player, or processor input.
- Signal check: compare controller test patterns with external content.
- Data-chain check: inspect link indicators and isolate the first affected cabinet.
- Power check: have a qualified technician measure the rail against the manufacturer’s specification under load.
- Module check: swap-test with an identical, known-good module and preserve calibration data.
Change one variable at a time and record the result. Replacing several parts at once destroys the evidence and may introduce a second fault. A short diagnostic log is also useful if you need remote support through an LED display operation tutorial or direct supplier guidance.
04. Prepare a Useful Support Package
Send the supplier a close-up photo, a wide photo, the five color-test images, cabinet and module position, model, pixel pitch, serial or batch information, controller model, power state, and the time the fault first appeared. State whether the pattern is fixed, intermittent, spreading, or linked to temperature or weather.
This evidence shortens diagnosis of black spots on LED display systems because it lets support staff distinguish a pixel fault from a module boundary, data-chain fault, or source problem before shipping parts.
5. How to Fix Black Spots on LED Display
01. Correct the Source or Configuration First
If the controller’s built-in test pattern is clean, do not replace modules. Verify input resolution, scaling, output canvas, cabinet mapping, data flow, and saved configuration. Restore a known-good configuration only after backing up the current one. Black spots on LED display content caused by a mapping error can look like hardware failure but move when the screen layout changes.
02. Reseat or Replace an Accessible Connection
A trained technician can isolate power, verify zero-energy state as required by the service procedure, and inspect data and power connectors for looseness, contamination, bent contacts, heat marks, or corrosion. Use the specified connector orientation and never force a ribbon cable. After reassembly, restore power and repeat all five test screens.
03. Replace the Affected LED Module
- Confirm the exact cabinet and module location.
- Obtain a compatible module with matching pixel pitch, scan mode, connector layout, LED type, and calibration method.
- Isolate the display according to the manufacturer’s procedure.
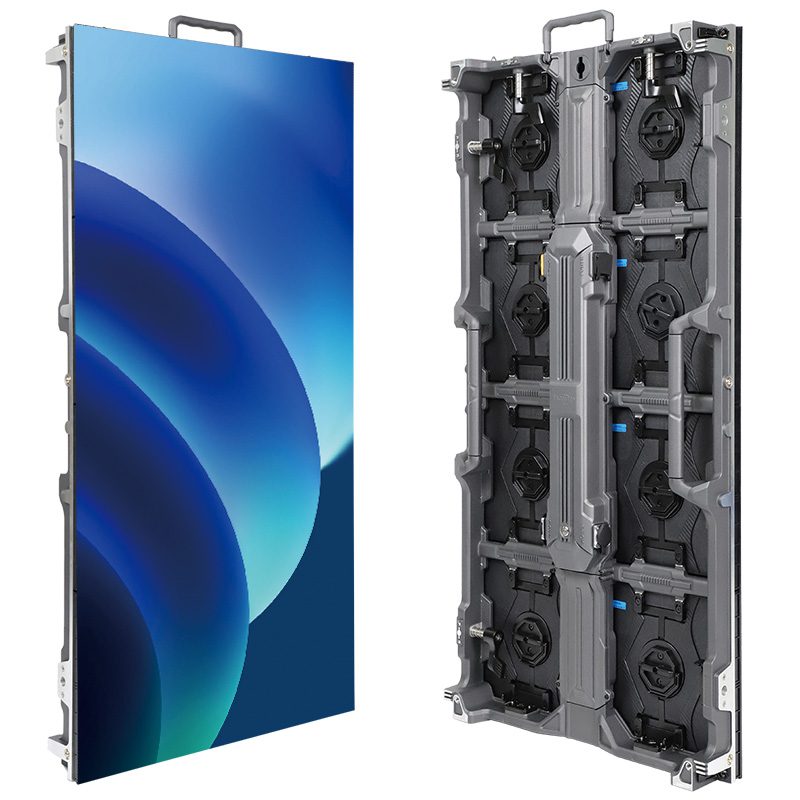
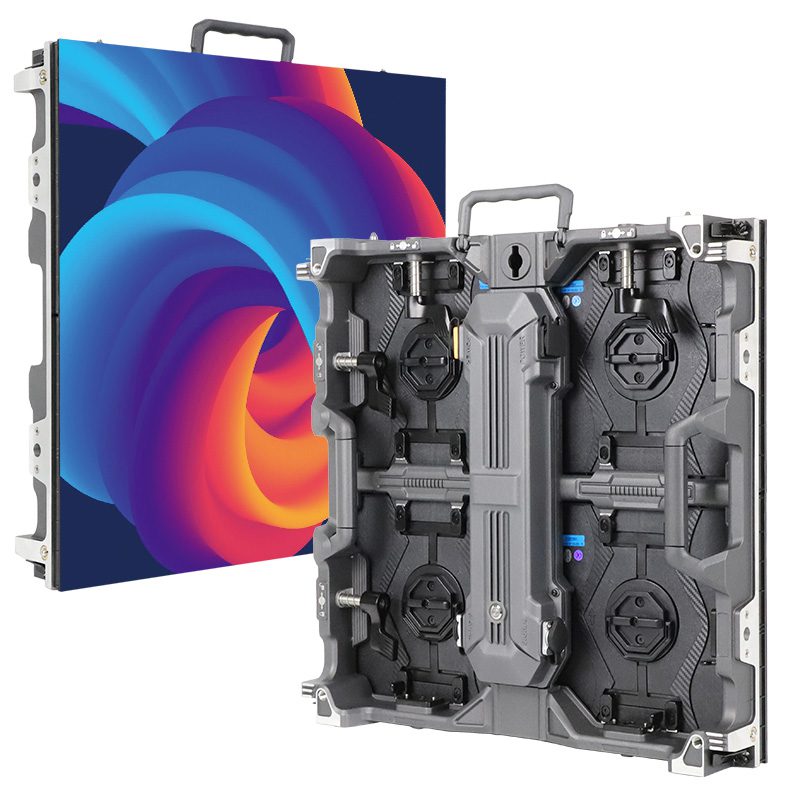
- Remove the faulty module using the correct front- or rear-service tool.
- Connect and secure the replacement without pinching cables.
- Restore power, load calibration data if required, and test red, green, blue, white, and black.
Color or brightness differences after replacement do not necessarily mean the new module is defective. A different production batch, LED bin, white balance, or missing calibration coefficient can make one module visible. Matching spares during procurement is the best way to avoid this result.
04. Use Pixel-Level Repair Only on a Bench
Individual LED replacement requires controlled soldering or rework equipment, magnification, correct LED orientation, ESD protection, and experience with fine-pitch assemblies. It is not an in-place repair for an energized wall. If several pixels or a driver circuit have failed, module exchange is usually the faster site repair and the damaged module can be repaired on a bench.
After any repair, run the display at normal operating brightness and review every test color. Confirm that black spots on LED display modules are gone, no new color errors appeared, and the replacement matches neighboring modules from typical viewing distance.
05. Call a Professional for High-Risk Conditions
Use qualified service personnel when the display is elevated, permanently wired, wet, visibly overheated, repeatedly tripping protection, or affected across multiple cabinets. Also stop if you smell burning, see damaged insulation, or cannot identify the correct isolation point. Those symptoms require electrical safety and system-level testing, not trial-and-error part swaps.
6. How to Prevent Black Spots on LED Display
01. Protect the Environment
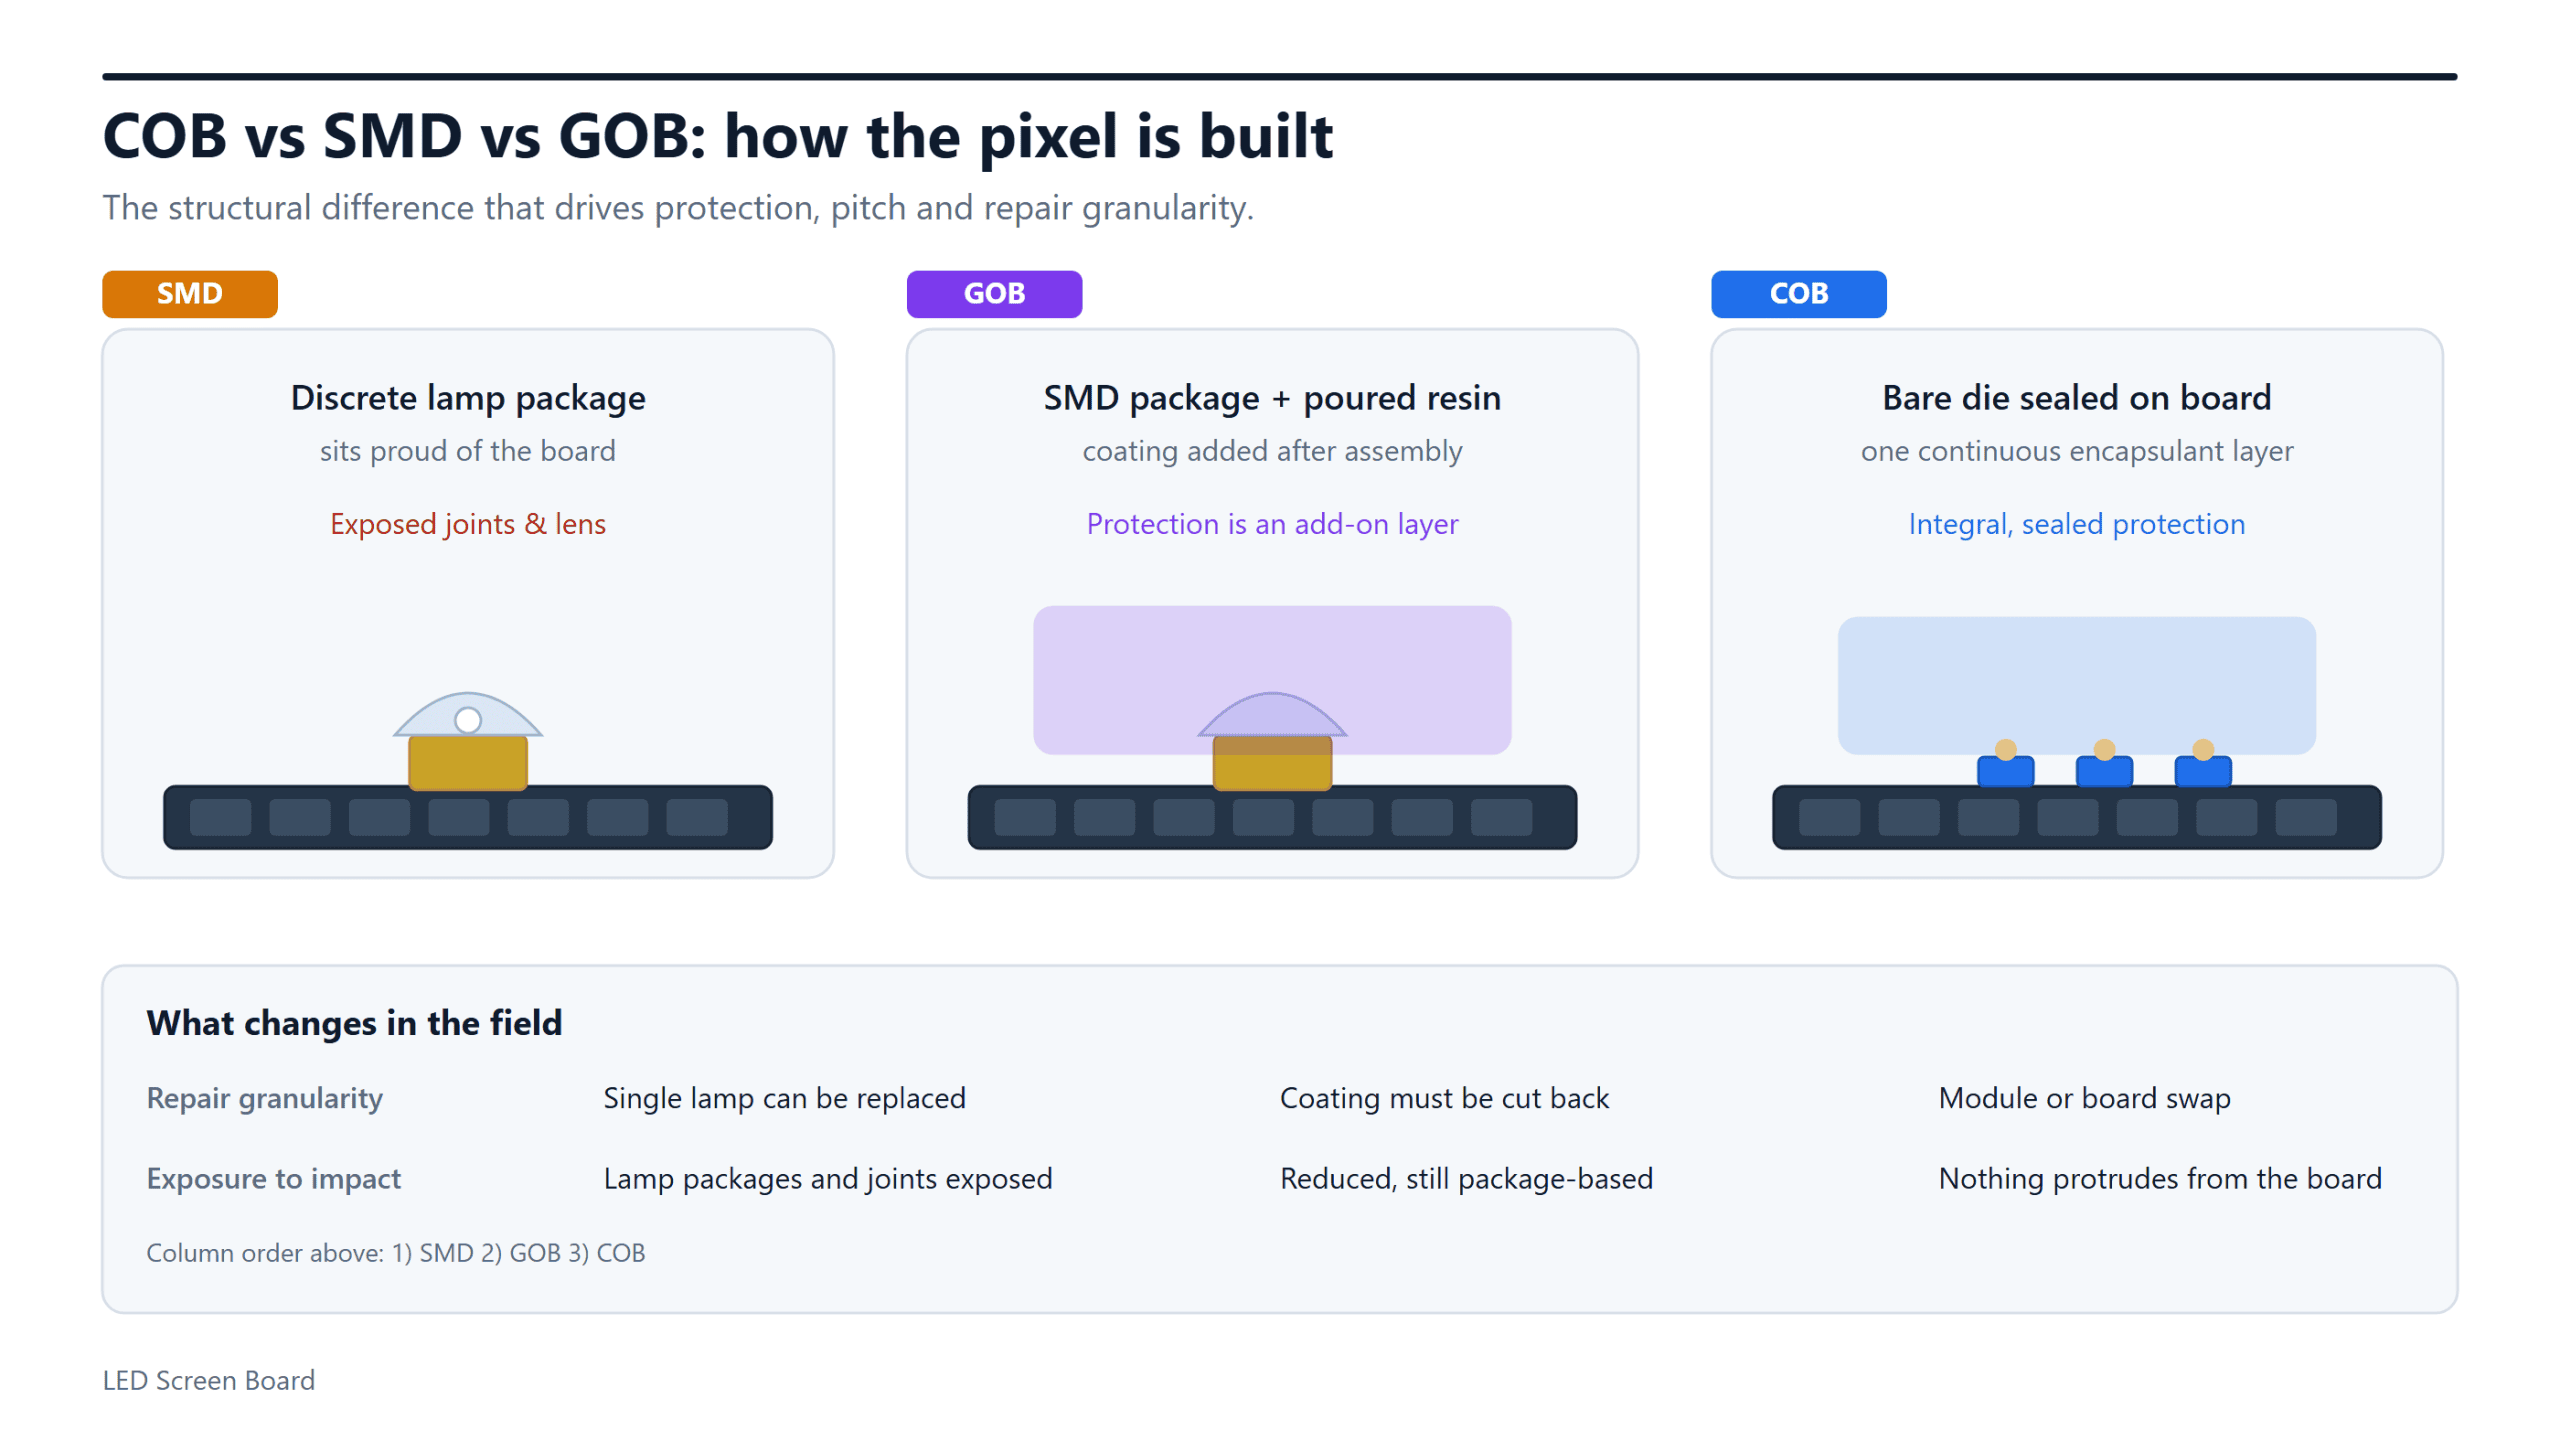
Keep vents, filters, fans, drains, doors, gaskets, and cable entries in the condition specified by the cabinet manufacturer. Do not block airflow or use unapproved covers. For outdoor and humid installations, inspect seals after every service event and after severe weather.
Choose equipment with an enclosure rating appropriate to the installed direction and exposure, then maintain the full enclosure system. Preventing water and conductive dust from reaching electronics reduces corrosion-related black spots on LED display modules and connectors.
02. Control Handling, Power, and Heat
- Transport modules in protective, ESD-aware packaging.
- Do not stack module faces against hard objects.
- Use grounded work practices required by the manufacturer.
- Keep power supplies within their specified input, output, load, and temperature limits.
- Use brightness schedules appropriate to ambient conditions rather than maximum output at all times.
- Investigate recurring heat or power alarms before pixels begin to fail.
03. Build a Repeatable Inspection Routine
Run the five-screen color test on a fixed schedule and before important events. Save dated wide and close-up photos so changes are easy to compare. Check cabinet indicators, cable strain, ventilation, moisture traces, loose hardware, and the first signs of brightness mismatch.
Keep a service log for each cabinet. A pattern of black spots on LED display modules from one location may reveal a local heat, water, handling, or power problem that a single repair would miss.
04. Order Compatible Spares With the Screen
Store labeled spare modules, receiving cards, ribbon cables, power cables, and other approved service parts in a dry, protected location. Record batch and calibration information. This reduces downtime and improves visual matching years later.
When evaluating a new advertising LED board, ask about front or rear access, spare-module quantity, calibration backup, controller configuration backup, and technical support. Serviceability matters as much as headline specifications.
7. Black Spots on LED Display: Repair or Replace?
Repair is usually the right choice when the fault is isolated, compatible spares are available, the cabinet structure and electronics are sound, and the replacement can be calibrated to match. Replacement becomes more reasonable when faults recur across many cabinets, the product is no longer supported, correct modules are unavailable, or repair labor and downtime exceed the value of the system.
| Situation | Severity | Recommended action | Reason |
|---|---|---|---|
| One or a few fixed pixels | Low | Monitor, then repair the pixel or module | The fault is local and the rest of the system operates normally |
| One module-sized dark area | Moderate | Diagnose cable, HUB port, and module; replace the confirmed part | Modular repair is normally practical |
| One cabinet or a downstream data chain | High | Use a trained technician for receiving-card, power, HUB, and data checks | The failure affects a larger system layer |
| Moisture, corrosion, overheating, or repeated protection trips | Urgent | Isolate the display and arrange professional inspection | Continuing operation may increase damage or safety risk |
| Multiple recurring failures with unavailable spares | Strategic | Compare refurbishment, controller upgrade, and full replacement | Supportability and downtime may dominate part cost |
01. Compare Total Repair Cost, Not Only Part Price
Include diagnosis, access equipment, labor, shipping, calibration, spare availability, and operational downtime. For a high-mounted installation, safe access may cost more than the module. For a rental cabinet, a quick module swap may return the screen to service while the damaged module is repaired later.
02. Check Supportability and Visual Matching
Ask whether the original module batch or a compatible replacement still exists and whether calibration data can be recovered. A technically working but visibly mismatched module may be unacceptable in close-viewing applications. Screen resolution and viewing distance also affect how noticeable a small defect is; see the LED screen resolution guide for related planning factors.
If the symptoms are bright or pale rather than dark, use the separate guide to white spots on an LED display. Mixing these fault types can lead to the wrong parts and test procedure.
8. FAQ: Black Spots on LED Display
01. Why are black spots on LED display panels appearing?
The main causes are failed LED packages, cracked solder joints, a damaged module, loose data or power connections, driver or HUB faults, receiving-card or mapping problems, moisture, corrosion, ESD, excessive heat, and physical impact. The shape and behavior of black spots on LED display panels usually identify which system layer to test first.
02. Can black spots on LED display systems fix themselves?
A failed LED or damaged circuit does not repair itself. An intermittent dark area may temporarily disappear if a connection, data signal, controller, or power condition changes. Treat that change as a diagnostic clue, record it, and correct the underlying cause before it returns.
03. Can I keep using a screen with black spots?
A few stable pixel defects may not stop the rest of the wall from operating, but inspect them and schedule repair. Stop using and isolate the display if the affected area spreads quickly, moisture is present, insulation is damaged, overheating or a burning smell appears, or electrical protection repeatedly trips.
04. How do I test black spots on LED display modules?
Show full red, green, blue, white, and black screens, then repeat with the controller’s internal test pattern. Photograph the fault close up and from a distance, map it to the cabinet and module, and note whether it is fixed, flickering, or moving with the content. Do not open a powered cabinet.
05. Do black spots mean the whole LED screen must be replaced?
Usually not. A modular LED display lets a technician replace a pixel, module, cable, HUB board, receiving card, or power supply after confirming the fault. Consider full replacement when failures are widespread or recurring, compatible parts and calibration are unavailable, or total repair and downtime no longer make commercial sense.
06. What information should I send to the LED display supplier?
Send five color-test photos, a wide photo, a close-up, cabinet and module position, model, pixel pitch, batch or serial information, controller model, and a description of when the problem started. Include whether the fault follows content, weather, temperature, transport, or a recent service event.
9. Conclusion: Fix Black Spots on LED Display Safely
The fastest route from symptom to repair is pattern-based diagnosis. First decide whether black spots on LED display content are fixed to physical pixels. Then use five solid colors and the controller test pattern, map the defect to modules and cabinets, and isolate source, data, power, and module layers one at a time.
Most isolated black spots on LED display systems can be corrected without replacing the whole wall. The right repair may be a configuration change, connector correction, module swap, bench-level LED repair, HUB or receiving-card replacement, or power-system work by a qualified technician.
Need help identifying the correct fault or matching a spare module? Send EagerLED the test photos and screen details. A clear diagnostic package makes it easier to recommend the correct part and service path.
 Huidu B6L vs B8L vs B8H: Specs, Limits & Best Use
 White Spots on LED Display: 7 Causes and Safe Fixes