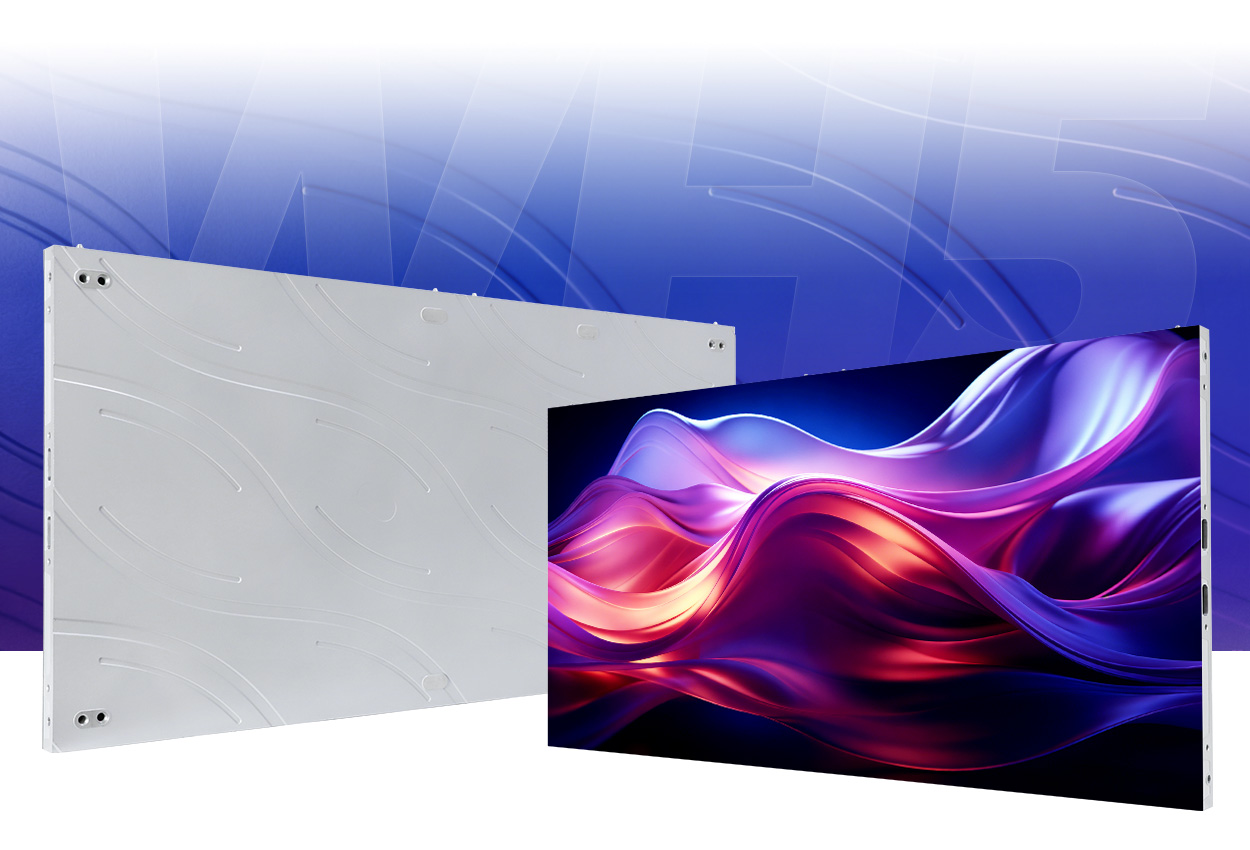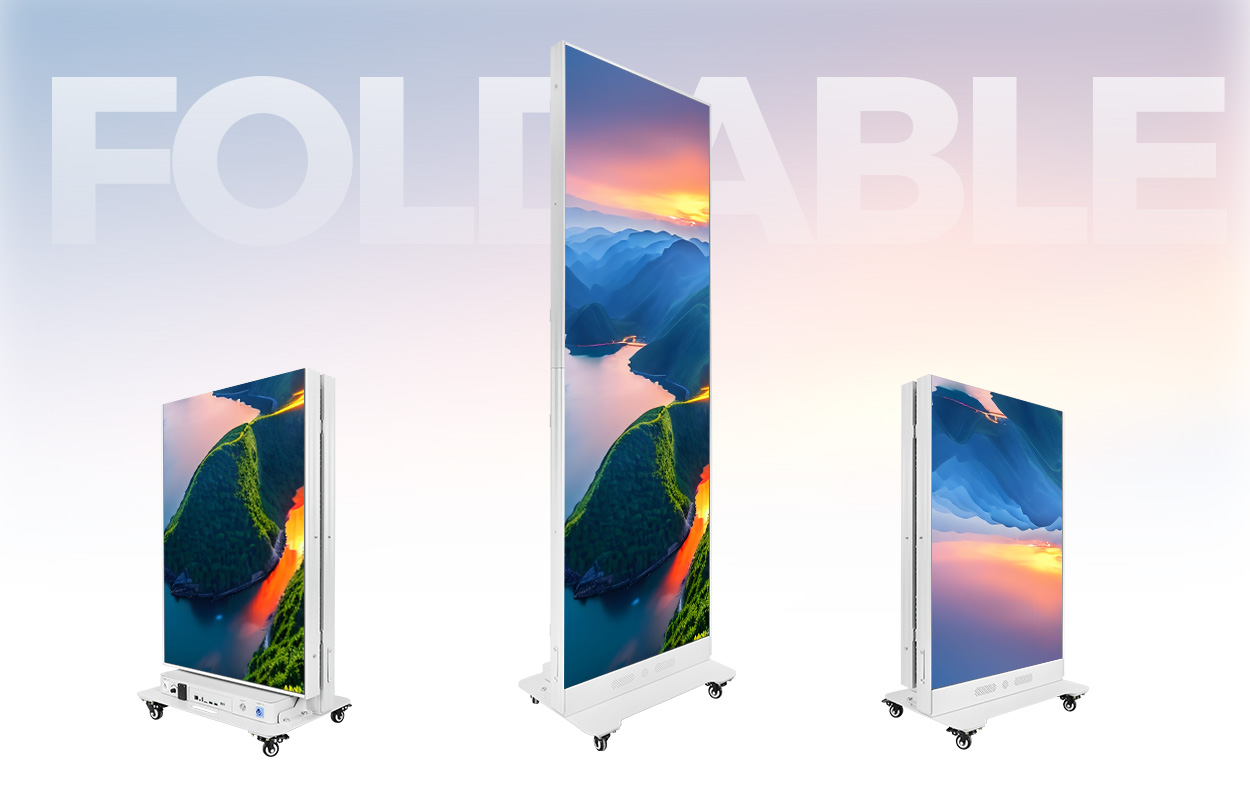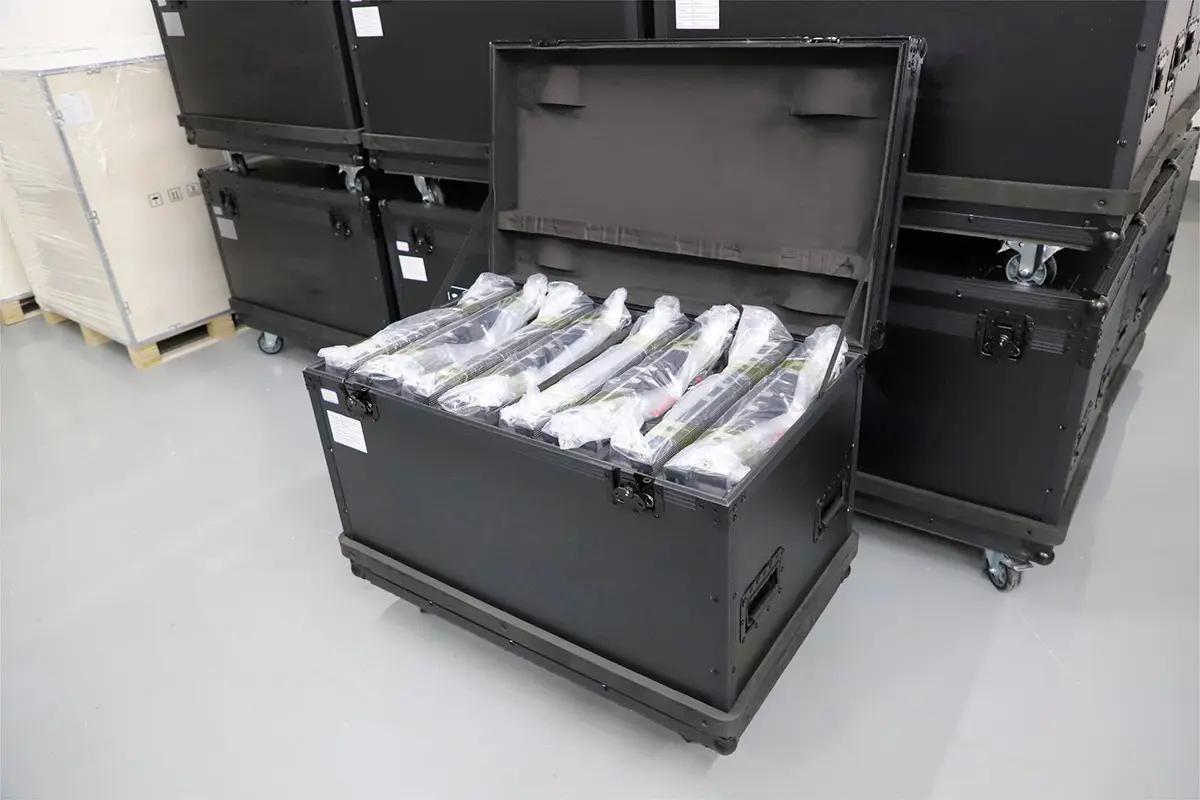

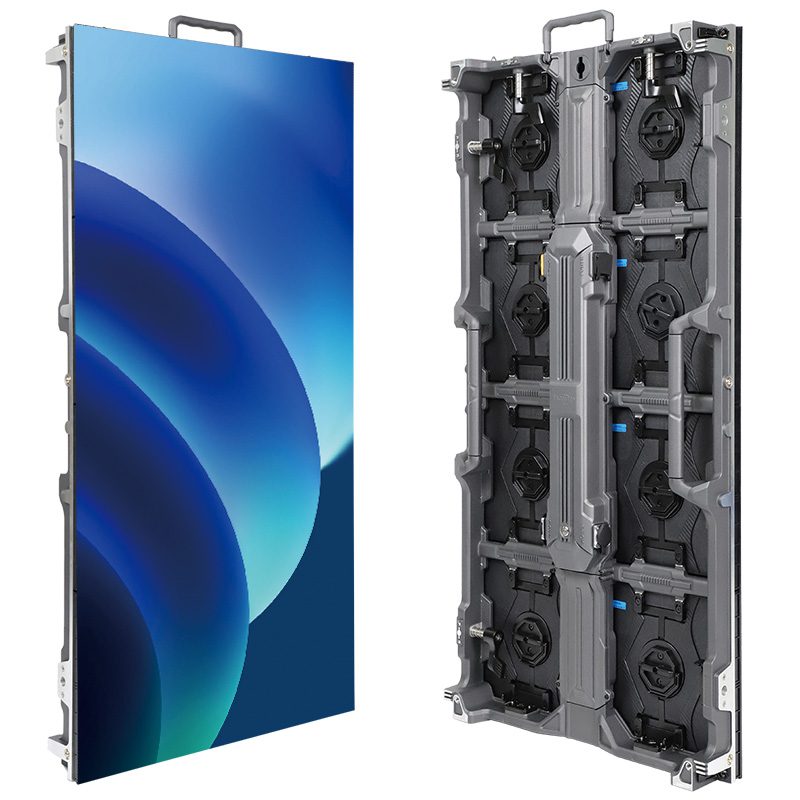
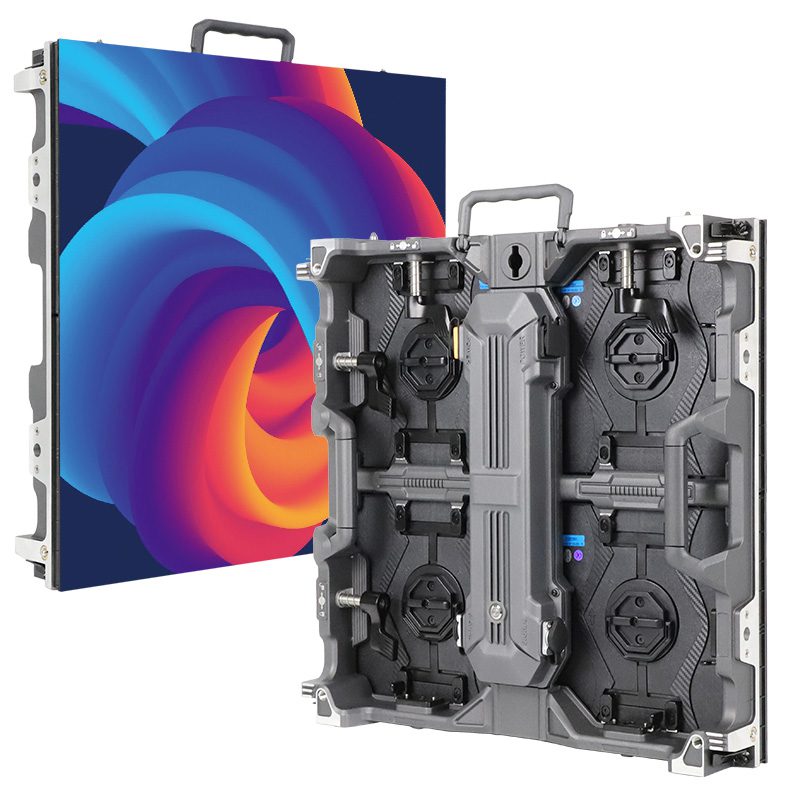
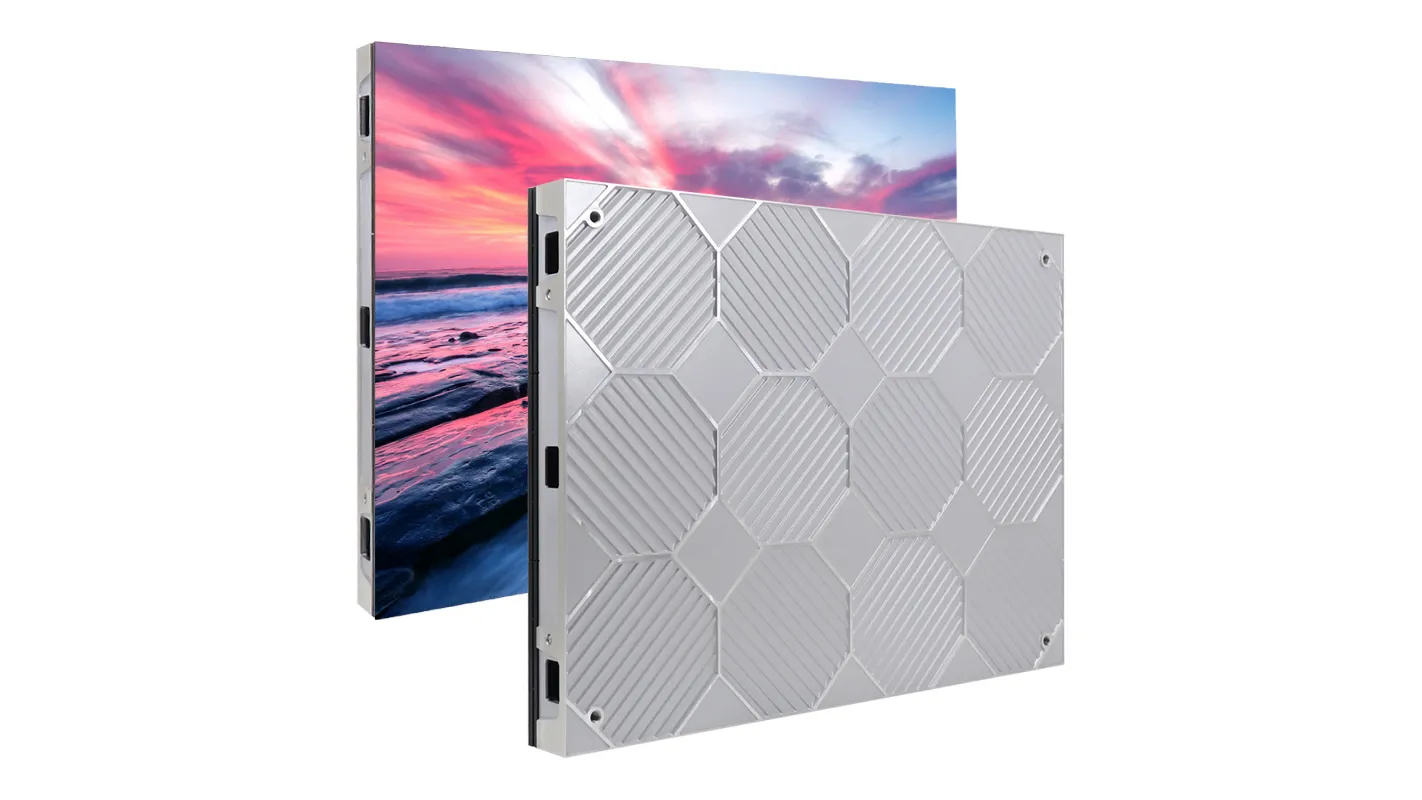
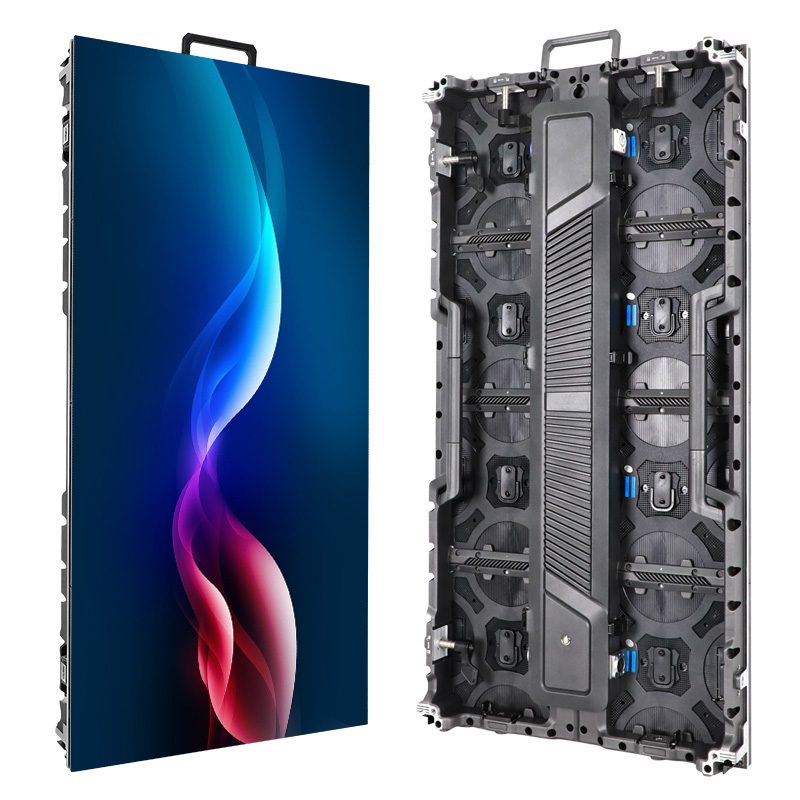
Choose an LED display module supplier by approving a compatible sample, linking it to the production batch, and agreeing how matching replacements will be supplied. A low module price is useful only after the electrical interface, cabinet fit, image consistency and delivery responsibilities are clear. This checklist is for integrators, distributors and rental-fleet buyers assessing a bulk purchase.
- Write one module specification and record every supplier deviation.
- Test the sample with the receiving card, power supply and cabinet you will use.
- Retain a labelled reference sample and link its hardware revision to the order.
- Agree shipment checks, matching spares and a workable replacement route.
A module can light up correctly on a bench and still create visible color patches, scanning problems, or expensive service delays in a finished wall. This guide gives integrators, distributors, and project buyers a supplier scorecard and a practical sample-test checklist for identifying those risks before a bulk order.
Table of Contents
1. Define the Module Specification Before Comparing Suppliers
An LED display module is a serviceable assembly of LEDs, a printed circuit board (PCB), driver integrated circuits (ICs), and connectors. Several modules fit into a cabinet; cabinets, receiving cards, power supplies, and processing form the complete display. A module supplier must therefore demonstrate how its part works in your system.
1.1. Separate New Builds from Replacement Orders
For a new screen, define the indoor or outdoor environment, viewing distance, required image size, service access, operating hours, and camera use. For a replacement, identify the existing module model and revision before looking for an alternative. The same pixel pitch and outside dimensions do not establish interchangeability.
Send clear front-and-rear photographs, label details, connector photographs, cabinet drawings, and the existing receiving-card configuration. EagerLED’s LED display module range provides a starting point for comparing indoor, outdoor, flexible, GOB, and COB construction.
1.2. Give Every Supplier the Same Request
| Specification | Evidence to request |
|---|---|
| Optical and physical | Pixel pitch, module resolution, dimensions, mounting positions, LED package, mask, brightness at the intended operating setting, and viewing angle. |
| Electrical and control | Rated voltage, maximum current, connector pinout, scan ratio, driver IC model, receiving-card model, firmware, and configuration file. |
| Environment and service | Rated temperature range, protection scope, front or rear access, repair method, packaging, and storage instructions. |
| Commercial | Quantity, minimum order, sample cost, approved component list, lead time, spare modules, warranty, and delivery destination. |
Illustrative compatibility check: a 320 x 160 mm module at P2.5 has 128 x 64 pixels: divide each physical dimension by 2.5 mm. A P2 module of the same size has 160 x 80 pixels. Even two P2.5 modules can have different scan modes, pinouts, and driver arrangements. Confirm the complete drawing and configuration.
2. How to Choose an LED Display Module Supplier: Score the Evidence
Use the following 100-point supplier scorecard after checking basic compatibility. It is a suggested procurement framework, not a published industry ranking or an independently validated supplier rating. Set the weights before reviewing quotations so a low price does not silently change your priorities.
| Evaluation area | Weight | Evidence required |
|---|---|---|
| Batch consistency and traceability | 25 | LED bin records, module revision, calibration files, serial or lot identification, and a plan for matching spare stock. |
| Sample image and electrical performance | 20 | Your sample-array test record, low-gray results, thermal measurements, and a demonstrated replacement. |
| PCB, drivers, and component control | 20 | Approved BOM, PCB drawing or specification, exact driver IC, assembly inspection, and written substitution control. |
| Production inspection and aging | 15 | Order-specific test procedure, operating conditions, logs, defect disposition, and final release record. |
| Warranty and service execution | 10 | RMA process, repair location, freight responsibility, response commitments, and spare-part availability. |
| Delivered cost and schedule | 10 | Comparable scope, named delivery terms, packing list, production dates, shipping assumptions, and payment milestones. |
Rate each area from 0 to 5, then calculate weighted points = rating / 5 x weight. Use 0 for missing evidence, 1 for unsupported claims, 3 for relevant documents, and 5 for documents corroborated by the sample or inspection. Ratings of 2 and 4 represent the steps between those evidence levels. A rating of 4 in the 25-point category earns 20 points.
Apply hard gates before the total score: pause procurement if the supplier cannot confirm the pinout and voltage, refuses to identify critical components, supplies a sample that fails agreed limits, or cannot provide documentation required for the destination. A strong total cannot compensate for an unresolved critical failure.
3. Verify LED Binning, Color Consistency, and Traceability
3.1. Ask What the Supplier Means by Same Batch
Binning groups LEDs by measured characteristics such as brightness and color. A brand name alone does not identify the LED package, bin, or production lot. Ask how LEDs are selected for one order, how lots are recorded, and how mixed lots are kept from causing visible differences across adjacent modules.
Request a written change-control clause covering the LED model, bin strategy, driver IC, PCB revision, and mask. Any proposed change after sample approval should require review and, where performance could change, a new sample approval. Keep one accepted reference module and its test record.
3.2. Compare Low Gray and Replacement Modules
Inspect assembled modules on full white, red, green, blue, and dark-gray patterns at the intended brightness. A colorful promotional video can hide low-gray tint, patchiness, and visible boundaries. Repeat the comparison at several viewing angles and after the assembly has warmed up.
Ask whether calibration coefficients belong to each module, receiving card, or complete screen, and how those files are backed up and restored. Calibration can improve matching, but it cannot make every different LED spectrum, viewing-angle behavior, or hardware revision interchangeable. Reserve matching spares when the main batch is produced.
4. Inspect the PCB, Driver ICs, and Assembly Quality
4.1. Check Construction Against the Approved BOM
The bill of materials (BOM) identifies the components approved for production. Request the PCB material and thickness, layer structure, copper specification where relevant, component layout, connector ratings, and driver IC part number. Evaluate those choices against current, thermal behavior, mechanical fit, and service conditions.
More PCB layers or a heavier board are not automatic proof of a better module. Inspect solder joints, component alignment, connector retention, mask fit, and board flatness, then check powered performance. Ask what automated optical inspection detects, how rework is recorded, and whether repaired assemblies are retested.

4.2. Test the Driver and Control System Together
Refresh rate, scan ratio, grayscale, and brightness interact with the driver IC and receiving-card settings. A headline refresh specification is not sufficient evidence of smooth low-brightness video or clean camera images. Request the configuration that produced the quoted result and reproduce it with the intended controller.
If the display will appear on camera, test actual frame rates, shutter settings, brightness, and content. Check for banding, scan lines, ghosting, and lost shadow detail. Avoid treating one driver brand or a high refresh number as a guarantee for every installation.
5. Run a Sample-Test Checklist Before Ordering in Bulk
5.1. Build a Representative Sample Array
Request enough modules to show horizontal and vertical joins. A 2 x 2 array is a useful initial functional check; a larger representative assembly may be needed for mechanical, optical, or camera evaluation. Ask the supplier to identify how the sample relates to the production BOM and intended lot.
Use the proposed cabinet or mounting fixture, correctly rated power supply, cable lengths, receiving card, and processor. Record the ambient temperature, operating brightness, voltage at the module, firmware, and configuration. Have qualified personnel handle electrical work and isolate power before changing connections.
| Sample test | Method | Acceptance record |
|---|---|---|
| Identity and fit | Compare labels, dimensions, mounting positions, connectors, and component markings with the approved documents. | Photographs, measurements, and the exact sample revision. |
| Pixel and color checks | Show red, green, blue, white, black, and low-gray patterns across adjacent modules. | Defect map, color observations, measurement method, and agreed limits. |
| Brightness and uniformity | Measure comparable points under the same operating conditions after warm-up. | Instrument, geometry, brightness setting, readings, and uniformity calculation. |
| Power and temperature | Run demanding patterns within the manufacturer’s ratings and inspect voltage drop, current, and component temperatures. | Measurements against component and module limits; no unexplained resets or artifacts. |
| Camera performance | Use the project camera, frame rate, shutter, content, and controller settings. | Recorded footage and an agreed acceptable result. |
| Service and interchangeability | Replace a sample with a reserved spare, restore configuration, and repeat visual checks. | Replacement steps, calibration files, service time, and matching result. |
5.2. Write Pass/Fail Limits Before the Test
Agree the allowable pixel defects, brightness variation, color difference, mechanical tolerances, operating temperature limits, and retest procedure in advance. State how each value is measured. For example, a uniformity figure calculated as minimum luminance divided by maximum luminance cannot be compared directly with a figure using a different formula.
The International Electrotechnical Commission describes IP ratings as grading an enclosure’s resistance to dust or liquids. For outdoor modules, identify the rated face, seals, cabinet configuration, and test report. A video of water sprayed on a module does not establish the protection rating of the installed screen.
Approve the sample in writing only after the evidence is complete. Record exceptions and corrective actions; do not let a delivery deadline turn an unfinished test into acceptance.
6. Check Aging Records and Control the Production Batch
6.1. Ask for Conditions, Not Just Hours
LED module aging or burn-in operates the product under specified conditions to reveal early faults. Duration is only one part of the procedure. Ask for the test pattern, brightness or load, ambient conditions, supply conditions, start and stop times, failure log, repair history, and retest requirements.
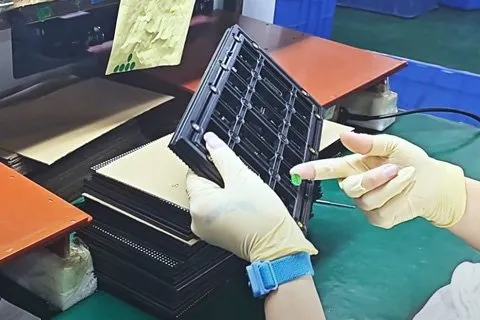
EagerLED’s quality-control page describes BOM verification, SMT inspection, optical checks, and model-specific stability testing. Its published process includes a 72-hour temperature cycle from -20°C to 50°C and 48 hours of full-load operation for applicable configurations. These are first-party process descriptions, not universal requirements for every module. Confirm the actual sequence and limits in the signed order.
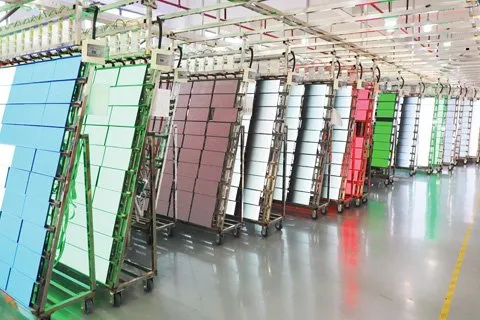
The official EagerLED workshop video below provides production context. Use it to frame inspection questions; the video is not a substitute for a dated report identifying your order.
6.2. Link the Approved Sample to Shipment
Before release, require the final BOM revision, lot list, inspection summary, configuration backup, calibration data, spare inventory, and packing list. For a significant order, agree independent inspection access or a witnessed acceptance test before the balance payment milestone.
Set a sampling plan appropriate to lot size and defect severity with the inspector. A good sample does not prove every unit in a shipment is defect-free. Require repaired or replaced units to be identified and retested, and retain the acceptance record for future warranty claims.
7. Compare International Delivery, Documentation, and Warranty
7.1. Distinguish Local Service from Factory Location
For projects in Europe, North America, Africa, South America or the Middle East, identify the manufacturer, exporter, importer and local service provider separately. Selling to a country does not establish local stock, a repair centre or on-site service. EagerLED identifies its manufacturing base as Shenzhen, China; any destination-specific stock or service arrangement should be confirmed in the quotation.
Ask each supplier to price the same delivered scope: module quantity and revision, matched spares, packing, freight, clearance responsibility and the named delivery point. Record who obtains project documentation and who resolves a rejected shipment. Confirm destination requirements for the exact finished configuration with the responsible project parties; a component document is not evidence for every assembled screen.
Make the replacement route practical before shipping
Agree how a fault will be identified remotely, where a suspected module is returned, who pays each freight leg and whether a replacement comes from the original batch. Compare the time to restore the display, not just the time to answer a support message. For a rental fleet, include who keeps the matched spare stock and how revision changes are communicated before later orders.
| Order stage | Buyer record | Supplier confirmation |
|---|---|---|
| Sample approval | Labelled reference sample, cabinet and controller configuration | Module drawing, component revision and accepted deviations |
| Batch release | Inspection results against the approved reference | Lot identification, quantity, spare list and packing record |
| Delivery | Named delivery point and responsibility list | Freight scope, required documents and shipment milestone |
| Replacement | Fault evidence and agreed return route | Stock location, matching procedure and freight responsibilities |
7.2. Verify the Exact Compliance Scope
A recognized power supply or PCB does not by itself certify the completed LED screen. UL Solutions explains component recognition: it is “not a certification for a complete, standalone product.” Ask for the model, file or report number, issuing organization, applicable market, and conditions of acceptability.
For US projects, review applicable radio-frequency requirements under 47 CFR Part 15 with the responsible compliance party. Confirm the finished configuration and intended environment, rather than accepting a generic FCC logo. Canadian requirements must be checked separately. Installation approval and electrical safety requirements should be confirmed with the local authority and qualified installer.
7.3. Turn Warranty Length into a Service Plan
Get the warranty start date, covered parts, exclusions, dead-pixel policy, labor coverage, freight responsibility, and repair or replacement procedure in writing. Distinguish an initial response target from a repair completion or replacement dispatch commitment. They describe different parts of the service timeline.
Ask what happens if a matching revision is discontinued. A replacement that powers on but has a visibly different white point may not restore an acceptable screen. Define how spare stock, calibration support, and alternative revisions will be handled.
Illustrative spare-stock calculation: for 500 installed modules, a project-specific reserve of 3% would mean 15 matching spares. This is a planning example, not a universal recommendation or a predicted failure rate. Set the quantity from downtime tolerance, handling risk, repair turnaround, and the ability to replenish the original batch.
8. Send a Complete Supplier RFQ and Avoid Costly Shortcuts
A request for quotation (RFQ) should make competing offers comparable. Ask each shortlisted supplier to return the same specification sheet and identify every deviation. Separate module price from the cost of the system around it.
- Project: new build or replacement, installation environment, screen size, viewing distance, camera use, destination, and required arrival date.
- Hardware: module dimensions and resolution, LED package and bin controls, PCB revision, driver IC, voltage, scan ratio, connectors, and approved substitutions.
- Verification: sample quantity, sample-array test plan, acceptance limits, aging conditions, inspection access, and release documents.
- Delivery: installed quantity, matching spares, packing, freight, named delivery term and place, clearance responsibility, and payment milestones.
- After-sales: warranty start and scope, RMA address, response and dispatch commitments, repair charges, calibration files, and discontinuation policy.
Avoid three shortcuts: choosing from price per module without equal specifications; approving a single bright demo without low-gray and replacement tests; and treating certificates or factory videos as evidence for an unidentified model. Each shortcut removes a check that protects the finished screen.
For an EagerLED quotation, send the project brief through Contact EagerLED and request an itemized configuration, sample plan, and acceptance criteria. Buyers specifying a new wall can also use the LED screen resolution guide to confirm the required pixel layout before asking suppliers to price it.
9. FAQs
10. Conclusion
Choose an LED display module supplier by connecting every claim to evidence: the component list to the sample, the sample to the production batch, and the delivered batch to a workable service plan. Consistency, compatibility, documented testing, and matching spares determine whether a competitive quotation becomes a maintainable display.
Start with a shared RFQ, use the scorecard to compare verified evidence, and retain clear pass/fail requirements through production and shipment. The best purchasing decision is the supplier whose documented capabilities match your project and whose replacement process you can actually use.
About this guide: Published for EagerLED, an LED display manufacturer and supplier. The scorecard and sample checklist are practical procurement recommendations, not an independent ranking, laboratory test result, or universal acceptance standard. Product claims are limited to identified first-party sources; final performance and warranty terms must be confirmed for the ordered configuration. Procurement guidance reviewed October 19, 2026; existing technical source review dated September 8, 2026.
Request a module-supply review: send your module drawing or model, cabinet layout, receiving-card model, order quantity, delivery country and whether the order is for a new screen or a replacement batch.
 4K UHD vs QLED: Which Is Better for LED Display Buyers?
 Outdoor LED Advertising Board: Weatherproofing Guide