
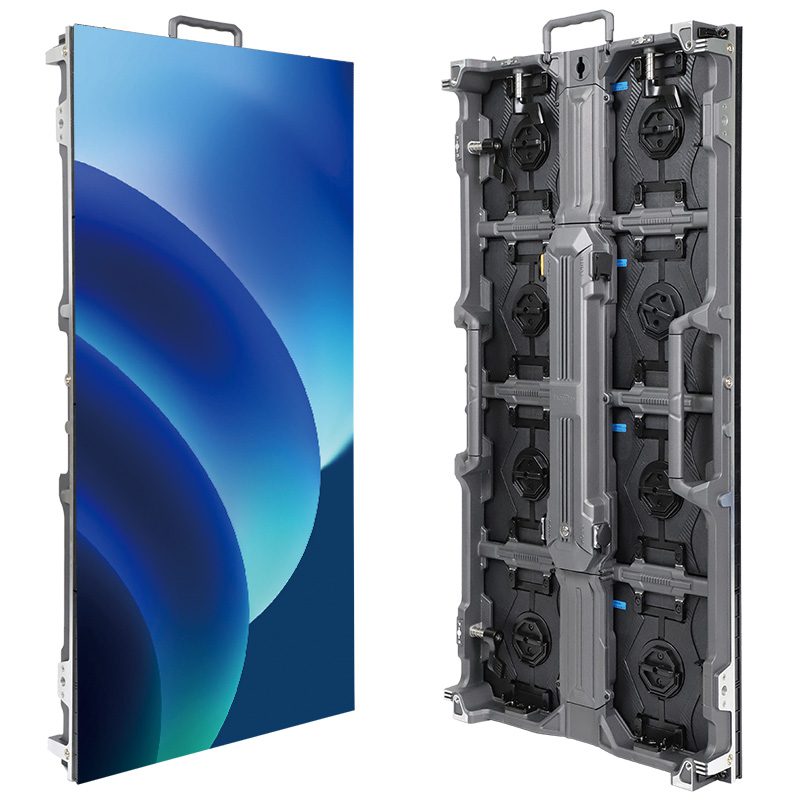
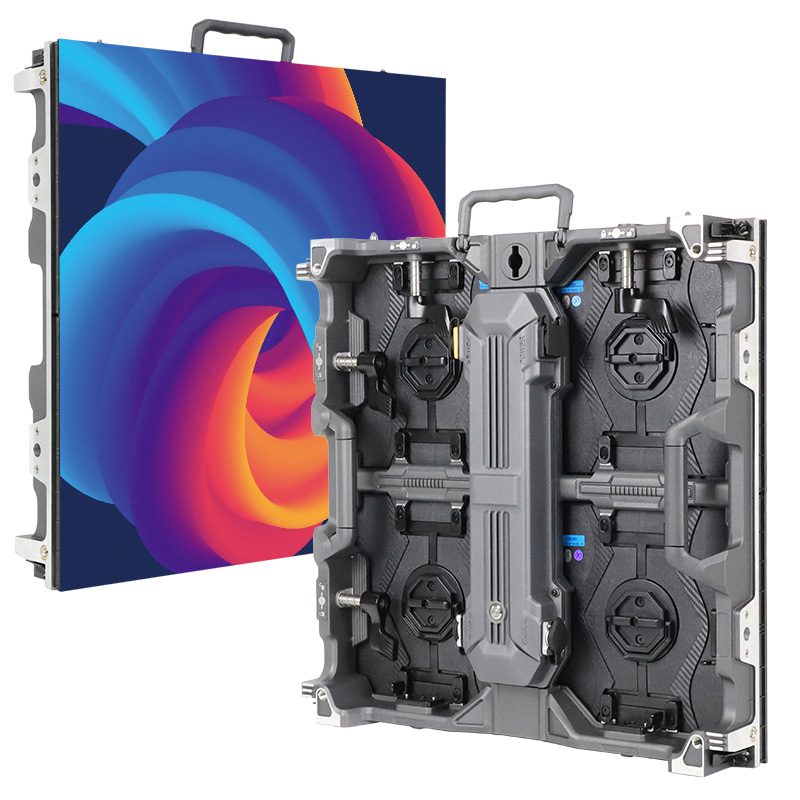
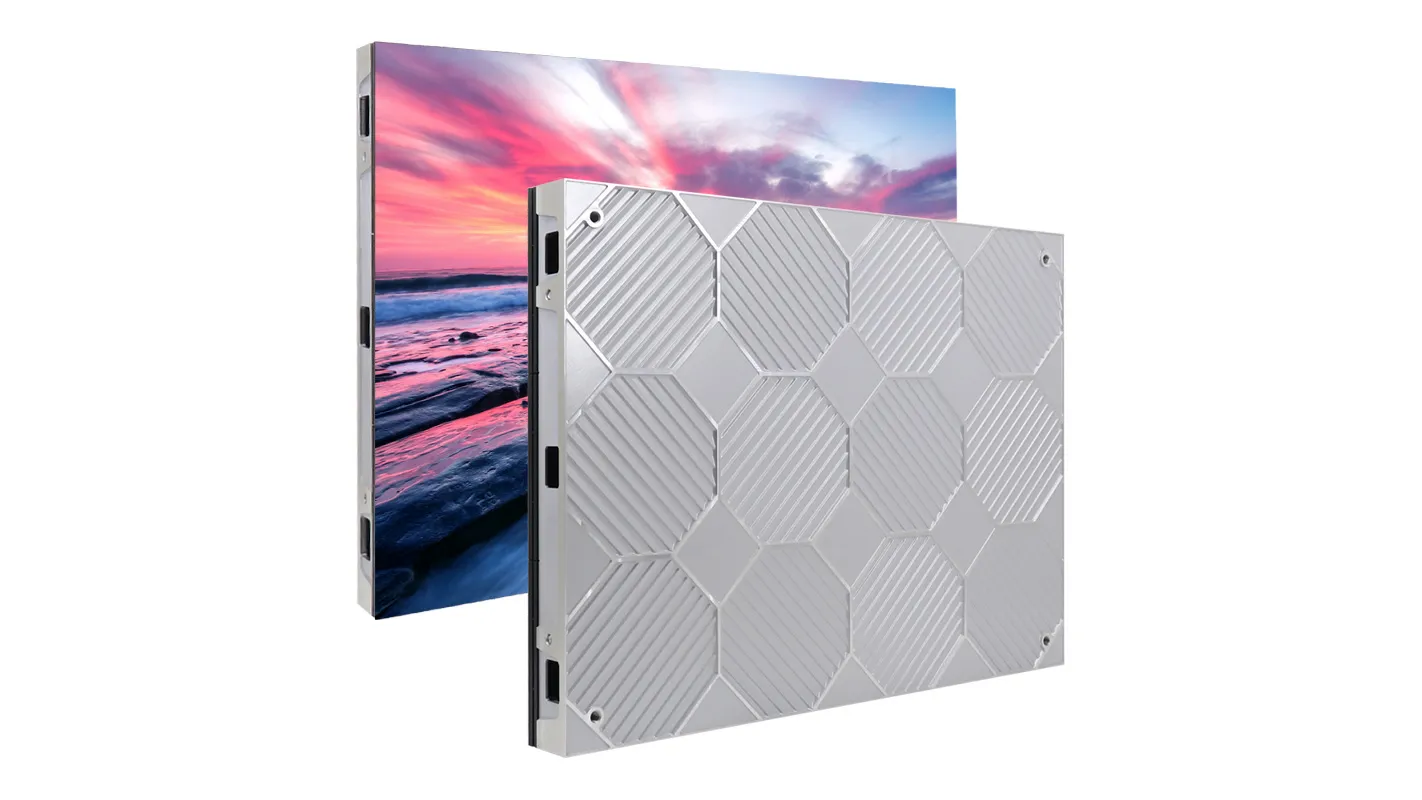
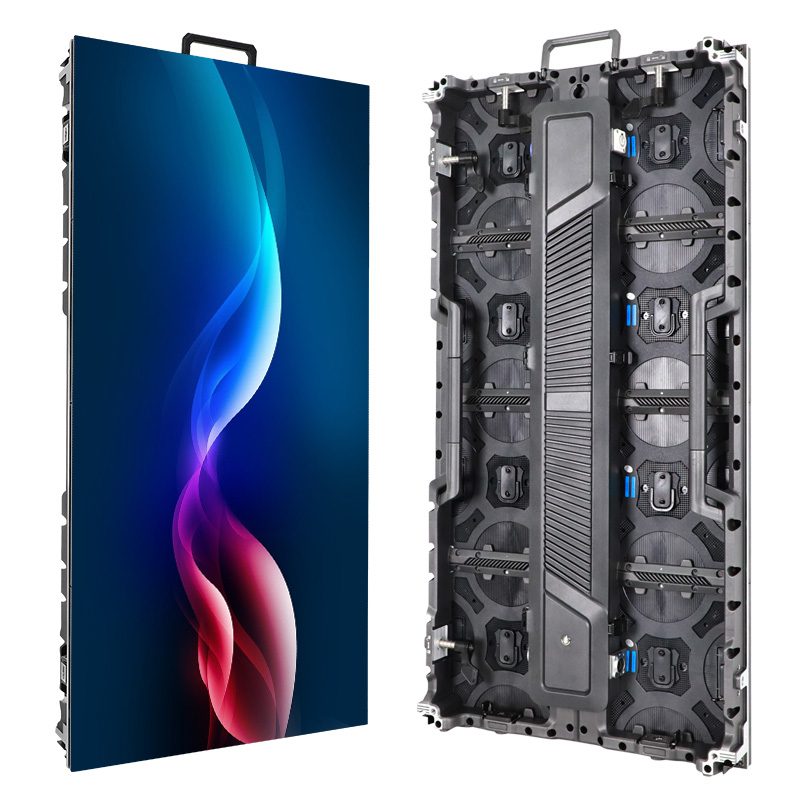
A Micro LED video wall proposal should be approved against an identified product configuration and a repeatable sample test, rather than the technology name alone. Ask the supplier to define its terminology, connect component records to the offered modules, and demonstrate the finished image at your showroom’s operating brightness. Include a replacement-and-recovery demonstration before agreeing on the service scope.
This guide is for AV integrators evaluating a premium corporate showroom. The decision is whether a particular assembly can reproduce the client’s material and remain serviceable after installation. It is not a consumer television comparison or a promise that a packaging label guarantees a better picture.
The suggested tests are procurement checks, not reported laboratory results. Test limits, sample size, instruments, viewing positions, and corrective actions should be agreed for the project. The diagrams illustrate planning methods; they do not certify any product.
1. Make the Micro LED Video Wall Claim Specific
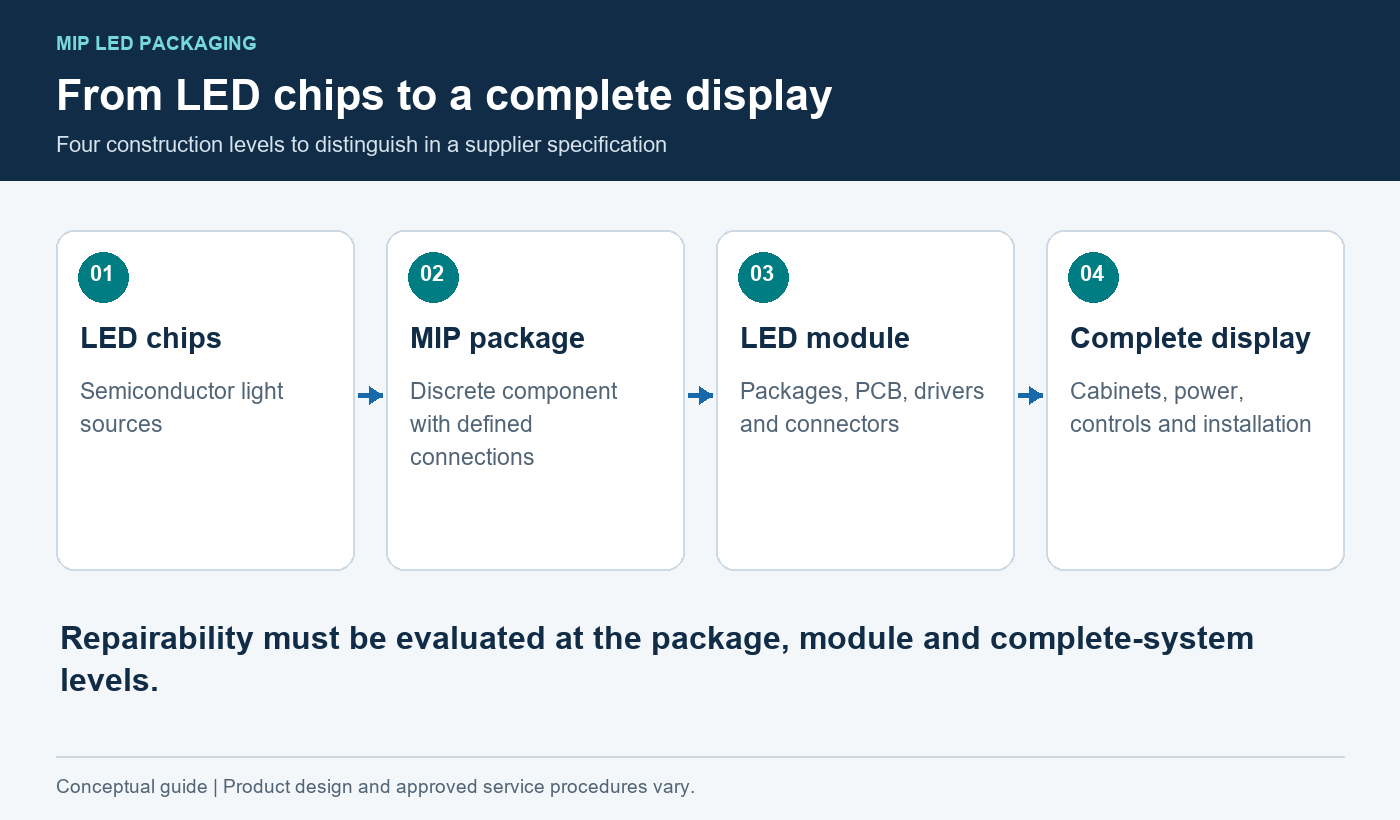
Request a written description of the proposed light-emitting devices and module construction. The supplier should explain what its Micro LED designation means for this product, which component documentation supports that description, and whether the offered configuration matches the demonstration unit. A brochure heading is not a traceable component specification.
Keep chip dimensions, package dimensions, pixel pitch, module dimensions, and native resolution in separate fields. Pixel pitch measures the spacing between pixel centers; it does not establish the dimensions of the semiconductor inside a package. A very fine pitch therefore cannot, by itself, verify a claim about chip size.
Ask who manufactures the emitting device, what part or controlled specification identifies it, and how the supplier handles revisions. If detailed component information is confidential, agree on an acceptable verification method before treating the claim as established. Do not substitute a photograph of a fine-pitch surface for evidence of the internal construction.
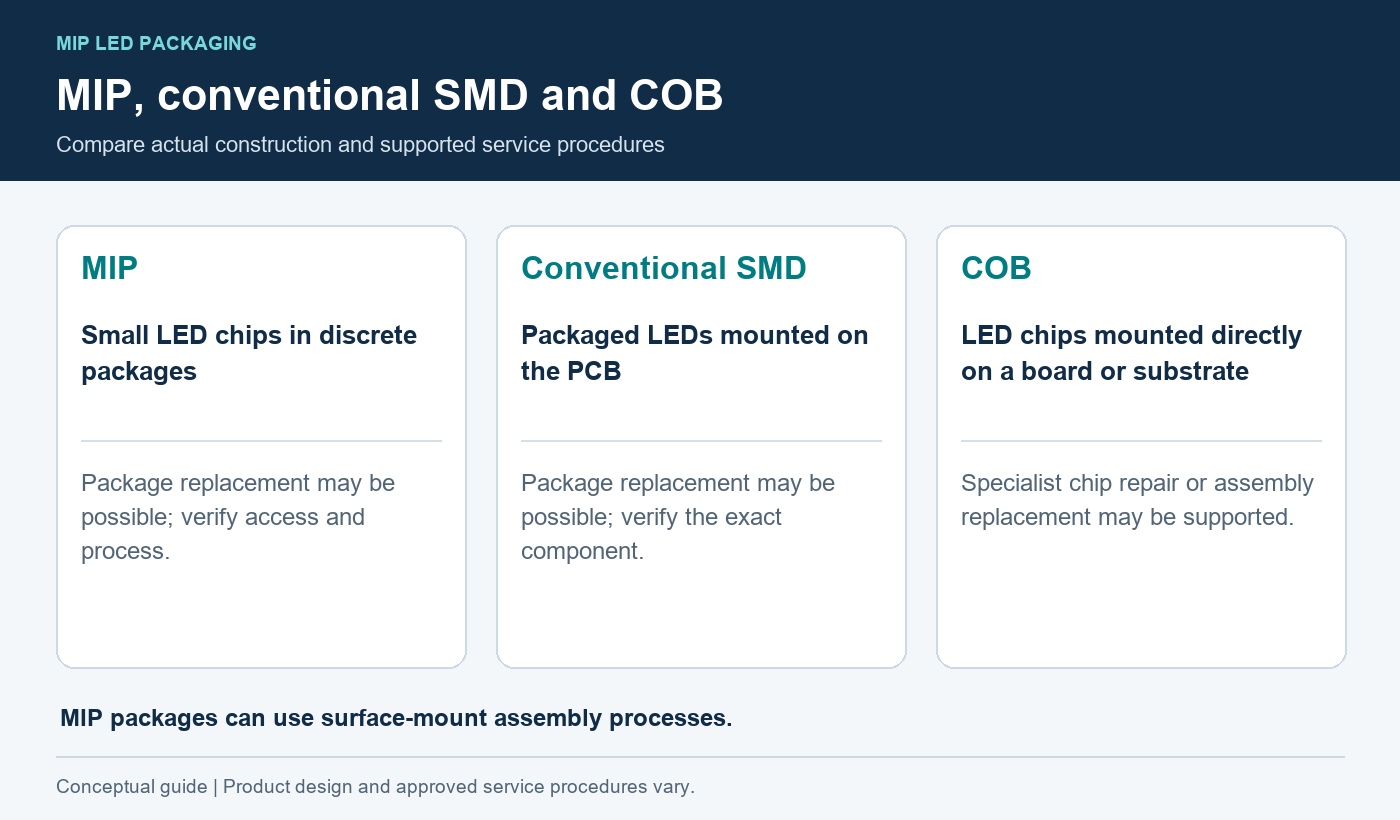
A Micro LED video wall may be discussed alongside packaging terms such as MIP and COB. Those terms answer a different question about construction. Our MIP packaging and repairability guide explains the component-to-module distinction. A packaging name alone does not prove the chip dimensions, optical performance, or supported field repair method.
Separate technical identity from performance commitments. Even when the construction is documented, the integrator still needs evidence for the complete display’s behavior. Put claims about uniformity, operating brightness, camera compatibility, or recovery time into measurable project requirements. Leave unsupported claims open for clarification instead of repeating them in the client specification.
2. Link the Demonstration Sample to the Offered Configuration
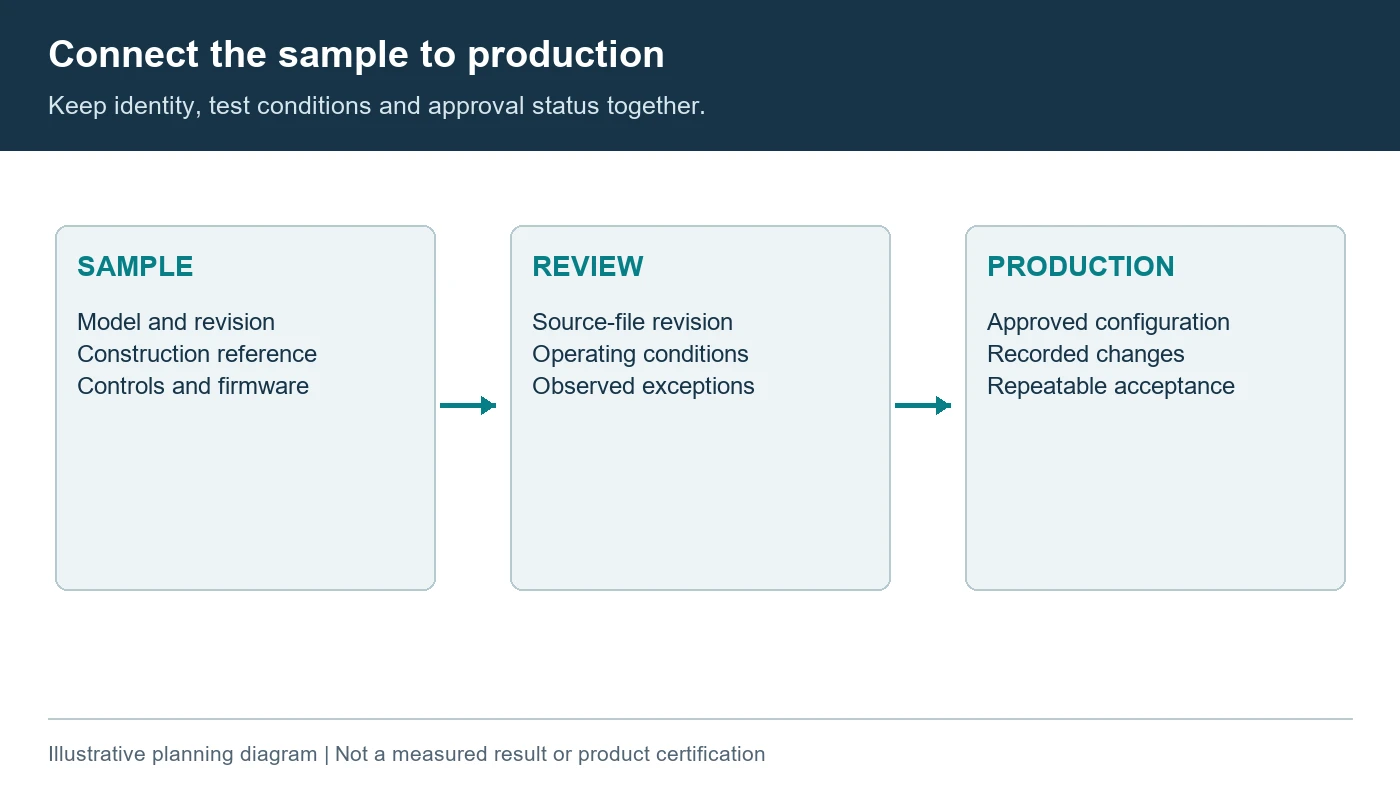
A useful sample has an identity that can follow the project into production. Record the display model, module and cabinet revisions, emitting-device reference, receiving hardware, driver configuration, controller, firmware, and calibration status. Note any difference between the sample and the quotation, including protective surfaces and optional processing features.
For a Micro LED video wall, a loose module and an assembled sample answer different questions. A loose module can reveal surface construction and connection details. An assembled section reveals junctions, alignment, data mapping, and the interaction of multiple assemblies. Agree on a sample arrangement large enough to expose the boundaries that matter to the final design.
Do not assume a demonstration wall represents every pitch or version in a series. Ask whether the production proposal uses the same electronics and optical treatment. If the supplier demonstrates one version but quotes another, identify which observations can transfer and which tests must be repeated. Record the agreed differences in the sample report.
Use a controlled content package rather than accepting only the supplier’s favorite demonstration loop. Include the client’s logo, representative product photography, a dark presentation, fine interface text, and the longest expected line of wording. Retain the original files and export settings so later inspections can reproduce the same material.
Maintain a short sample register with a date, configuration reference, file revision, observer names, and unresolved points. Photographs can support this record, but exposure and image processing can change their appearance. Where image quality is decisive, arrange an appropriate witnessed review rather than approving a compressed phone video alone.
The Micro LED video wall sample should also have a clear status: exploratory, approved with exceptions, or accepted as a production reference. An exploratory demonstration is useful evidence of feasibility, but it should not silently become the contractual benchmark. Ask the supplier to retain the approved reference or another agreed record of it.
Agree how samples will be selected from the offered production configuration. A specially prepared display can help demonstrate the technology, but its relationship to an ordinary delivery still needs explanation. Identify whether the review includes more than one assembly and how any selected replacement will be chosen. The selection method should make sense for the project’s scale and risk; the buyer should not mistake a small demonstration for a statistical guarantee about an entire shipment.
3. Compare Image Quality Under Recorded Conditions
Start image testing at the brightness and room lighting intended for daily use. A bright showroom demonstration can hide behavior that matters during a dim presentation. Record the operating setting, any measured luminance, ambient conditions, warm-up procedure, signal format, and processing preset. A percentage on a control slider is not a calibrated luminance measurement.
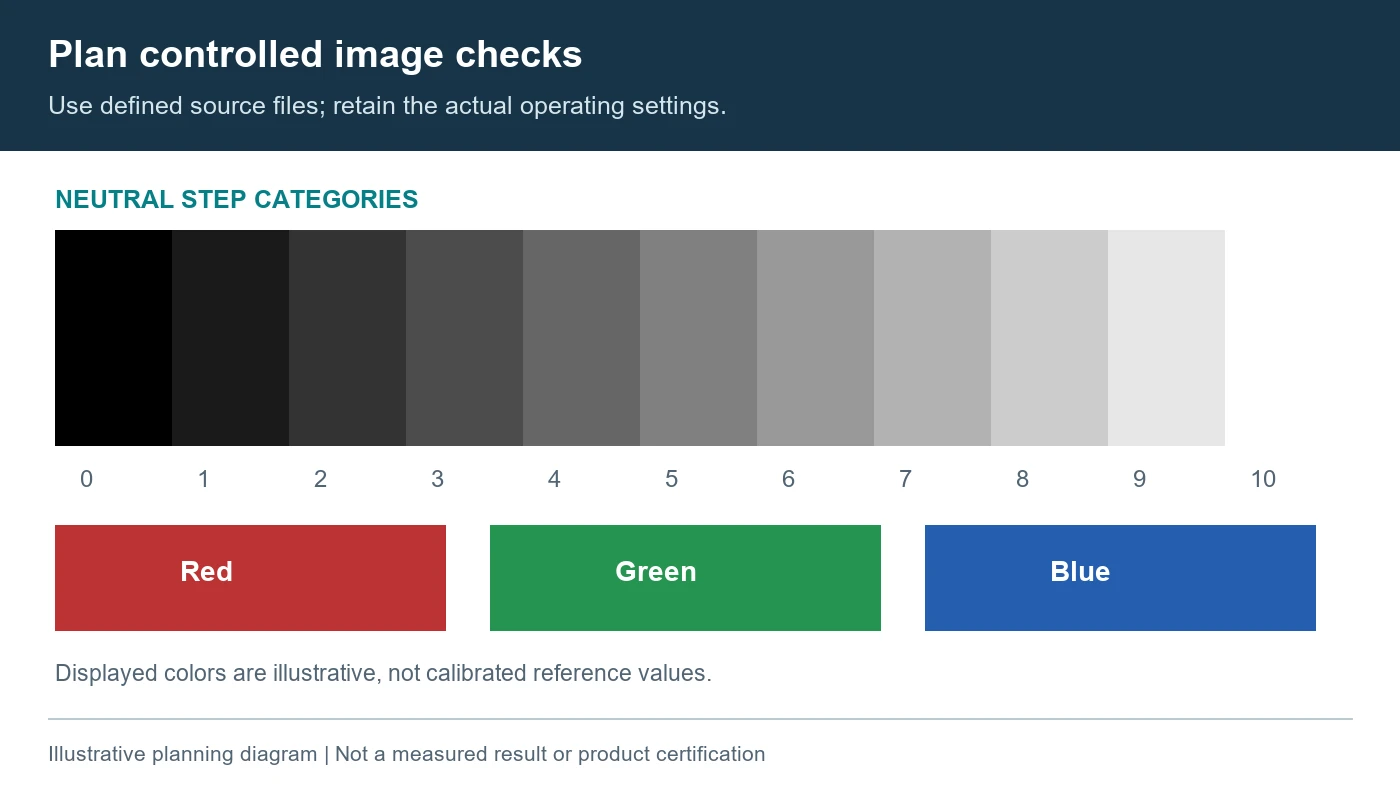
Test the Micro LED video wall with white and primary-color fields, neutral gray levels, dark gradients, and representative moving content. Inspect the whole assembly and its module boundaries. Note color differences, visible steps, unstable pixels, or unexpected transitions without assigning a cause from appearance alone.
Use the same source files and comparable operating conditions when evaluating alternatives. Document whether scaling, enhancement, noise reduction, or dynamic contrast processing is active. A setting that makes a demonstration more dramatic can also change small text or dark detail. Ask the supplier to identify the normal production preset and preserve it with the report.
| Test material | Question to evaluate | Record and limitation |
|---|---|---|
| Neutral fields and dark gradients | Are boundaries or unwanted color changes visible at the operating setting? | Record settings and observations; a phone photograph is not colorimetry. |
| Client interface and small text | Can the required information be read at the agreed positions? | Keep the native file, scaling preset, and observer locations. |
| Bright logo on a dark background | Does surrounding detail remain acceptable under the planned room lighting? | Distinguish emitted image behavior from surface reflections. |
| Moving product footage | Are transitions and motion acceptable through the actual signal path? | Record source timing and processing; this is not a universal camera test. |
If a numerical specification is required, define its measurement method and equipment. Terms such as contrast, grayscale, and uniformity are incomplete without conditions. Do not infer a verified ratio from a promotional photograph or a bit-depth claim. Agree who measures the result, where it is measured, and what happens when observations disagree.
Retest an apparent fault after checking the source and configuration through the approved procedure. Preserve the original observation and the change made; do not simply replace an unfavorable clip in the report. A Micro LED video wall evaluation is more useful when it explains how the final acceptable state was reached.
Use an observation sheet that locates each concern on the native pixel map or a cabinet reference drawing. Record the test file, location, viewing position, and whether the behavior is continuous or intermittent. This lets the supplier reproduce the observation without relying on a description such as “the left side looks wrong.” Keep subjective judgments separate from instrument readings, and note when a test was interrupted or its conditions changed before completion.
4. Test the Actual Showroom Viewing Geometry
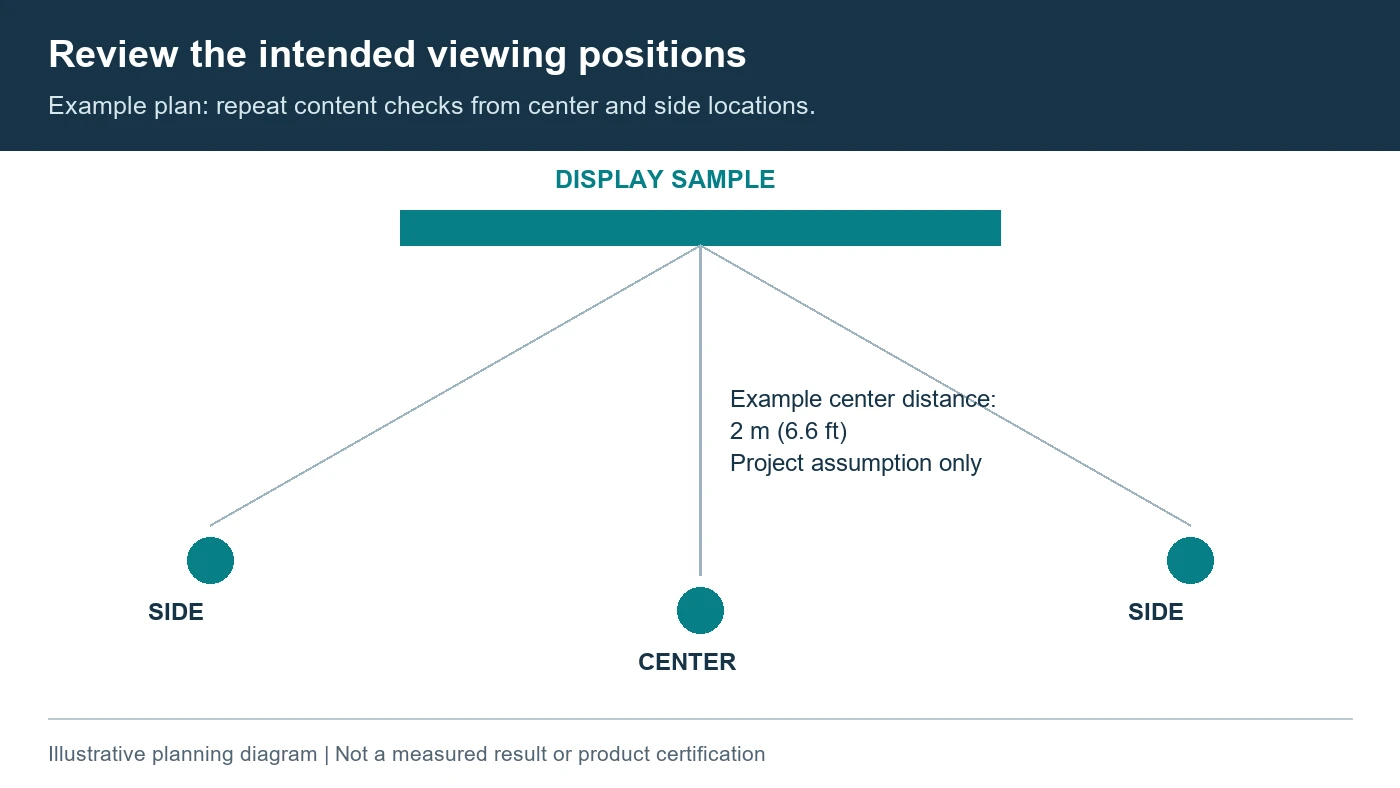
Define the nearest normal viewing position, important side positions, and the locations where visitors must read information. A stated viewing-angle specification does not establish that the client’s text is readable from every seat. Include reception routes, presentation positions, and obstructions created by furniture or architectural finishes.
For example, if the brief requires evaluation from 2 m (6.6 ft), mark that position and use the actual content size. Treat this as a project assumption, not a universal minimum distance for a Micro LED video wall. Review the screen from the planned side positions too, especially where glossy surfaces or room lighting may affect its appearance.
Check text on the final native pixel canvas. The input may accept a high-resolution signal while the installed wall has a different number of physical pixels. Our LED screen resolution guide distinguishes the input format from native resolution. The sample test should preserve the mapping and scaling behavior proposed for the finished installation.
Review several cabinets together where practical. Fine pitch does not eliminate mechanical alignment requirements, and a close visitor may notice a junction that is less obvious from a distant camera position. Agree how gaps, steps, surface differences, and defective pixels will be assessed. This guide does not supply universal acceptance tolerances.
If the client records presentations, add a separate camera review. Use the intended camera, lens, frame rate, exposure settings, positions, and wall brightness. Pixel-grid interference and timing-related bands have different causes; a headline refresh specification does not demonstrate that both are absent. Record which combinations were tested instead of promising compatibility with every camera.
Review the Micro LED video wall with the room’s planned lighting arrangement before final approval. A sample in a dark booth may not predict the experience beside a bright entrance or reflective floor. Where the final room is unavailable, record the mismatch and schedule a site check instead of presenting the earlier review as complete.
5. Witness a Replacement and Image-Recovery Demonstration
Ask the supplier to demonstrate the supported service operation on the proposed construction. Removing a module, repairing an emitting device, and restoring a matching image are separate tasks. The Micro LED video wall proposal should identify which tasks happen on-site, which require a workshop, and who is authorized to perform them.
Witness removal and refitting within a representative access arrangement, using the approved tools and handling procedure. Include cable access, locating features, surface protection, and the route for the removed assembly. A front-service description does not, by itself, prove that the chosen recess or architectural finish leaves enough working space.
Then inspect the recovered image with the same reference files and operating settings used earlier. Confirm whether configuration and calibration information must be transferred, restored, or regenerated. Keep the relevant files and version references with the project records. Do not assume that calibration can compensate for an incompatible replacement assembly.
For a Micro LED video wall, specify spares by controlled part identity rather than pitch and dimensions alone. Ask how module revisions, surface treatment, receiving hardware, and optical matching affect substitutions. Agree on future ordering and approval procedures, particularly when the showroom will operate longer than the initial component supply cycle.
Record the observed demonstration steps and the dependencies needed to repeat them. A timed demonstration can inform planning, but one successful exchange is not a guaranteed service response. Written support terms should address staffing, stock location, shipping, access arrangements, and image acceptance after recovery. Keep those commitments distinct from component repair capability.
Include a handover exercise with the person who will maintain the installation. Ask that person to identify the approved spare, locate the current configuration record, and explain the escalation route for an unsupported fault. The exercise need not involve unauthorized repair. Its purpose is to reveal missing information before the client depends on the service plan. Record training needs and document ownership alongside the supplier’s demonstration, so the final maintenance process is usable by the intended team.
6. Put the Agreed Evidence Into the Purchase Scope
Make the quotation identify the accepted configuration and the documents that control it. The Micro LED video wall scope should separate equipment, processing, installation interfaces, commissioning, spares, training, and ongoing support. State which party supplies and approves each element so a successful sample does not conceal an incomplete installation package.
| Attachment | Required content | Decision it controls |
|---|---|---|
| Configuration schedule | Models, revisions, native map, controls, approved differences from the sample | Whether production matches the evaluated proposal |
| Image-review plan | Files, operating conditions, positions, methods, agreed limits and exceptions | How acceptance will be repeated and disagreements resolved |
| Service demonstration record | Tools, access, replacement identity, data restoration, recovered-image checks | Whether the maintenance arrangement is practical |
| Support and change schedule | Spare supply, approved substitutions, responsibilities and escalation contacts | How future changes preserve the accepted result |
Distinguish factory review from site acceptance. Transport, installation alignment, room lighting, and the final source chain can change the result. Define which checks must be repeated after installation and who signs off unresolved exceptions. Ask for a correction and retest process rather than accepting a vague promise of premium image quality.
Require approval for material configuration changes. A substitute that preserves a headline pitch may still change the tested construction or recovery procedure. The supplier should identify the proposed change and the evidence needed to approve it. Retain the final approved documents with the client’s operating information.
Agree on a process for disputed observations before the final inspection. Name the people who can accept an exception, request a repeat test, or require additional evidence. Keep the original test conditions available and define how a corrected assembly will be reviewed. This prevents an informal showroom preference from becoming an undefined obligation, while also preventing a genuine unresolved defect from disappearing into a general statement that the demonstration was approved.
Frequently Asked Questions
Should an integrator open a sealed sample to inspect the chips?
Not without the supplier’s approval and a suitable inspection arrangement. Destructive inspection can damage protection or affect support conditions. Agree on component documentation, an identified construction sample, or an appropriate third-party verification method before deciding that internal inspection is necessary.
Can a remote demonstration replace an in-person sample review?
It can help shortlist a Micro LED video wall, but transmission, exposure, and compression limit what it proves. Use it to verify configuration details and prepare tests. For a decision dependent on subtle surface or low-level image differences, agree on a witnessed review or another suitable acceptance method.
Does a supplier need to disclose confidential manufacturing files?
The buyer needs enough traceable evidence to evaluate the claims in the purchase scope. That does not automatically require proprietary process files. Agree on suitable documentation and confidentiality arrangements, then record any claim that remains unverified rather than treating missing evidence as approval.
How many spare modules should the showroom buy?
There is no universal percentage. Base the plan on the installed configuration, required recovery time, supported replacement units, repair turnaround, and replenishment arrangements. Ask the supplier to justify the proposed quantity and identify any location-specific or revision-specific parts.
Does a sample test prove long-term reliability?
No. A sample review establishes observations under defined conditions. Long-term claims need their own evidence, scope, and interpretation. Keep reliability documentation, support commitments, and the Micro LED video wall image-acceptance record separate so one successful demonstration does not stand in for all three.
Prepare a Traceable Showroom Evaluation Request
Provide the display dimensions, nearest and side viewing positions, room-lighting plan, representative content, proposed control equipment, access constraints, and required recovery arrangements. Ask for an identified sample, supporting construction information, a repeatable image test, and a service demonstration.
For an EagerLED Micro LED video wall discussion, request confirmation of current product availability and the construction actually proposed. Send your showroom evaluation requirements before fixing the technology description in the client specification.
 Hotel Lobby LED Screen Placement: Before You Buy
 LED Screen Rental San Jose: A Filmed Product Launch Plan