
An LED transparent film screen can turn suitable indoor glass into a digital display, but the retrofit should start with a dimensioned drawing of the glass. Confirm the substrate, usable pane dimensions, module layout, cable routes and replacement method before choosing the screen.
For retailers, distributors and installation teams, the useful question is whether the film fits the existing window and can be serviced without disrupting the whole storefront. This checklist explains what to measure, what to ask the supplier and how to turn the answers into a comparable quotation.
1. Is your glass suitable for an adhesive LED film screen?
Give every pane an identifier and photograph both sides. Record whether it is flat or curved, its dimensions, any existing surface film or coating, and any visible damage. Obtain the glass specification from the building owner or glazing contractor where available.
The EA-iFilm2 transparent LED film is a self-adhesive product for compatible indoor glass. Its listed IP30 configuration is intended for dry indoor use. A window facing outdoors is not the same as a screen exposed to outdoor weather: identify which side carries the film and where moisture or condensation could reach it.
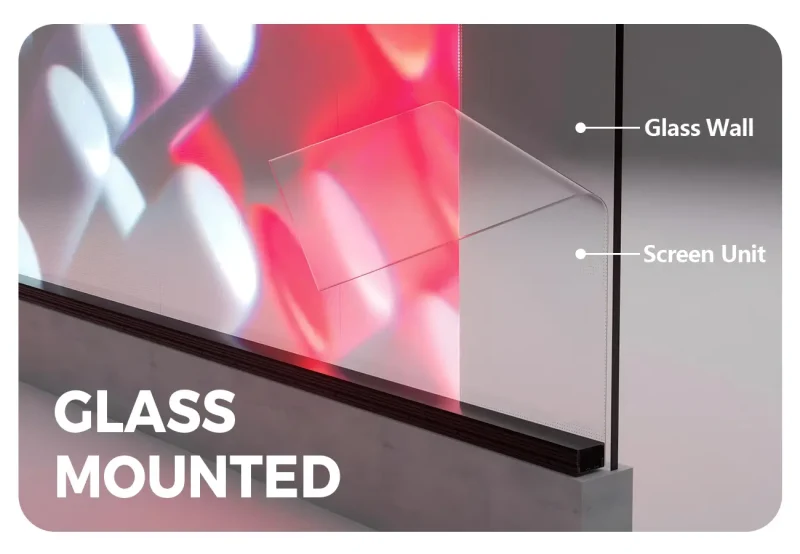
Request written confirmation of substrate compatibility before application. For coated, tinted or laminated glazing, describe the surface that the adhesive will actually touch. Ask how compatibility will be checked and whether a sample application is needed.
A useful survey also marks opening doors, window-cleaning access, blinds, handles and nearby merchandise. Keep the film and connections clear of moving components. Have the glazing and installation teams review the complete load and mounting plan; a thin display still includes connection hardware and supporting equipment.
Before installation: obtain the model-specific preparation, alignment, application and removal instructions. A technique shown for another manufacturer’s film may use a different adhesive or substrate.
2. Draw the module grid before requesting a price
Separate the clear glass area from the intended active display area. Mullions, edge margins and connectors can reduce the space available. A quotation based only on the total storefront width may hide gaps or a module arrangement that crosses a pane boundary.
EA-iFilm2 P4 and P5 versions use 1,000 × 240 mm modules; P6.25, P8, P10 and P20 versions use 1,000 × 400 mm modules. Those dimensions change the layout. Request a drawing showing the proposed orientation, module count, connection edges and finished pixel map.
Worked example: two adjacent panes using P5 modules
Assume the supplier approves five 1,000 × 240 mm P5 modules stacked on each of two adjacent panes. Each pane then has a 1,000 × 1,200 mm active region. This is an illustrative planning arrangement, not a measured customer installation; actual pane sizes, margins and connectors must be checked first.
On a phone, swipe the table sideways to view every column.
| Item | Calculation | Result |
|---|---|---|
| Module quantity | 2 panes × 5 modules | 10 modules |
| Active area per pane | 1.0 m × 1.2 m | 1.2 m² |
| Total active film area | 2 × 1.2 m² | 2.4 m² |
| Native pixels per pane | 1,000 ÷ 5 by 1,200 ÷ 5 | 200 × 240 pixels |
| Combined active pixel load | 2 × 200 × 240 | 96,000 pixels |
If the controller treats the two regions as adjacent with no logical gap, the content canvas is 400 × 240 pixels. If the content must preserve a physical mullion or a wider separation, define that gap in the mapping plan. The installed controller and output arrangement must be confirmed separately.
This calculation gives the creative team a starting canvas and helps buyers compare quotations on the same area and module count. It does not establish controller compatibility, a permissible glass load or an installed price.
3. Confirm bend limits and custom sizing before production
Flexible film can suit some curved glass, but “flexible” is not a specification for your particular curve. Send a dimensioned profile or drawing that identifies the curvature, bend direction, mounting side and connection positions.
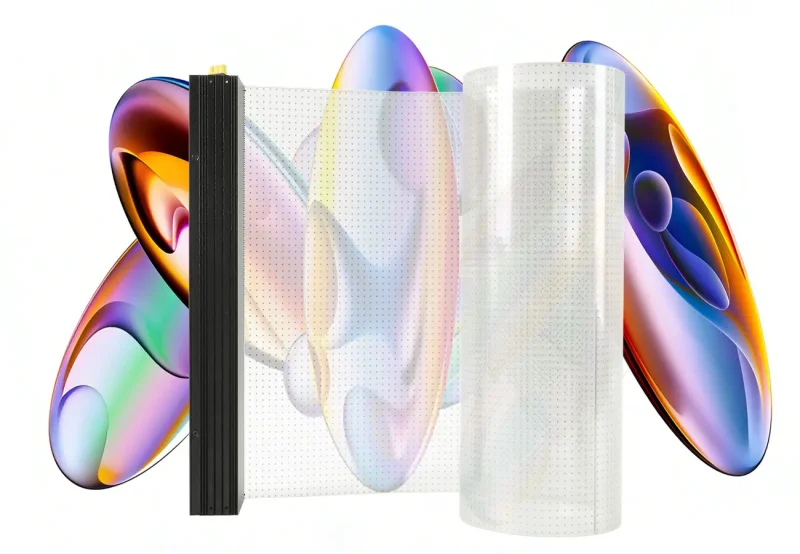
Ask the supplier to approve the minimum radius for the ordered version, the direction in which it can bend, and the way it will be handled during installation. Check that a connector or connection bar will not land at a sharp change in geometry.
For an irregular window, request a factory layout and a clear explanation of any permitted resizing. Do not assume that a lit LED module can be cut anywhere like ordinary decorative window film. Clarify which edges, circuits and connectors must remain intact, who performs any customization, and how the change affects replacement parts.
4. Compare transparency with the content you need to show
EA-iFilm2 lists transparency from 90% at P4 to 95% at P20; the P5 version in the worked example lists 91%. The highest percentage therefore does not describe every model. Choose pitch and transparency together with the required text detail and viewing positions.
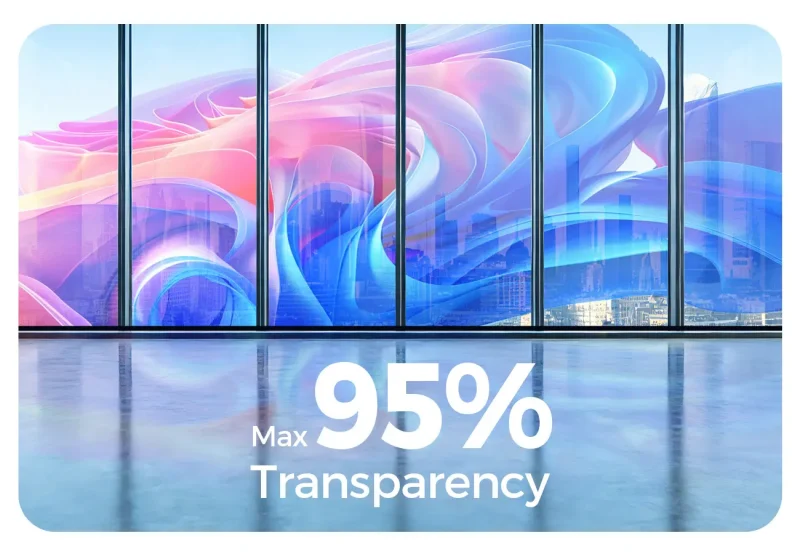
Ask what the published transparency figure measures and how the glass, connection edges and mounting layout affect the finished view. A film specification alone cannot tell you how much merchandise a shopper will see through the completed installation.
Test a representative sample with the intended product display behind it. Show the main headline and product image from the closest useful position and from the main approach to the store. Review daylight reflections and the evening appearance as separate conditions.
Use a layout that leaves room for the physical background. Large shapes and short messages are useful starting points; small product specifications need an actual legibility check. Confirm the intended brightness settings and who will adjust them. For broader format comparisons, see our transparent LED storefront display guide.
5. Reserve cable zones and a replacement route
Show the power and data routes on the same drawing as the module grid. Identify where connection edges are visible, where equipment will be mounted and where a technician can safely access it. Agree on cable lengths and routing before producing a layout intended to look uninterrupted from outside.
Request the complete control and power scope: player or processor, receiving hardware, power supplies, interconnection leads and configuration files. Tell the supplier whether the content will be updated locally or through a managed network. Confirm the ordered hardware and software rather than assuming every film product shares the same workflow.
Then work through one replacement scenario: a module in the middle of a pane fails. Ask which adjacent items must be disconnected, how the adhesive is released, how the glass is prepared again and whether the replacement module can be matched to the existing configuration. Obtain the approved procedure before the first module is applied.
- Spare identification: record the exact pitch, module dimensions, connection orientation and production identifiers.
- Configuration: retain the approved mapping and controller settings with the handover documents.
- Access: confirm the working space, equipment access and cleaning arrangements.
- Support: agree on diagnosis, replacement availability, freight responsibilities and warranty coverage.
“Removable” and “reusable” are different claims. If the display will move to another location, ask the supplier to approve that use and explain adhesive renewal, handling and the expected inspection process.
6. Compare the retrofit scope and agree on acceptance
Send the same drawings and requirements to every shortlisted supplier. Ask for a price that identifies the exact modules, active area, control equipment, power equipment, cabling, installation support, packing, spares and delivery terms. Mark exclusions explicitly.
Before approving production, agree on the evidence you will receive:
- Layout approval: a pane-by-pane drawing with modules, margins, cable zones and the finished content canvas.
- Glass approval: the accepted substrate, mounting side and installation method.
- Content review: your artwork on a representative sample or demonstration.
- System demonstration: the selected content workflow, restart behavior and agreed update process.
- Handover: an itemized delivery, module identifiers, mapping files, operating instructions and service contacts.
At commissioning, compare the installed arrangement with the approved drawing and inspect alignment, visible edges and cable routing. Record the accepted content appearance and any unresolved issue. These checks make the purchase more reviewable without relying on an unsupported promise of traffic, sales or payback.
LED transparent film screen FAQ
Can LED film be attached to any glass?
Compatibility must be confirmed for the mounting surface. Give the supplier the glass specification, coatings or existing films, surface condition and any curvature, then follow the approved application procedure.
Is EA-iFilm2 suitable for exposed outdoor windows?
The listed EA-iFilm2 IP30 configuration is intended for dry indoor use. For exposed weather or a different mounting method, discuss the environment and review the transparent LED screen range.
Can transparent LED film be cut on site?
Only use a customization method approved for the exact product. Obtain a layout showing permitted changes and protected circuits or connectors; do not assume arbitrary cutting is supported.
What determines the price of a glass retrofit?
Compare the pitch, actual module count and active area, custom layout, control and power equipment, cabling, installation scope and service package. A price per square metre is incomplete when those items differ.
Send your glass retrofit brief
Send EagerLED your country, pane-by-pane dimensions and photos, indoor mounting conditions, flat or curved glass details, nearest viewing distance, example content and target purchase date. Add the required content-update method and whether future relocation is planned.
With those details, we can discuss an EA-iFilm2 module layout and the items that need confirmation in a project quotation.
Product facts and images: EagerLED EA-iFilm2 product page, checked October 13, 2026. The images are official product presentation and promotional illustrations, not customer-project evidence. The numerical example is a planning calculation; confirm the final drawings, configuration and installation procedure before ordering.
 Outdoor Poster LED Display: 7 Site Checks Before Buying
 LED Module Scan Rate: 1/8 vs 1/16 vs 1/32