
An LED screen cabinet can join an existing rental wall only when its mechanical interfaces, electrical connections, display configuration, and optical performance are compatible. Matching outside dimensions is insufficient. Before adding a new shipment to your fleet, ask the supplier to demonstrate the proposed cabinets beside your existing stock, document the approved combination, and identify any limits on interchangeable parts.
This guide is for distributors assessing rental inventory before purchase and shipment acceptance. It concerns the structural cabinet behind an LED display, including its locks and service compartments. The practical question is whether a mixed fleet can be assembled, operated, repaired, and packed consistently by your crew.
For phased purchasing and controller capacity planning, see our modular screen expansion guide. Here, the focus is a hands-on cabinet sample and shipment inspection. Use the checks below to build a project-specific inspection plan with the manufacturer. They are proposed purchasing and acceptance steps, not a universal test standard. Numerical tolerances, test cycles, electrical limits, and structural approvals must come from the exact product documents and your agreed purchase specification.

1. Define LED Screen Cabinet Compatibility Before Comparing Quotes
Start by deciding what “compatible” means for your inventory. An LED screen cabinet that can sit beside another cabinet in a separate display is different from one approved to share a continuous wall. A third claim, interchangeable spare parts, needs its own evidence. Record which of these capabilities the supplier is offering instead of accepting one broad compatibility statement.
For an LED screen cabinet intended to extend an existing wall, supply the original model name, serial labels, production date, module identifiers, and photographs of both sides. Include the approved controller project and receiving-card configuration through the supplier’s normal support channel. If the existing equipment has been modified, describe the modification; the original brochure may no longer identify the installed assembly.
01. Separate physical fit from a matching image
Physical fit means the neighboring frames meet as designed and the specified connection hardware can be used correctly. A matching image also depends on the pixel grid, mapping, calibration, and display characteristics. Treat these as separate acceptance decisions. A connection that closes normally cannot prove that the visible boundary will disappear at the operating brightness.
Ask the supplier to state the permitted combination in writing: the exact revisions, orientations, installation methods, and replacement parts. For a broader comparison of rental applications, review the rental LED screen range. Product selection should establish the intended operating environment before a shipment inspection starts.
02. Establish a reference set
Select representative existing cabinets rather than a single unusually clean sample. Record their condition and configuration. An LED screen cabinet that has suffered impact damage is a poor reference for approving a new batch; first separate fleet damage from a genuine design mismatch. Keep the reference labels in every test photograph so findings remain traceable.
Agree who supplies the reference units, where testing occurs, and what happens if a mismatch is found. A photographed sample assembly can support the decision, but it does not establish that every cabinet in a shipment is identical. Ask for a documented sampling plan and a separate process for checking the received goods.
2. Compare Mechanical, Electrical, and Display Interfaces
Create a comparison sheet before the sales quote becomes a purchase order. For each LED screen cabinet, capture the specification revision and evidence source next to the value. Blank cells should become supplier questions. Do not fill them by assuming that the newer model follows the older model’s wiring or dimensions.
| Interface | Compare | Evidence required |
|---|---|---|
| Frame and connection hardware | Mating surfaces, positioning features, lock engagement, approved orientation | Revision-controlled drawings and a mixed assembly demonstration |
| Module mounting | Module outline, retention method, connector location, extraction clearance | Parts list and removal demonstration using the proposed spare |
| Power | Supply requirements, connector specification, pin assignment, protective arrangements | Approved wiring documents and qualified electrical review |
| Signal and configuration | Receiving hardware, pixel matrix, module mapping, supported firmware | Supplier-approved files and a working mixed-wall test |
| Optical result | Uniformity at agreed brightness, viewing positions, content, and camera settings | Recorded acceptance conditions and comparison results |
| Service parts | Exact replacement identifiers, permitted substitutions, configuration recovery | Signed spare-parts schedule with revision notes |
01. Inspect connection details
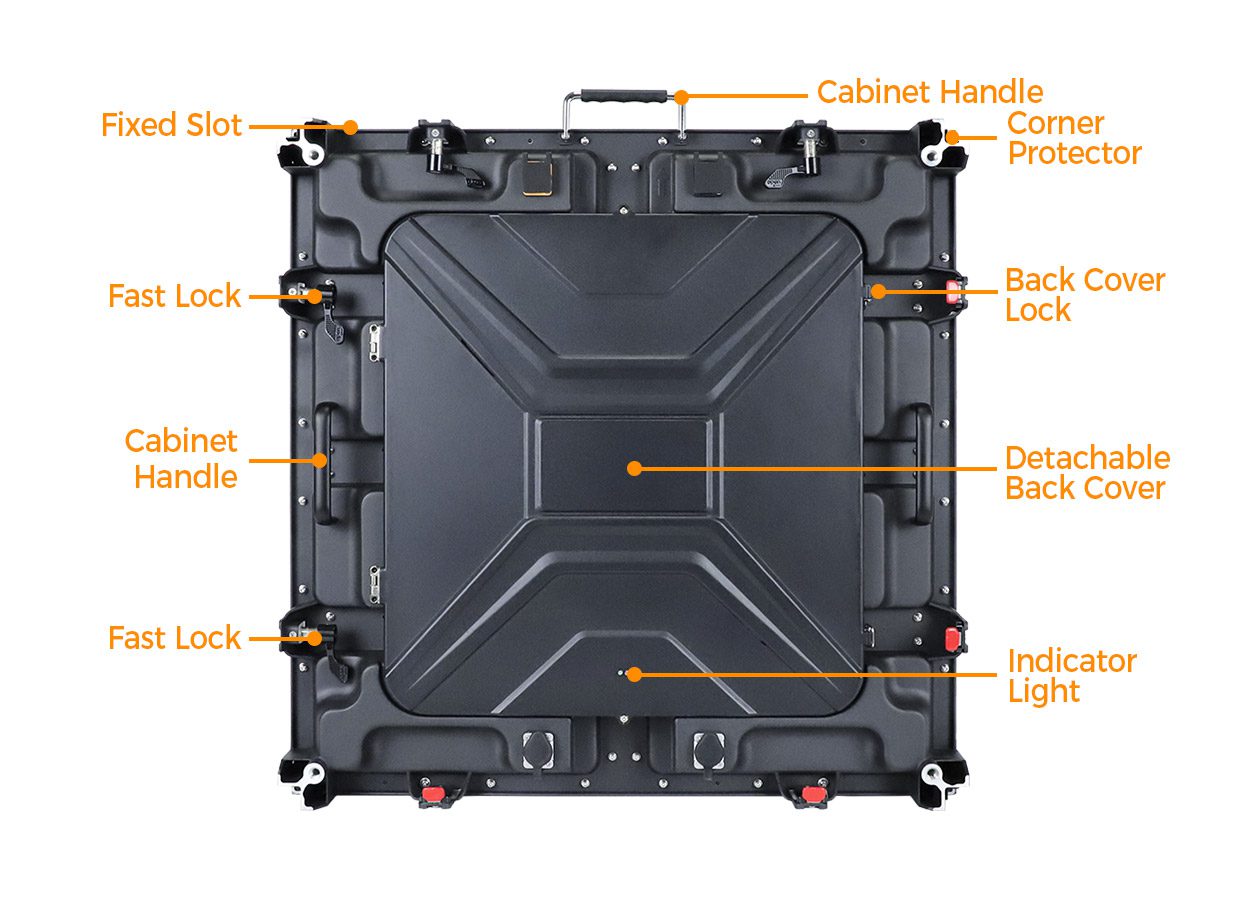
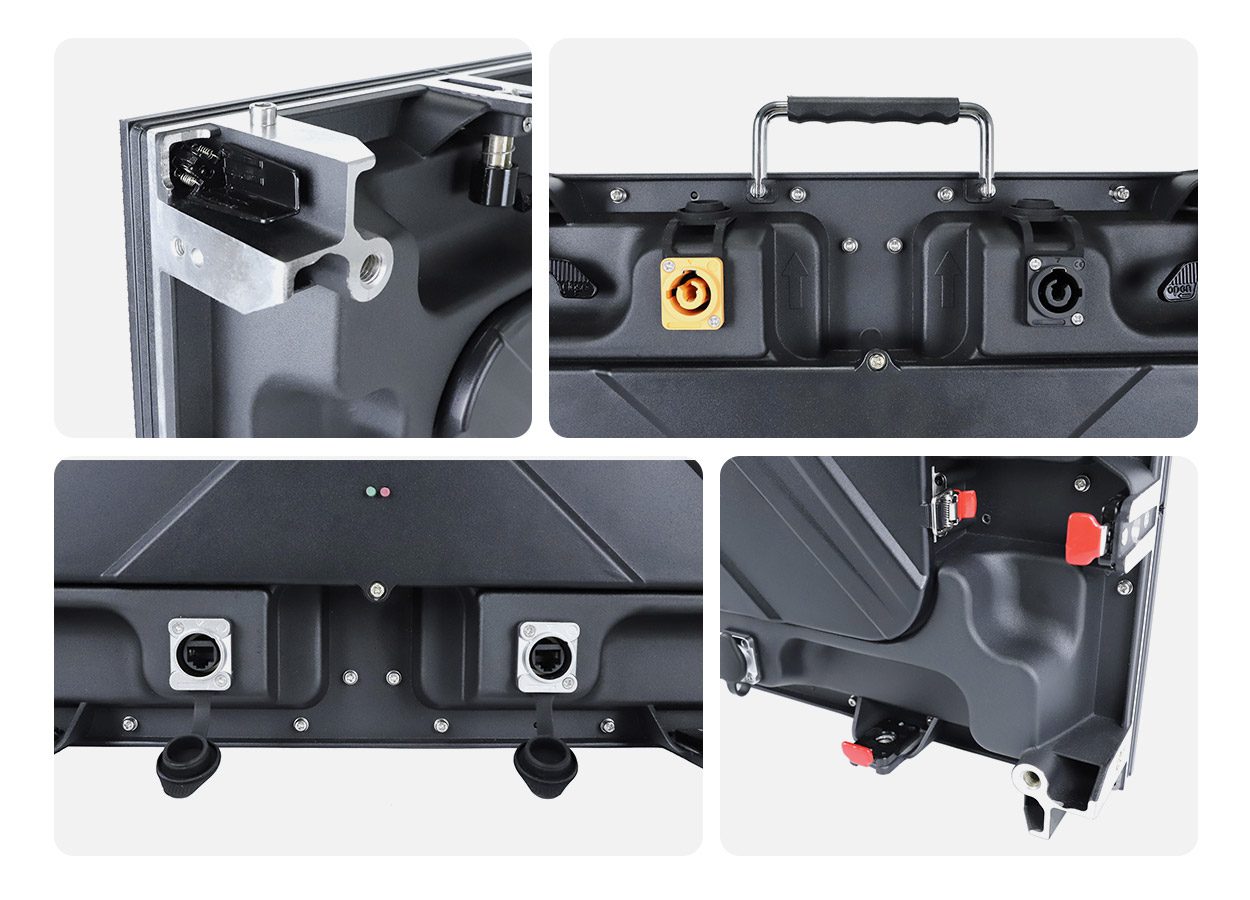
LED screen cabinet width and height are only the first measurements. Compare the location of positioning pins, mating sockets, locking features, and any curve-setting hardware. Look for interference around handles and rear covers. The approved assembly should close using the prescribed sequence without improvised spacers, forced alignment, or unauthorized modification.
For a curved or corner assembly, request evidence for that geometry specifically. Approval of a flat sample does not establish the permitted curve range or corner connection. Ask whether the quoted accessories belong to the same product revision and whether they are included. Keep the documented orientation visible in the packing and setup instructions.
02. Check electrical identity with documents
Two connectors that look alike are not evidence of an electrically compatible LED screen cabinet. The technician should check the manufacturer’s connector specification, supply requirements, and wiring documentation before connection. Use the model’s approved installation procedure and qualified personnel for electrical checks; a trial connection is not a suitable way to discover an unknown pin assignment.
Keep the power distribution review distinct from cabinet selection. Approved circuit loading, protection, grounding, and cable arrangements depend on the equipment and installation. Do not extrapolate a permissible cabinet chain from a connector photograph. Request the relevant limits for the exact configuration and include them with the delivered operating documents.
03. Confirm the complete pixel path
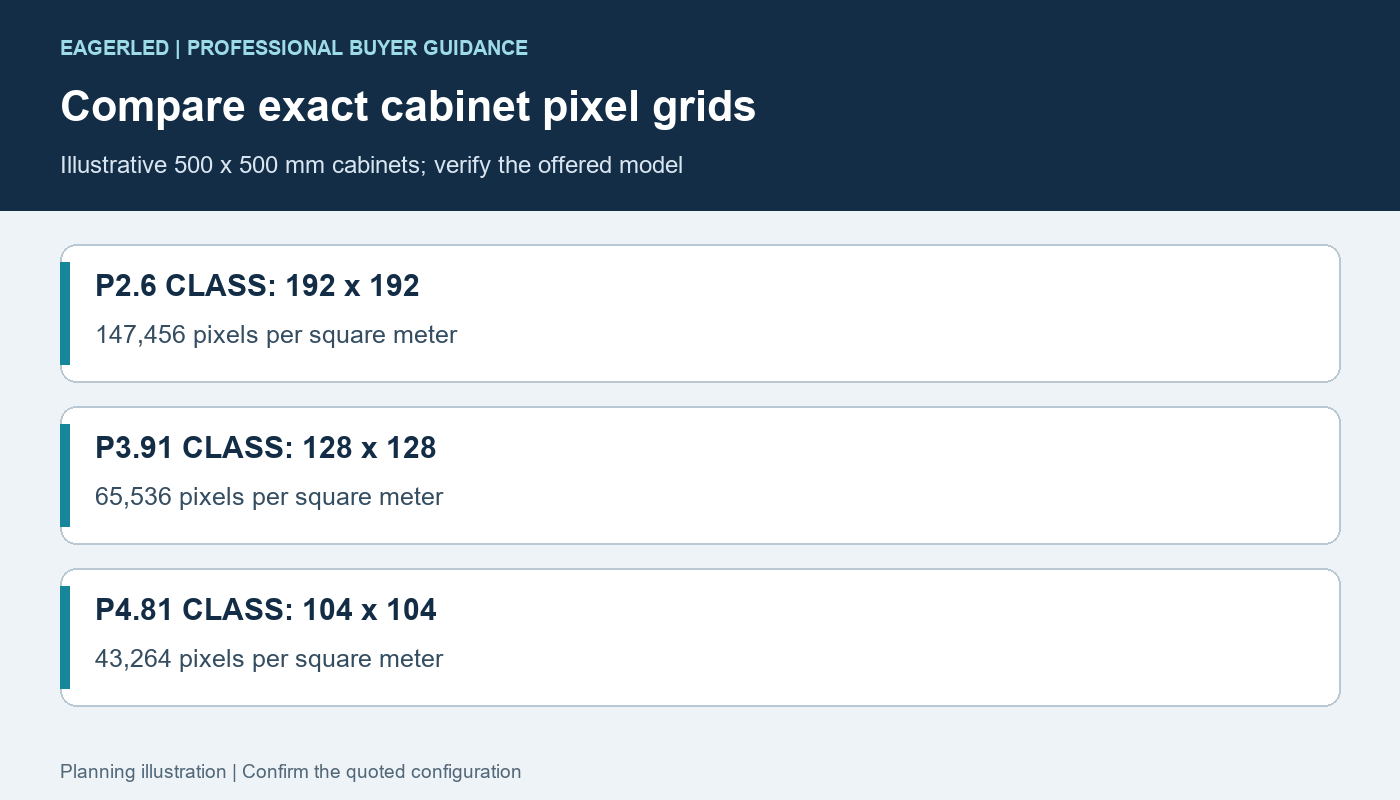
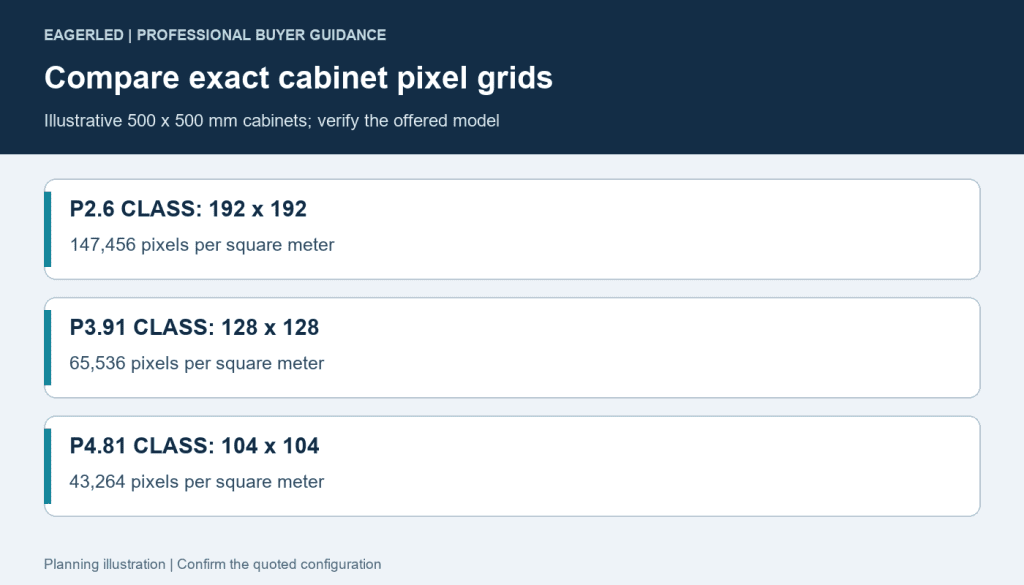
Record the module matrix, cabinet pixel dimensions, receiving-card model, firmware version, and mapping files used in the demonstration. Then compare those identifiers with the shipment list. A controller that supports both cabinet types does not by itself establish that their modules, calibration data, or receiving-card settings can be exchanged.
Show an asymmetric test image with labeled corners and a continuous grid across the proposed mixed boundary. This helps the operator identify a reversed route, missing section, or discontinuity. Record the settings before changes, and save the accepted configuration afterward. Keep any controller-specific setup tutorial separate from the cabinet acceptance record.
3. Check Alignment Through Repeated Assembly
A useful LED screen cabinet demonstration includes assembly, inspection, disassembly, and another assembly under controlled conditions. Agree the number of cycles and the inspection points with the supplier beforehand. There is no single cycle count in this guide that proves rental durability, and a short demonstration should not be described as a service-life test.
01. Control the setup conditions
Use the manufacturer-approved support system on a suitable prepared surface. Assign a trained crew and follow the documented connection sequence. Record which cabinets occupy each position, including the boundary between old and new units. A floor or support problem can distort the wall and confuse the assessment of cabinet geometry.
Start with an unpowered inspection of the frame and mating features. Photograph visible damage or contamination before assembly. Ask the supplier to identify the correct cleaning and inspection procedure. Do not use a lock to pull a visibly damaged LED screen cabinet into line; isolate the problem and establish its cause first.

02. Distinguish gaps, steps, and image differences
Inspect the agreed locations for a physical gap between neighboring faces and a step where one face projects beyond another. Use the measurement method and acceptance limit specified for the product. Record the measured result, instrument, cabinet identifiers, and location. Avoid reporting “seamless” as a measurable inspection result without defining the criterion.
Next, display the agreed grid, uniform fields, gradients, and representative event content. Inspect from the intended audience positions as well as a close technical position. If a boundary appears only when illuminated, investigate the display settings and optical result separately from the frame measurements. A uniform image and a level surface answer different questions.
After disassembly, inspect locks and positioning features for new marks or damage, then rebuild using the agreed procedure. Track whether an LED screen cabinet needs repeated adjustment at the same location. The observation is valuable even when the final wall passes: it may reveal a handling instruction, accessory issue, or inspection point that crews need to understand.
03. Record repeatability without overstating it
Use the same measurement locations and content on each cycle. Compare the final readings with the first assembly and the agreed limits. Where results vary, change one condition at a time under the supplier’s guidance. Randomly changing cabinet positions, support adjustment, and controller settings together makes the cause difficult to identify.
The acceptance record should say what was actually demonstrated, including the units and test conditions. A pass applies to that agreed inspection scope. It does not replace structural engineering, prove every future replacement compatible, or guarantee that transport damage will never occur. Preserve unresolved questions alongside the passing results.
4. Evaluate Weight, Handling, and Service Access
Compare the complete LED screen cabinet in its delivered configuration. A frame-only weight excludes modules, internal electronics, covers, and other fitted parts. Ask for the cabinet weight and packed case weight separately. Discuss handling arrangements with your operations team instead of assuming that a lighter brochure figure permits one-person lifting.
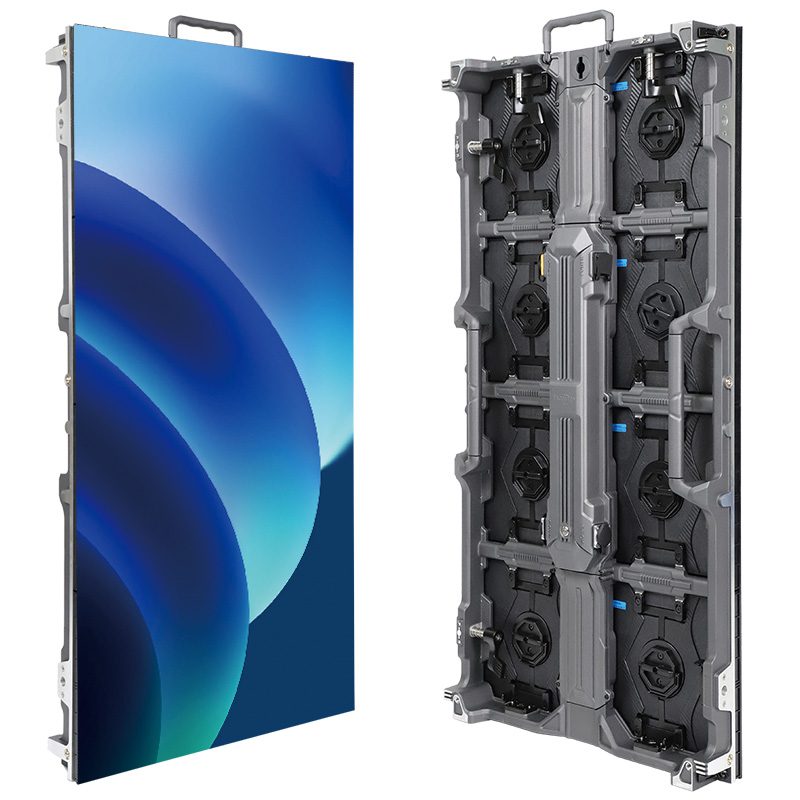
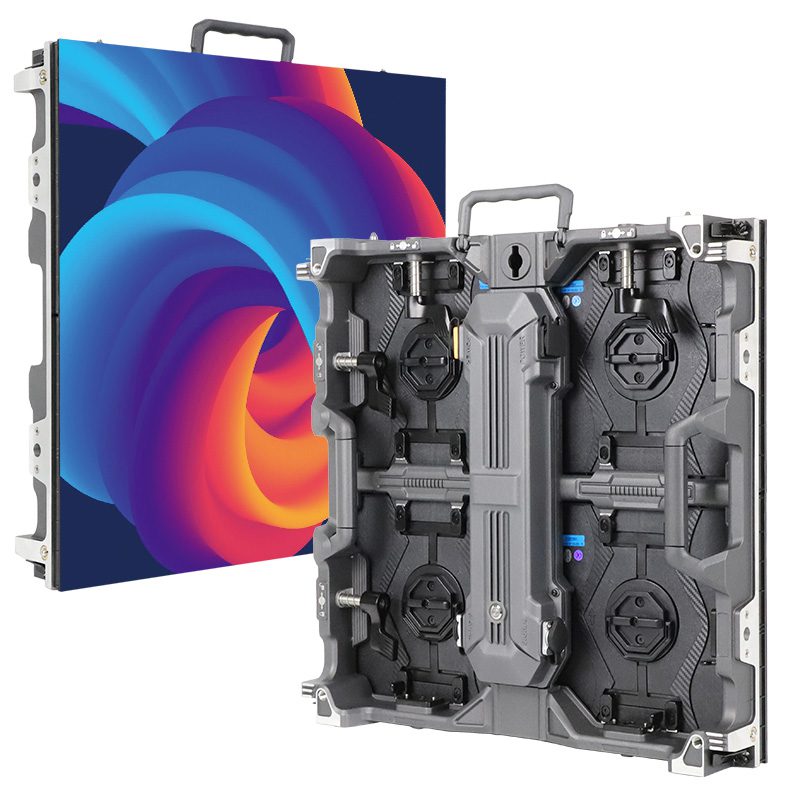
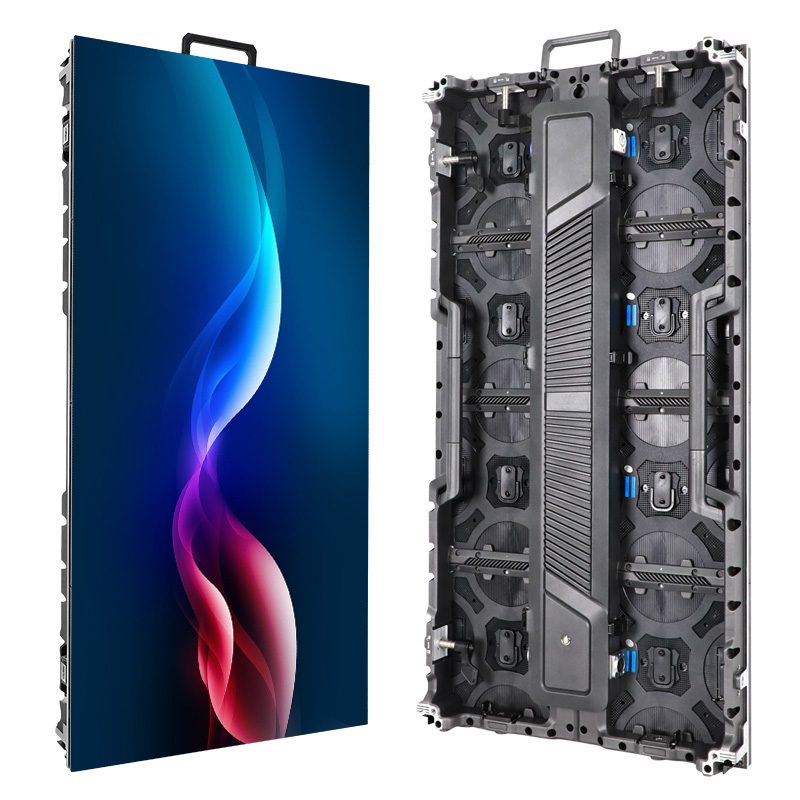
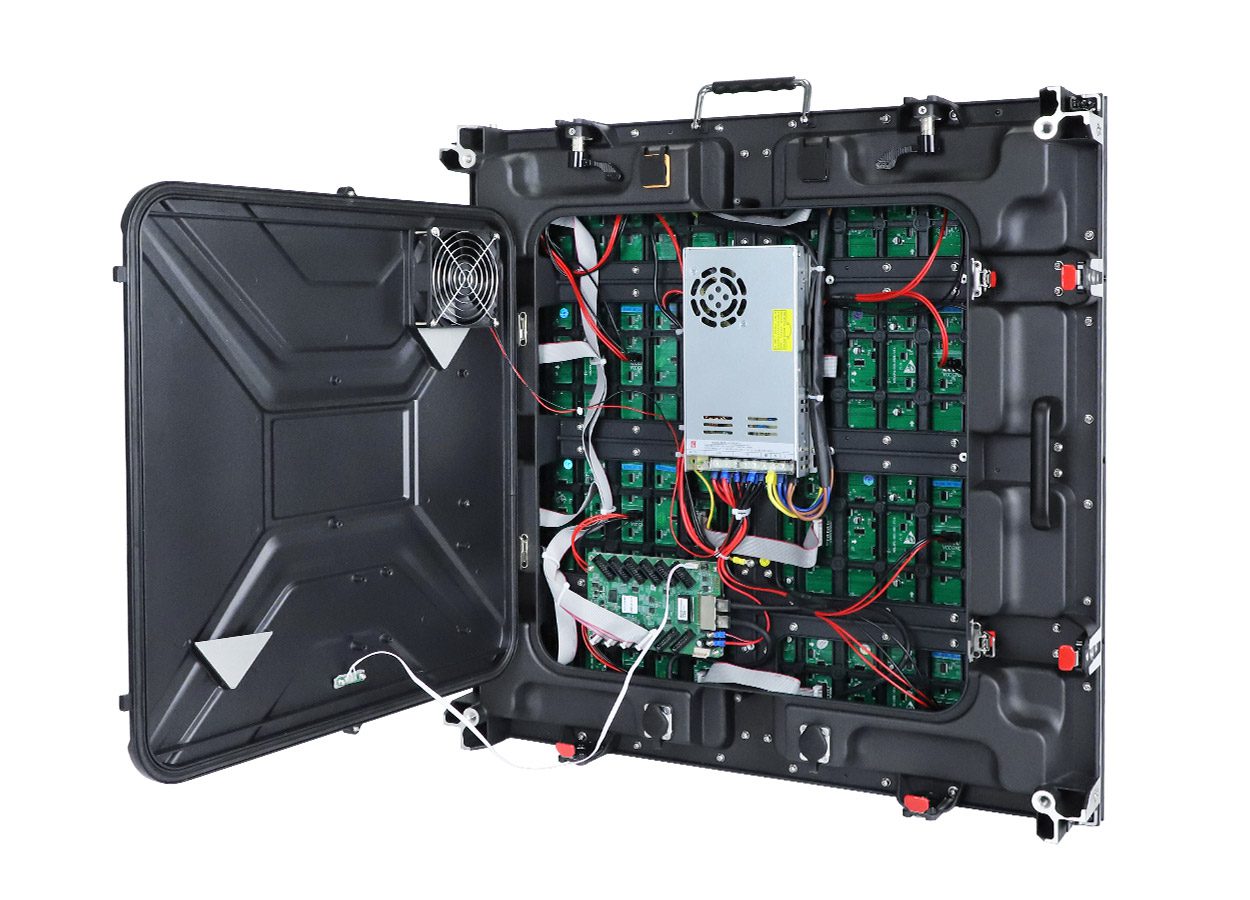
The EA640C3 product page provides an example of a rental cabinet with fast locks and service-access features. Use such product information to prepare questions, then confirm the exact supplied version. A photograph of one product is an illustration of a design feature, not proof that it can connect to another model in your warehouse.
01. Demonstrate the repair you expect to perform
Ask the supplier to demonstrate replacing a module and accessing the relevant internal components using the specified tools. Observe the route taken by the part and the technician’s working position. “Front service” should be clarified by component; access to a module does not automatically establish the removal route for everything behind it.
An LED screen cabinet should be assessed in the proposed assembled arrangement, because a neighboring frame or support member may affect access. Request the required clearances and the approved service procedure. Identify when the wall must be isolated, lowered, or partially dismantled. Include those conditions in the crew handover rather than promising unrestricted maintenance access.
02. Compare recovery effort, not a staged stopwatch result
A brief demonstration can omit fault finding, safe isolation, access equipment, configuration restoration, and the final image check. Record those tasks separately when estimating downtime. Ask which spares and tools travel with the wall and which require depot support. This creates a more useful service plan than a single fast replacement claim.
For each LED screen cabinet revision, keep the approved part identifiers beside its storage location. Label incompatible spare groups clearly. A crew should be able to identify the permitted replacement without relying on memory or the color of a connector. When substitutions are allowed, record who approved them and which configuration files are required.
5. Make the Shipment Decision Traceable
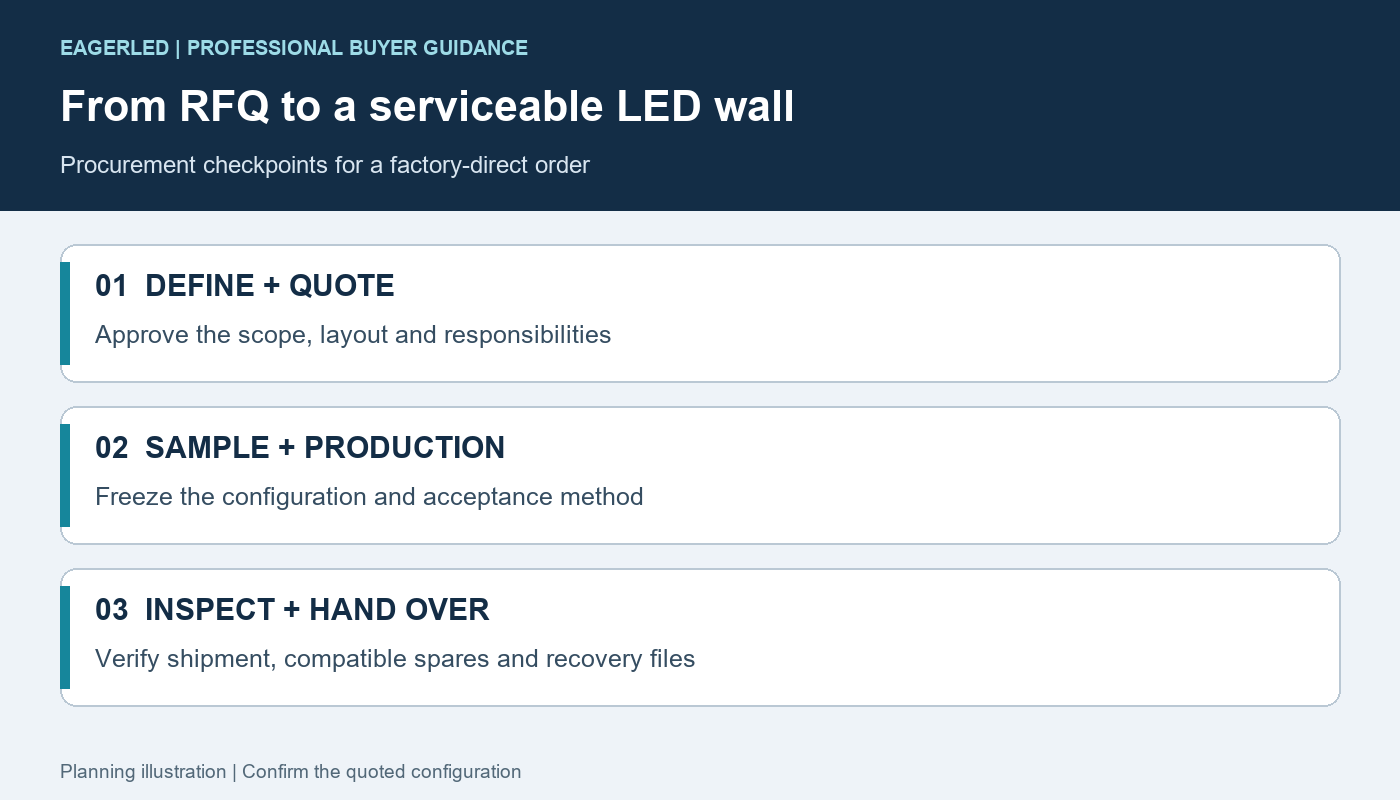
Agree the acceptance procedure before testing. Name the person authorized to accept deviations and define how a failed item is isolated and retested. For an LED screen cabinet shipment, the record should connect the commercial specification, inspected samples, configuration files, and received serial numbers. Keep photographs useful by including identifiers and the relevant measurement location.
| Finding | Immediate action | Evidence needed to close it |
|---|---|---|
| Model or revision differs from the agreed list | Separate affected units from approved stock | Supplier explanation and a documented compatibility decision |
| Physical fit or alignment misses the agreed limit | Record units and locations; stop the affected assembly | Corrective action and repeat measurements under the agreed method |
| Image boundary remains despite accepted physical fit | Preserve configuration and test conditions | Diagnosed cause and a repeat optical comparison |
| Repair cannot follow the documented access route | Record the obstructing component and arrangement | Revised approved procedure or corrected equipment |
| Evidence or files are missing | Keep the relevant acceptance item open | Complete, readable documents linked to the delivered revision |
A conditional acceptance should identify the remaining issue, responsible party, and agreed resolution date. Do not silently convert an unresolved mismatch into an operating instruction. If an LED screen cabinet must remain in a separate fleet, label that restriction in the inventory system and on the relevant packing records before it reaches an event crew.
Keep a short receiving checklist for each LED screen cabinet shipment: labels match the order, visible condition is recorded, accessories match the packing list, files can be opened, and agreed tests are complete. This checklist records the outcome of the plan; it does not replace the detailed measurements or the supplier’s installation instructions.
Include packing in the handover demonstration. Check that the approved case supports the delivered LED screen cabinet without pressing against its display face, locks, or connectors. Ask how protective features should be positioned before loading and how the receiving crew should identify a case that needs inspection. Record the case model and its intended cabinet quantity alongside the packing list.
Keep the inspection photographs and approved files in a location the operations team can access. Use descriptive filenames that identify the project, equipment revision, and approval date. Assign an owner to maintain this record when a repair changes the installed parts. That small administrative step helps prevent a later crew from restoring an obsolete configuration or ordering a spare based on an outdated photograph.
Frequently Asked Questions
Can I buy spare frames now and install electronics later?
Ask for an explicitly approved build specification covering the frame revision, modules, internal hardware, wiring, and assembly procedure. A bare frame purchase does not establish that components sourced later will fit or operate correctly. Clarify responsibility for final assembly and verification before comparing that option with a complete cabinet.
What if my original supplier no longer has the cabinet drawings?
Treat compatibility as unconfirmed. Provide labels, photographs, existing configuration records, and a representative unit to a supplier willing to assess it. Do not describe visual similarity as approval. If evidence remains insufficient, plan a separate wall or a defined replacement project rather than an unsupported mixed inventory.
Should secondhand cabinets follow the same purchasing process?
Yes, with additional attention to their actual condition, repair history, and available records. Ask which parts have been replaced and whether the tested configuration matches the sale. An LED screen cabinet inspection should distinguish original design compatibility from wear, damage, undocumented substitutions, and missing service information.
How should I record cabinets that are rotated for a special layout?
Keep the physical orientation in the inventory and setup drawings, together with the manufacturer’s approval for that use. Record the corresponding content mapping separately. A correctly rotated picture cannot establish that a frame, support connection, or service arrangement is approved for the same orientation.
What happens when a later spare batch has a new revision?
Reopen the relevant compatibility checks before assigning it to the fleet. Retain the previous approved configuration and ask the supplier to identify changed parts and limitations. Update the spare-parts schedule only after the proposed replacement has passed the agreed assessment, so the crew can distinguish approved stock from pending stock.
Prepare a Cabinet Comparison Request
Send EagerLED your existing model and revision labels, planned wall arrangement, installation method, service constraints, and representative content requirements. State whether you need adjacent use, a mixed wall, or interchangeable spares. Ask for the supporting drawings, proposed test arrangement, and a written list of compatibility limits.
To compare an LED screen cabinet for your next inventory purchase, request a cabinet and service-access review. Agree what will be demonstrated before approving the order, and keep the accepted records with the equipment so the next shipment can be evaluated against the same reference.
 Rental LED Display Buying Guide: P2.6 vs P3.91 vs P4.81