
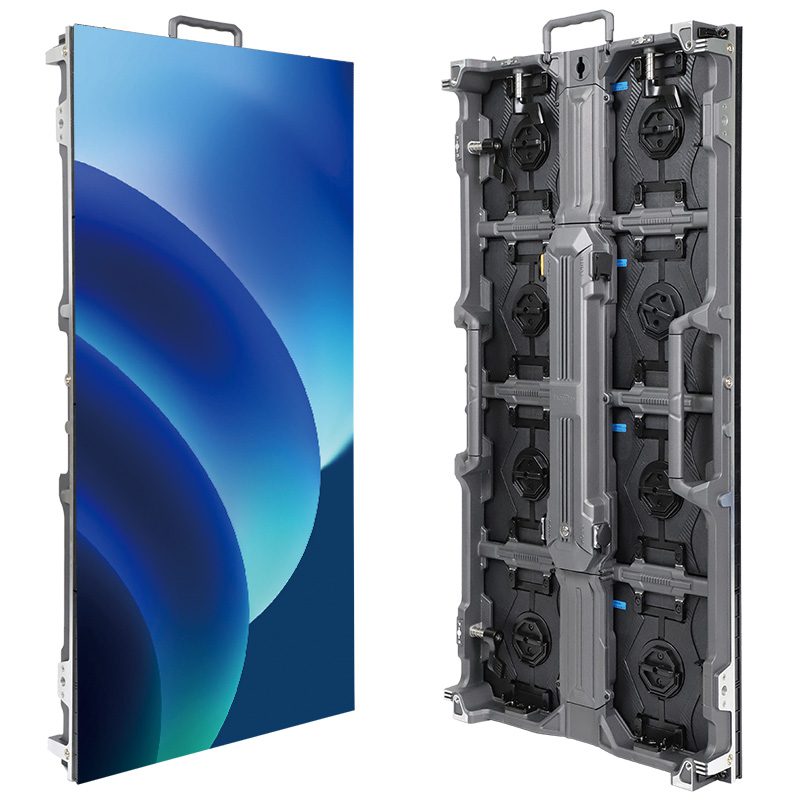
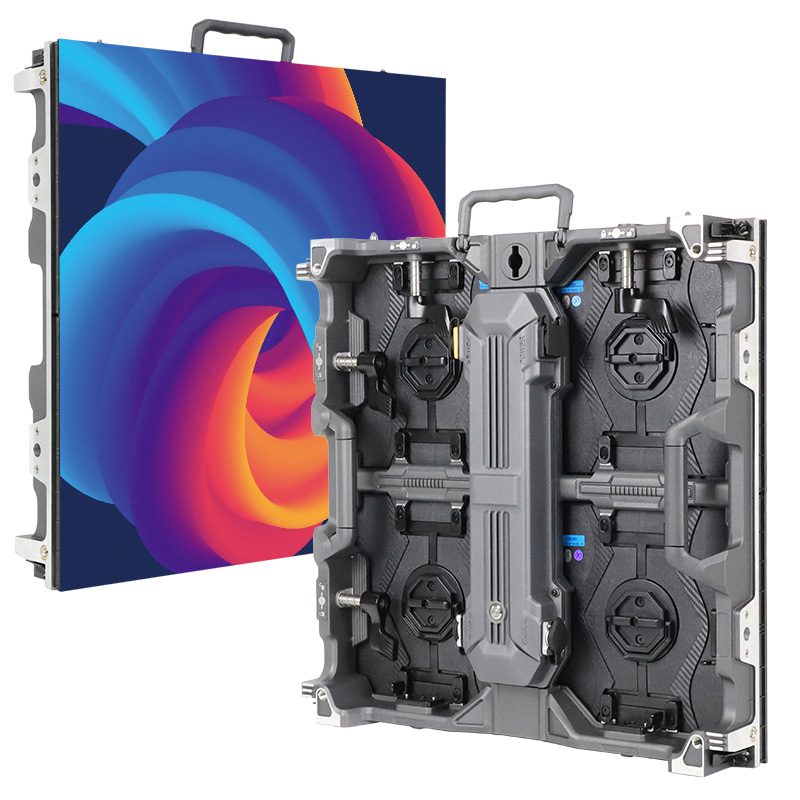
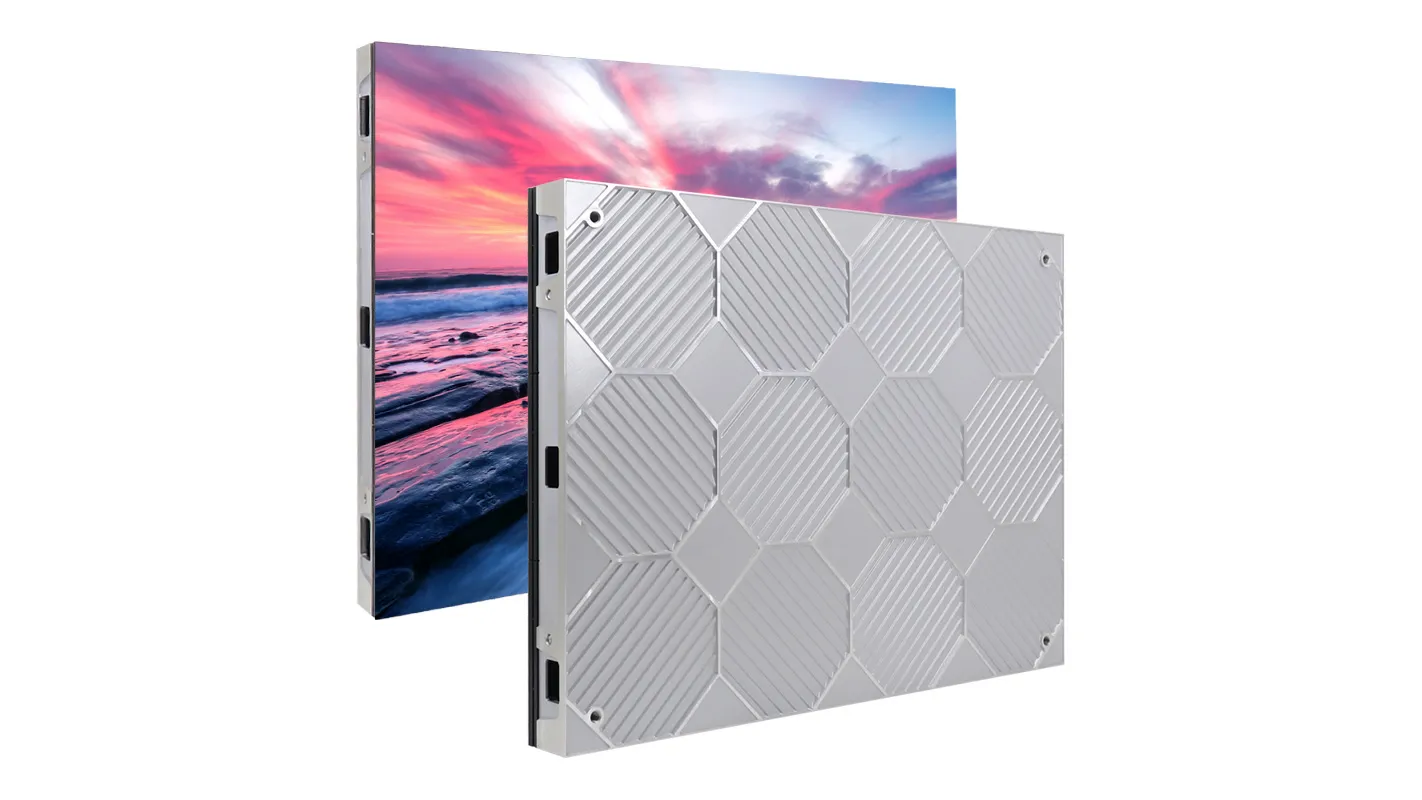
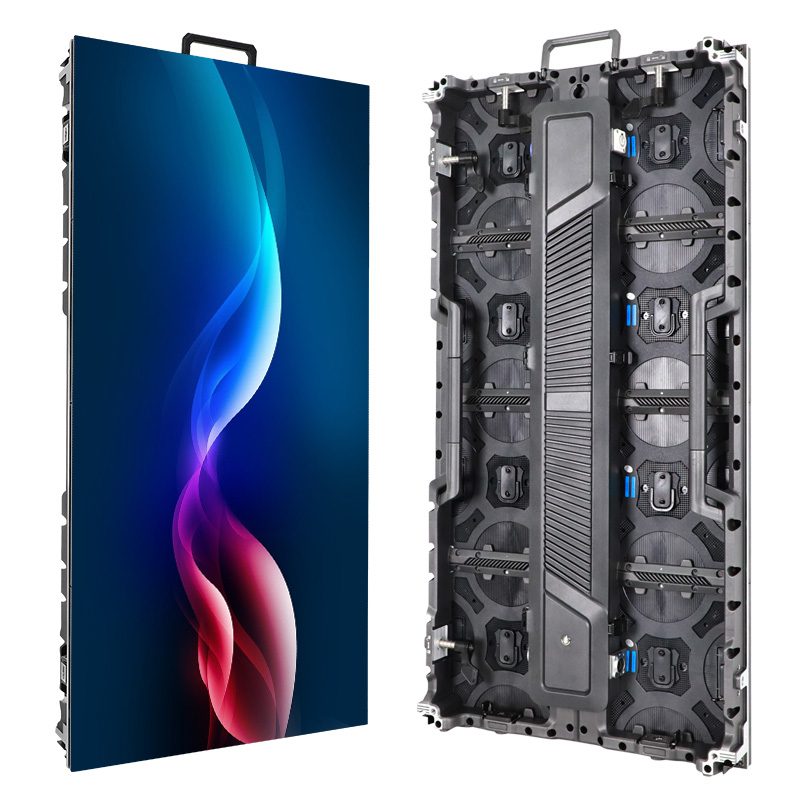
LED cabinet labeling connects each physical cabinet to its position on the wall and its place in the signal route. Keep those as separate records. A cabinet’s asset ID identifies the equipment, a position label identifies where it belongs in this build, and a signal record identifies how the controller reaches it. Combining all three into one unexplained number makes replacement and troubleshooting harder.
For a rental company preparing a screen for an event, the goal is a build that another crew can reproduce from the handover pack. Establish a drawing view, record the installed equipment, and check the signal order against the working configuration. The examples below are proposed recording conventions, so adapt the field names to the fleet and control system.
1. Separate the Three LED Cabinet Labeling Records
An asset ID should continue to identify the same physical cabinet as it moves between projects. Link it to the manufacturer’s serial number, cabinet model, and your service history. For example, an internal identifier such as CAB-042 can point to the full equipment record without printing every specification on the housing. Preserve the original manufacturer identification wherever it is provided.
A position label belongs to a particular layout. R02-C03 could mean the second row and third column on the approved drawing. The crew must also know which side the drawing shows and where numbering starts. When the fleet is rebuilt into another shape, the cabinet keeps its asset ID but receives a new position assignment in the project record.
The third record describes the actual signal connection. It might identify a controller, an output port, and a receiving-card sequence. A cabinet’s physical neighbor is not necessarily its previous device in the data route. LED cabinet labeling works best when the installed asset, physical position, and signal entry are visible together in a lookup table.
| Record | Example value | When it changes | What it answers |
|---|---|---|---|
| Asset identity | CAB-042 with manufacturer serial reference | Only when the physical equipment identity changes | Which cabinet is this? |
| Build position | R02-C03 on front-view drawing REV-B | When the layout or cabinet assignment changes | Where does it belong in this build? |
| Signal route | CTRL-A / OUT-2 / receiver sequence 5 | When the physical route or configuration changes | How is this receiver reached? |
| Service status | Inspected, awaiting repair, or quarantined | After the relevant inspection or repair decision | Can the crew use it for this build? |
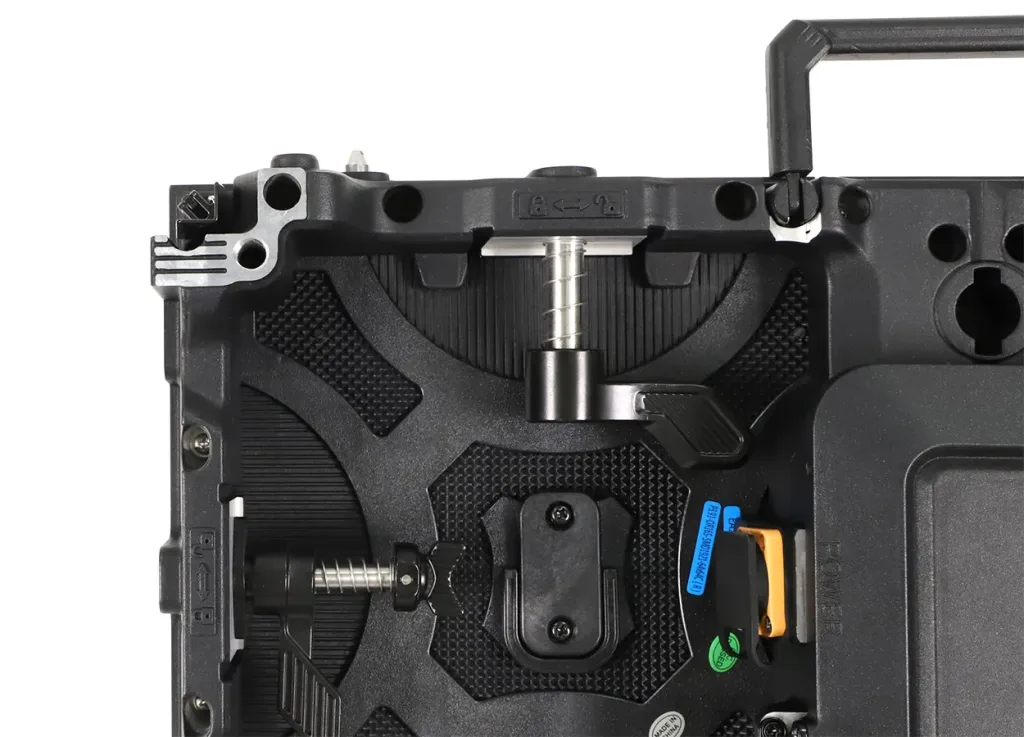
Use text to distinguish these fields even if the fleet also uses colors or QR codes. A color can help a crew recognize a group, but a printed identifier remains useful when a code cannot be scanned. Select label material and placement suitable for the cabinet, with supplier guidance where needed. Keep identification clear of ventilation, connectors, locks, and existing safety or serial markings.
2. Define the Drawing View Before Numbering
Write FRONT VIEW or REAR VIEW on the cabinet map. A crew behind the wall sees left and right reversed relative to an audience-facing drawing. Specify the origin and row direction explicitly, then show one unmistakable reference such as the audience-left edge. The same convention needs to appear in the paper pack and the file used at the control position.
Consider a two-row wall with four cabinets per row. A front-view map may name the top row A through D and the bottom row E through H. A serpentine route can travel A, B, C, D, H, G, F, E. Position E is therefore the eighth device in that example route, even though it sits at the left of the lower row. This illustrative sequence is not a capacity or wiring recommendation for a particular controller.
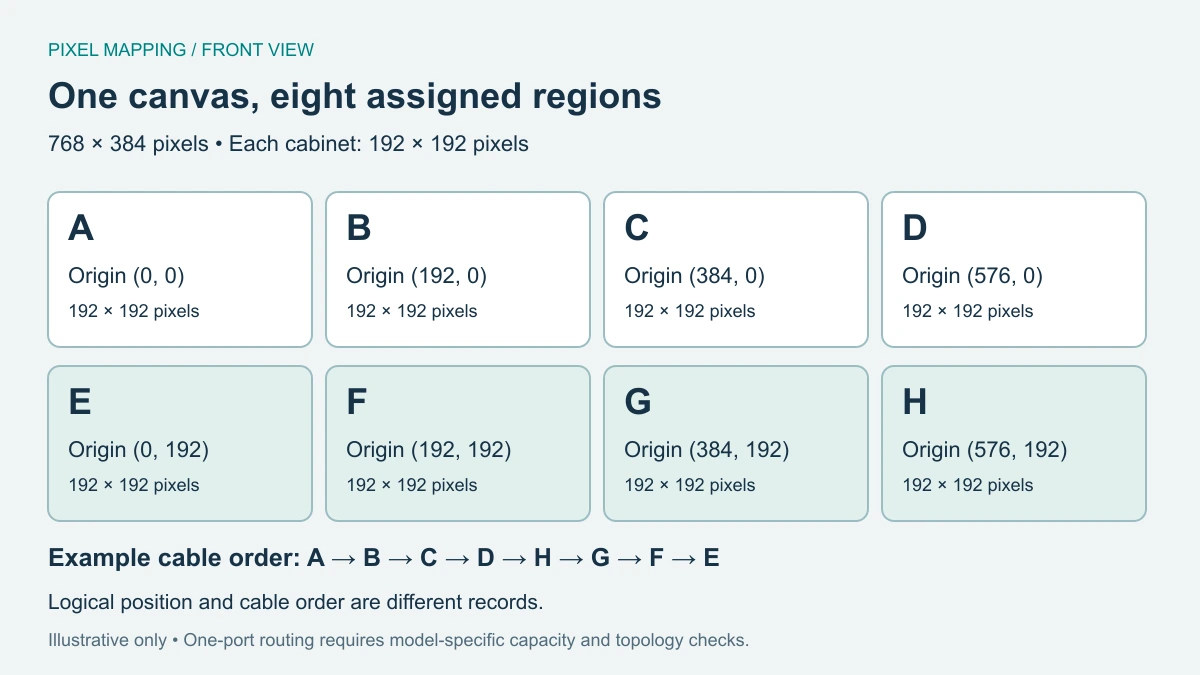
The signal flow and pixel mapping guide explains the relationship between the source, control hardware, and assigned display regions. Use the drawing to distinguish the physical pixel layout from the cable route. In LED cabinet labeling, one arrow showing the first data entry point can prevent a left-to-right assumption from spreading across the build.
For an angled, curved, or irregular screen, mark the segment names and transitions as well. Avoid forcing every position into an ambiguous rectangle. The project drawing should make it possible to locate a cabinet without mentally flattening the installation or guessing whether a side section is included in the main row count.
3. Match Labels to the Actual Signal Route
Compare the LED cabinet labeling record with the connected screen, not just the original packing plan. Check the controller name, output-port designation, and receiving-card order using the tools supported by that system. NovaStar’s NovaLCT manuals describe mapping functions that show relationships between cabinets and sending devices, with support depending on the receiving hardware. Follow the documentation for the installed version.
Receiving-card numbers are configuration references. Do not assume that a number shown on the screen is the permanent asset identity of the cabinet containing it. Where one cabinet uses multiple receivers, include enough detail to distinguish them and their loaded regions. The receiving card inside the cabinet guide illustrates why the electronics record belongs alongside the cabinet record.
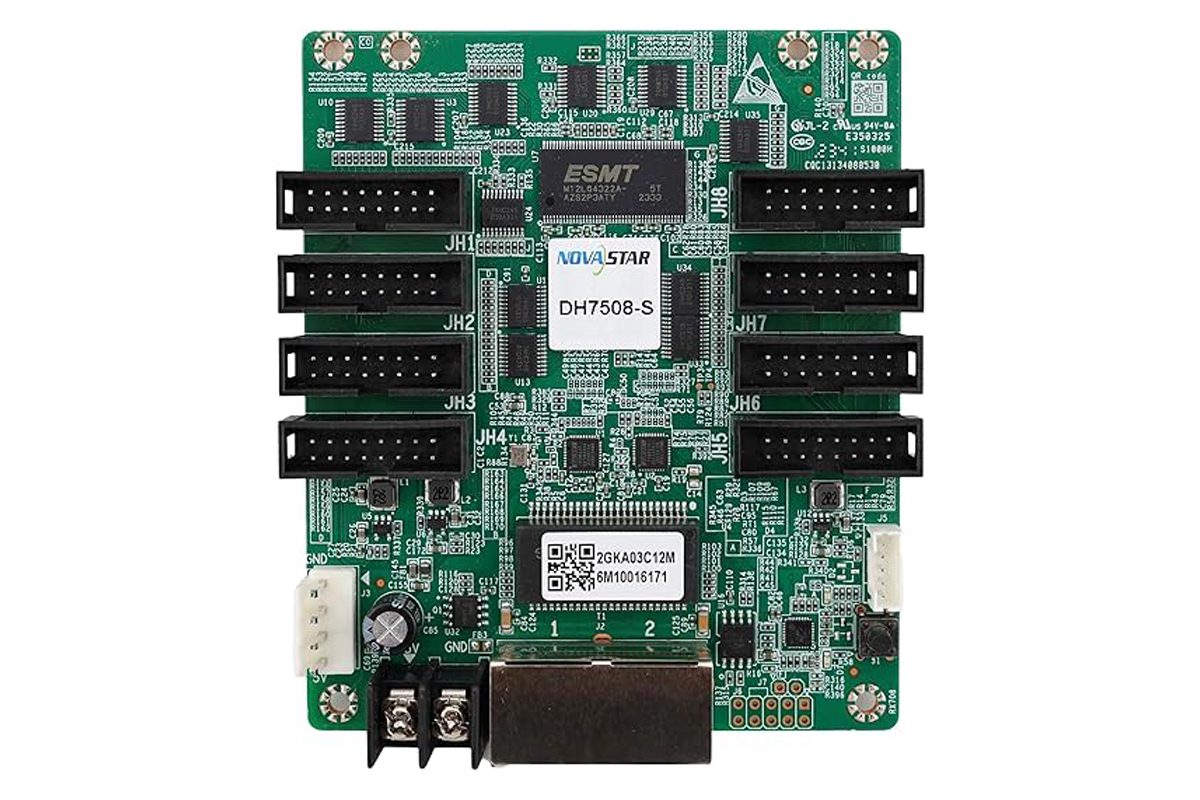
Check the map with clearly identified test regions before handing over the screen. If a marked region appears in the wrong location, record the observed position and compare the configured route with the installed route. Preserve the working settings before changes. Correcting a printed label cannot correct a mismapped picture, and changing a map does not establish that a replacement module is compatible.
Keep power and data identification distinct. A signal-route sheet describes the video path and receiver order. Power circuits need their own approved documentation and identification under the responsible installation team. An internal fleet label should never be treated as an electrical rating, a safe disconnection instruction, or proof that a connector is suitable for a proposed use.
4. Keep Replacement and Handover Records Current
When a cabinet is exchanged during preparation, update the position-to-asset record immediately. Keep the outgoing asset ID, incoming asset ID, location, and reason for the exchange together. Confirm the replacement against the supplier’s compatibility requirements and repeat the relevant image check. LED cabinet labeling makes that change traceable, while compatibility still depends on the actual hardware and configuration.
If a receiving card or module is replaced inside a cabinet, retain the cabinet’s asset identity and add the component change to its service record. Include the component model and the applicable configuration or calibration reference. A photo of a model label can help the support team, but keep it linked to the correct cabinet and date. An unlabeled folder of board photographs is difficult to use during a later fault report.
At handover, issue one current map with a revision, date, and named owner. Include the asset assignment, signal drawing, relevant configuration filenames, and unresolved service notes. Keep the latest LED cabinet labeling sheet available at the screen and control position. If a route changes during the event, update the record before the next crew relies on it.
Make LED cabinet labeling part of the return inspection. Compare what came back with the dispatch list, record missing or unreadable labels, and flag equipment that needs service before it returns to the available pool. If a cabinet arrives with a position marking from an old event, use its asset identity to locate the current service record before assigning it again.
A short rehearsal helps test the documentation. Give a crew member a cabinet ID and ask them to locate its position and signal entry using only the handover sheet. Then ask them to identify the asset that would leave the fleet if that position needed replacement. If the answers require calling the person who drew the map, revise the sheet before dispatch. This is a practical LED cabinet labeling review that tests whether the information can be used by another crew.
5. Frequently Asked Questions
Should every cabinet carry the event’s row and column permanently?
A permanent event position can become misleading after a different rebuild. Keep the enduring asset ID readable and use a clearly identified project assignment for the temporary position. Remove or retire obsolete project markings during preparation.
Can a QR code replace the printed asset ID?
Use the code as a convenient route to the record and keep a readable identifier beside it. Test access on the devices the crew uses, including what information is available if the venue connection is unavailable.
Should backup data connections use the same route description?
Record the primary and backup paths separately where backup is specified. Name both endpoints and identify their roles. Have the integration team verify the supported topology and the required failover behavior before treating the backup record as complete.
How should flight cases link to cabinet records?
Assign a case ID and record its contents for each dispatch. Keep that packing list separate from the wall-position map, since a case’s contents can change after service or an event return. Reconcile the list during check-in.
6. Prepare a Labeling Brief for Your Rental Fleet
Before dispatch, check that a crew can match a cabinet to the drawing, find its signal reference, and trace a recent replacement from the records. For an LED cabinet labeling review, share the cabinet model, fleet size, typical layouts, controller system, and current handover sheet. Contact EagerLED about your rental display requirements to confirm which hardware identification and configuration information should accompany the equipment.
 LED Wall EDID: Why the Input Resolution Looks Wrong