
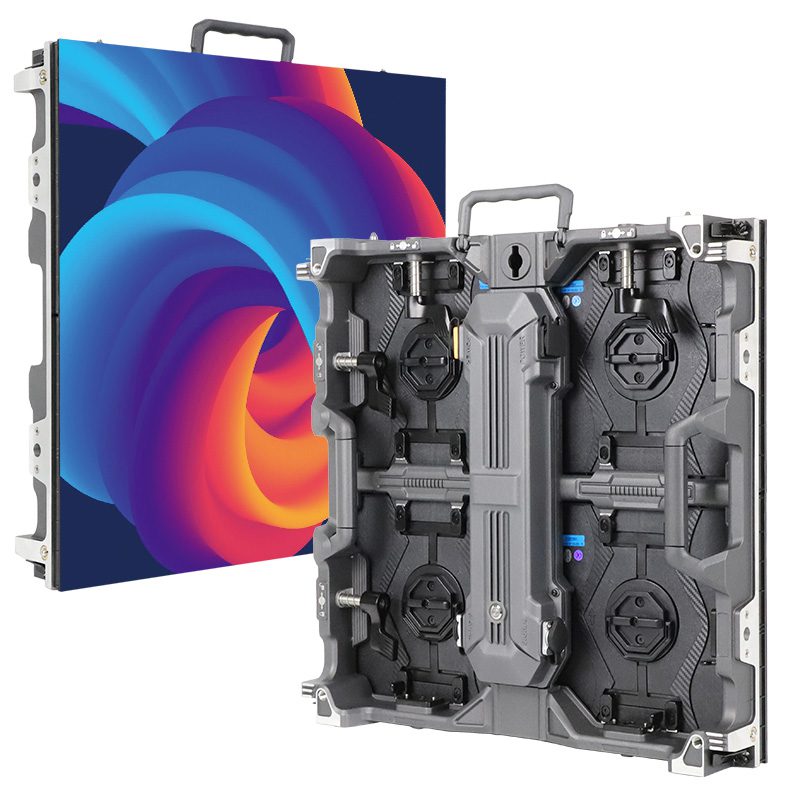

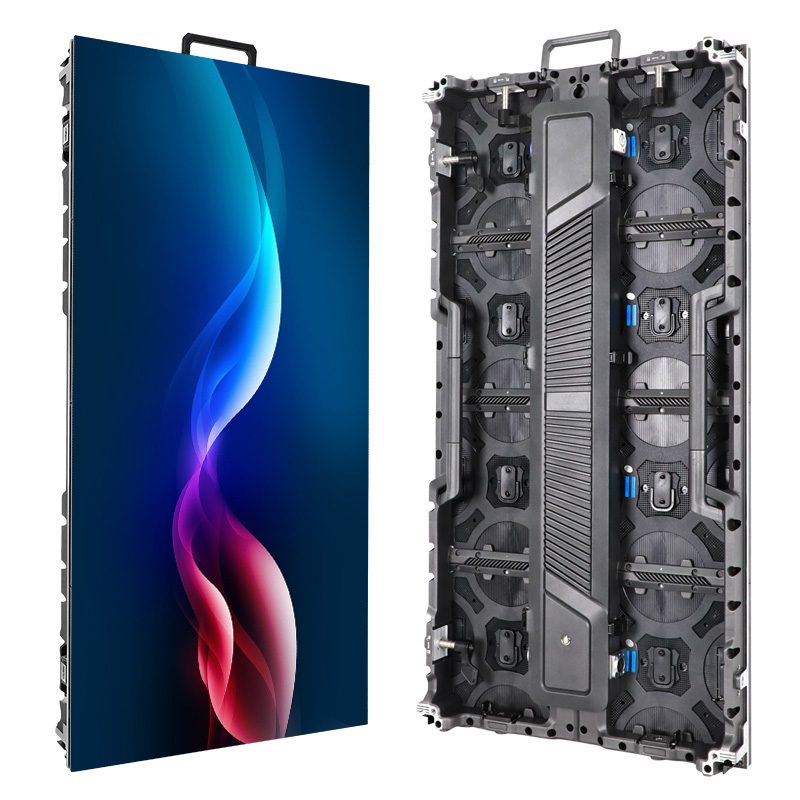
For modular LED screens, plan the final configuration before buying the first batch. Future expansion depends on matching hardware, colour performance, control capacity and the complete installation. Put those requirements into a two-phase proposal so “add more panels later” becomes an assessable purchase plan.
1. Specify the final system before the first order
Modular LED screens can be enlarged by adding approved cabinets, but a later order must match more than physical dimensions and nominal pixel pitch. Write the intended final size, environment and content requirements into the first purchase brief. Ask the supplier which parts can be retained and which must change when you expand.
For a fixed installation, expansion can affect support, service access and the available wall area. For an event fleet, it affects the largest configuration your stock must form, the transport inventory and the control package. This guide focuses on phased procurement and expansion; for initial cabinet-grid choices, use the rental cabinet size guide.
Keep three lists: the first delivery, the final configuration, and the additional items needed between them. Each should include cabinets, control equipment, support components, cables, packing and matching spares. A promise that a product is modular is not a future-supply commitment.
2. Record the hardware version and matching scope
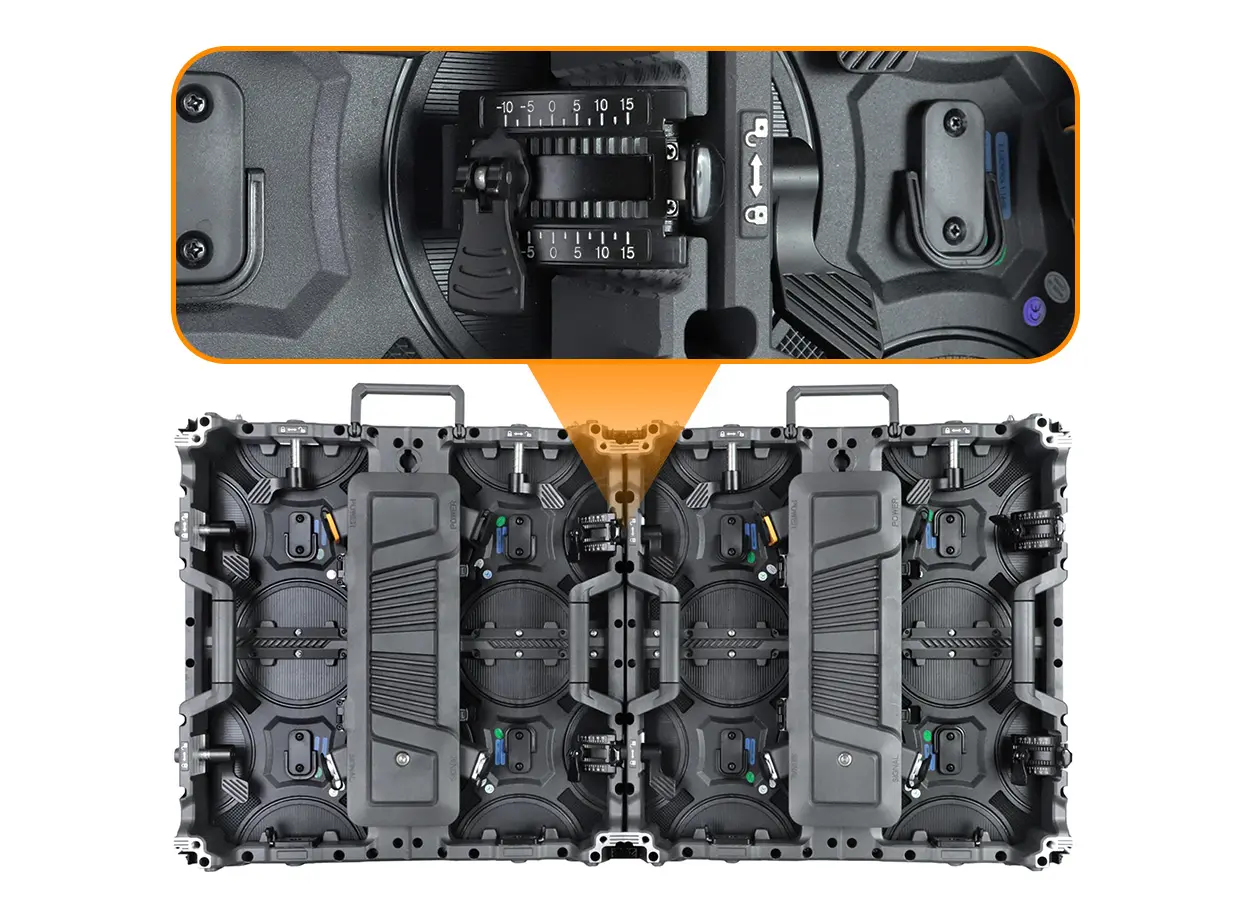
Retain complete model and revision records for the LED modules, cabinets, receiving cards and power assemblies. Include mounting and locking hardware, connector layouts, pixel maps, scan settings and calibration information. Ask the supplier to identify the exact versions that can be combined.

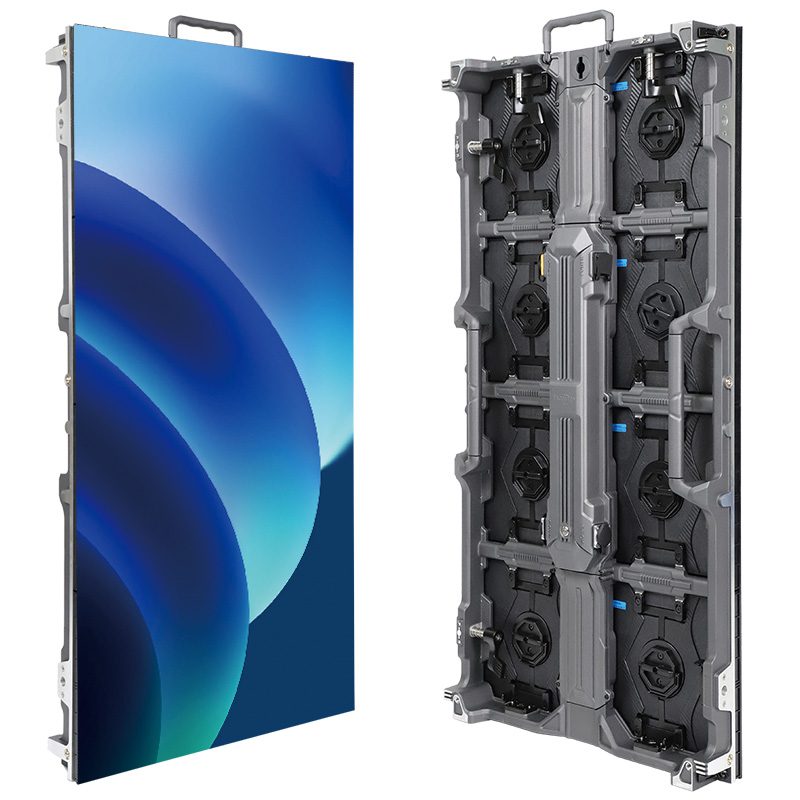
The EA500C6 and EA1000C6 family provides a relevant example of cabinet-size options. Confirm matching pitch and configuration for the specific order. Same-size cabinets from different brands or generations should not be treated as interchangeable.
If the model changes before the second order, request a documented assessment of mechanical, electrical and visual compatibility. An adapter may solve a connector problem while leaving pixel addressing, colour matching or support problems unresolved.
3. Check the final pixel canvas and control capacity
An illustrative EA1000C6 P3.91 layout uses the published 250 × 250 mm module format with a 64 × 64 pixel map. A 500 × 1,000 mm cabinet contains a two-by-four module arrangement, producing a 128 × 256 pixel cabinet map. Use the confirmed pixel map rather than dividing dimensions by a rounded pitch label.
Swipe within the table on a small screen.
| Measure | First phase | Final phase |
|---|---|---|
| Active dimensions | 4.00 × 2.00 m | 6.00 × 3.00 m |
| Cabinet grid | 8 columns × 2 rows | 12 columns × 3 rows |
| 500 × 1,000 mm cabinets | 16 | 36 |
| Native pixel canvas | 1,024 × 512 | 1,536 × 768 |
| Total pixels | 524,288 | 1,179,648 |
The final layout adds 20 cabinets and has 2.25 times the initial pixel count. These calculated values are a planning example, not a confirmed upgrade package. Have the supplier approve the exact cabinet revision, module map and support arrangement.
Ask the control supplier to confirm the final screen width and height, total loading, output-port allocation, receiving-card loading and required processing functions. A total pixel capacity number alone may not establish that the requested canvas fits the system’s width, height or output constraints.
Choose deliberately between buying control equipment for the final layout now and changing it later. Include that decision in both phase quotations, so the second-phase budget does not omit necessary equipment.
4. Agree how later batches will match
Specify how the existing and added cabinets will be demonstrated together. Inspect uniform grey levels, white, representative colours and your actual content at the intended operating brightness. Ask how calibration data will be obtained, retained and applied to the combined wall.
A later production batch can differ from the first, and the initial cabinets may have accumulated use before expansion. Do not accept an unconditional promise of invisible joins based only on an identical model name. Agree an acceptance method and the supplier’s remedy if the combination does not meet it.
Where matching is critical, discuss whether purchasing the final quantity together and deploying it in stages is practical. That can reduce dependence on a later production run, but storage, inventory cost and condition still need planning. Ask for actual batch and calibration records rather than assuming every cabinet in one delivery is identical.
5. Reassess support, power, cables and service
Adding cabinets changes the complete installation. The final support must be reviewed for its new dimensions and loads; the power and signal layout must be checked against the delivered equipment. Have qualified installation personnel confirm those designs for the venue.
Record the new cable routes, access openings and replacement paths before the added area is enclosed. Maintain clear labeling for the final cabinet positions and signal chain, and update the screen map when the layout changes. Retain the first-phase configuration separately so crews can restore the smaller approved layout when needed.
For a rental fleet, include cases, cable stock and matching spare modules in the second-phase list. Review the fleet spare-parts checklist for inventory records. Do not assume that the first delivery’s spare quantity or control package remains appropriate after growth.
6. Put future supply and acceptance in writing
Ask whether the manufacturer expects to supply the same version during your planned expansion window. Record the ordering deadline, revision-change notification process and what happens if the version is discontinued. A general statement that modules are replaceable does not guarantee stock years later.
- First order: exact versions, batch records, approved first-phase drawing and retained configuration files.
- Future order: intended date, final quantity and the versions permitted to join the first delivery.
- Combined acceptance: mechanical fit, complete pixel map, visual matching and sample-content playback.
- Supply scope: added control equipment, support, cables, cases, spares and commissioning responsibilities.
- Change handling: the approval and remedy process if a proposed replacement version differs.
Budget both phases as complete deliverables. The price of added LED cabinets is only one part of a successful expansion.
7. Frequently asked questions
Can I add cabinets later with the same pitch?
Possibly, but pitch alone is insufficient. Confirm the exact cabinet, module, connector, receiving configuration and visual matching with the supplier.
Should the controller be sized for the final wall?
Compare that option with a planned later replacement. In either case, require confirmation of the final canvas, output allocation and processing requirements.
Will calibration make any two batches identical?
Do not assume it. Agree a demonstration and acceptance method for the actual combined cabinets and their operating conditions.
Does modular construction guarantee future stock?
No. Request a specific future-supply and revision-change agreement for your expansion window.
8. Request a two-phase modular screen proposal
Send your first and final screen sizes, environment, viewing distance, country and purchase timeline for each phase. If you already own cabinets, include model and revision records and ask for a compatibility review before ordering additions.
Product examples reviewed on October 14, 2026. Counts and pixel canvases are illustrative calculations using the linked EA1000C6 module map; they are not a promise of compatibility with an existing fleet.
 P2.5 vs P4 Indoor LED Display: Resolution & Buying Guide
 Wi-Fi LED Poster Control: Offline & Remote Buying Checks