
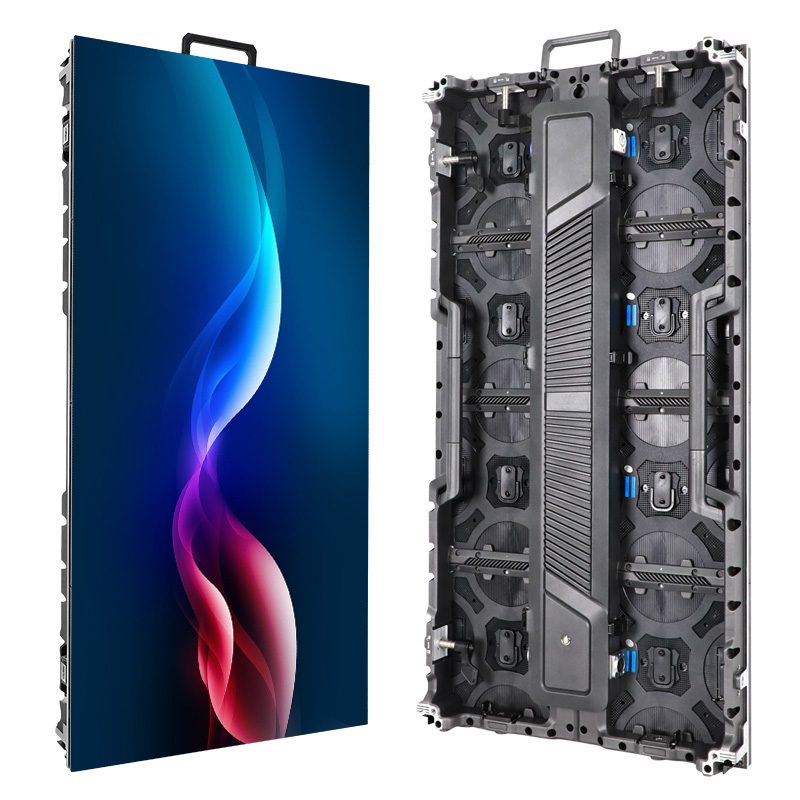
Before buying a curved LED wall, agree whether “width” means the length along the screen or the straight distance between its ends. Then choose flexible modules or curved rental cabinets using the same dimensioned drawing. This prevents quotations for different shapes being compared as if they were equivalent.
1. Choose flexible modules or adjustable cabinets
A curved LED wall needs a defined shape before it needs a price. Give the supplier a plan drawing with the viewing direction, endpoints and dimensions, then ask which system can produce that geometry. A smooth fixed curve and a rental wall made from angled flat cabinets are different constructions.
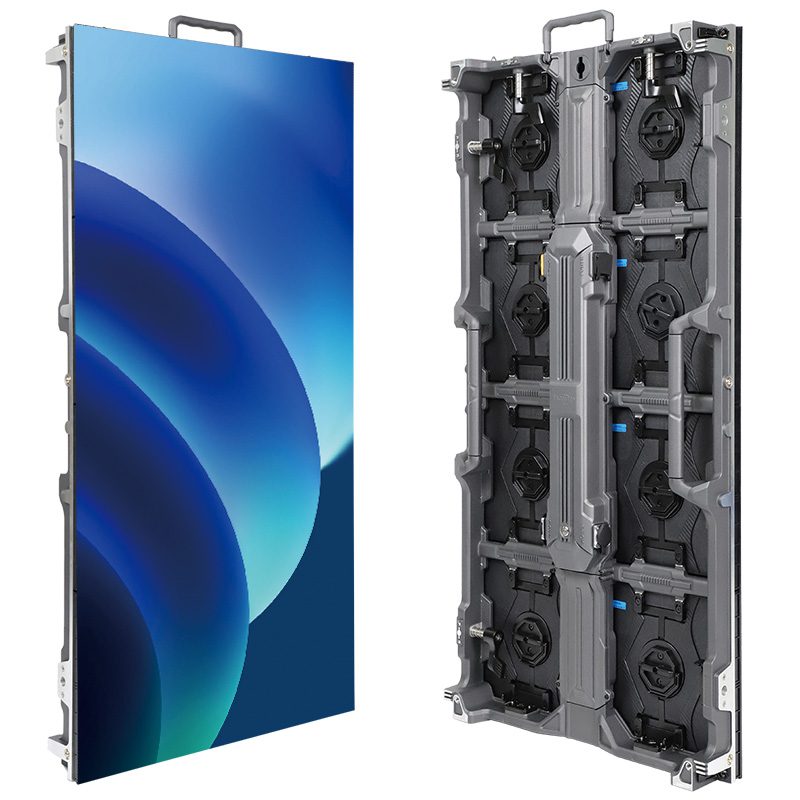
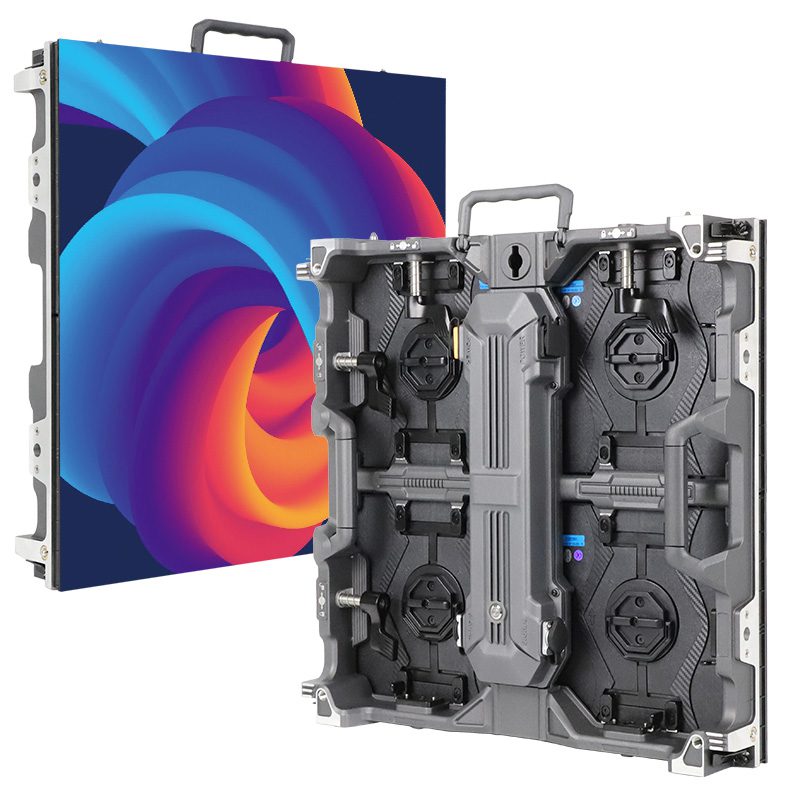
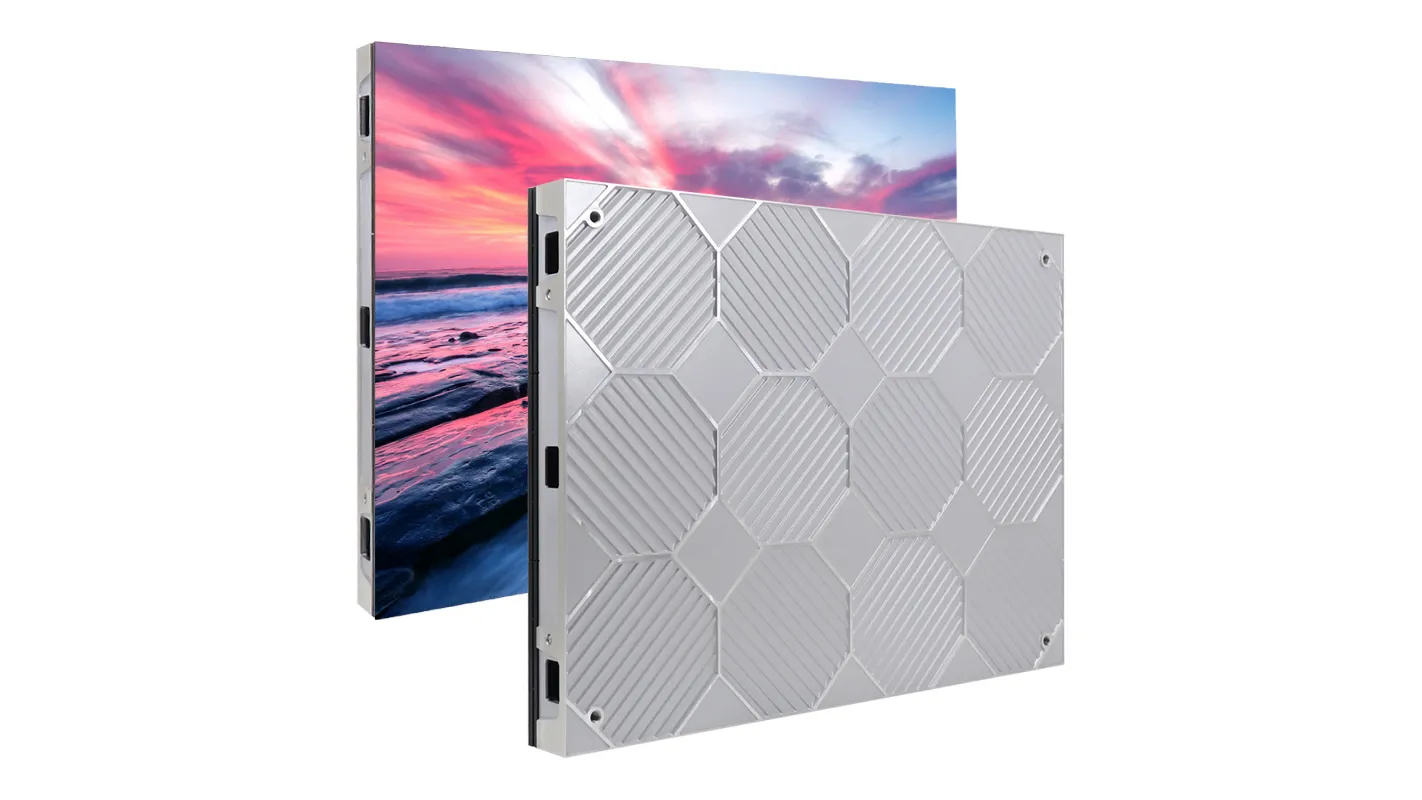
EA-Flex flexible modules are intended for indoor shaped surfaces and use magnetic front module access. The practical radius depends on the selected module and support. For repeat event use, EA500C6 rental cabinets offer an optional curve-lock configuration. Confirm that option in the quotation; a flat-cabinet specification does not establish its available joint angles.
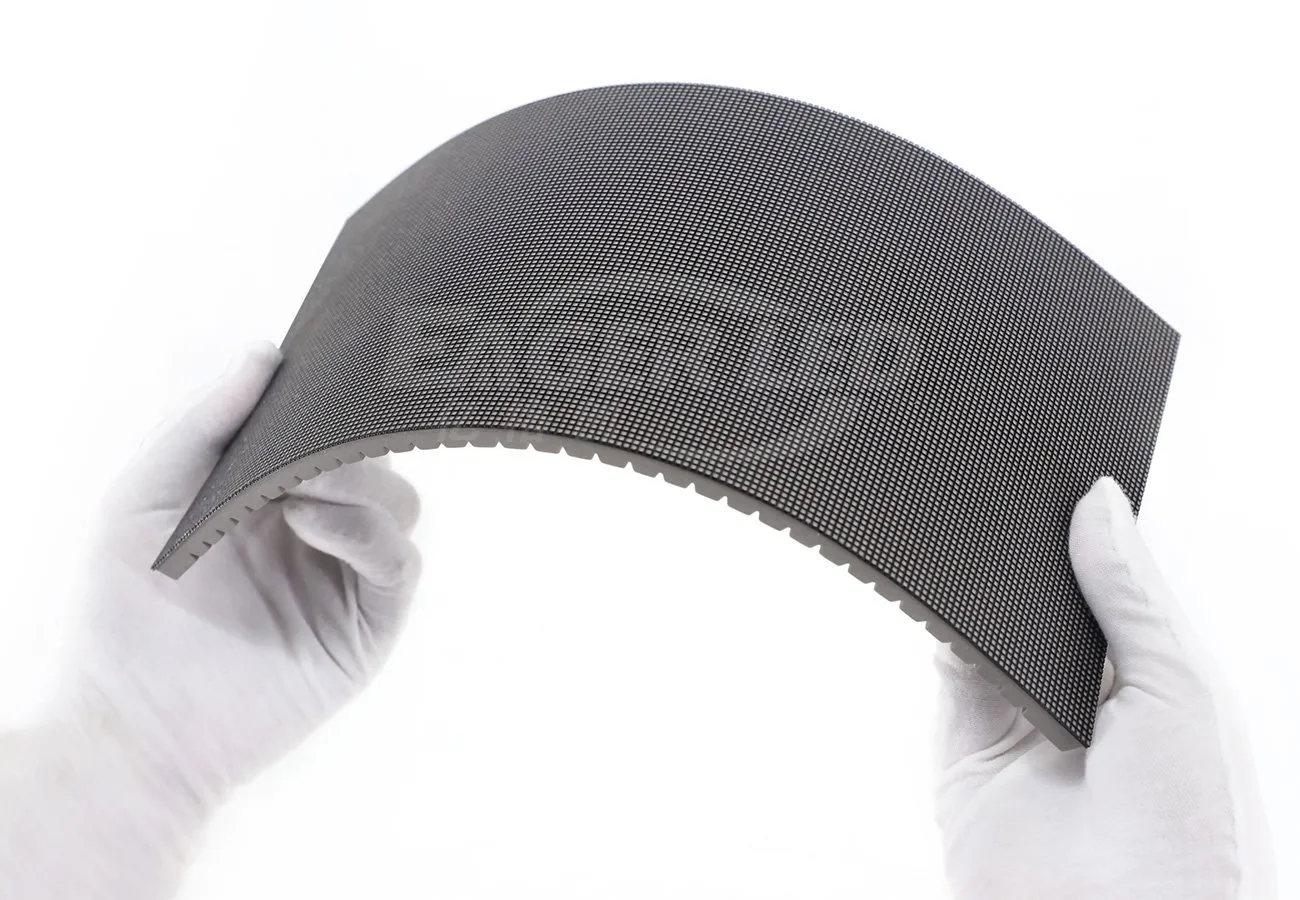
For a broad overview of products, use the linked product pages. This guide addresses the drawing and quotation information needed to compare a curved LED wall accurately.
2. Distinguish arc length, chord width and depth
Three measurements commonly get called “screen width.” Arc length follows the display face. Chord width is the straight distance between the endpoints. Curve depth, or sagitta, is the largest distance from that straight line to the arc. Specify which measurement your available space describes.
Also identify where the radius is measured: the LED face, supporting frame or another reference surface. A frame drawing and an architectural drawing can use different references. Ask the supplier to mark the agreed reference on both the plan and the fabrication drawing.
For a concave wall, the viewing side faces inward toward the centre of the curve. A convex wall presents the outside of the curve. Include a viewing-direction arrow instead of relying on the words “inside” and “outside,” which can be interpreted differently by a fabricator and an event crew.
3. A 6 m curved-wall planning example
For an ideal continuous circular arc, let L be arc length, R radius and θ the angle in radians. The relationships are L = R × θ; chord = 2 × R × sin(θ/2); and depth = R × [1 − cos(θ/2)]. Use the same length units throughout.
Illustrative geometry: a 6.00 m arc spanning 90° has θ = π/2. Its radius is approximately 3.82 m, its chord width 5.40 m and its depth 1.12 m. These are calculated planning values, not an EA-Flex minimum radius or an approved support design.
A quotation for a “6 m wide” wall could therefore describe materially different installations. If your brief means a 6 m straight endpoint width, the 6 m arc example does not meet it. Confirm arc length, endpoint width, height and depth together.
Flat rental cabinets form a faceted curve rather than this ideal continuous surface. Have the supplier generate the assembled plan from the actual cabinet widths, approved lock positions and joint geometry. Do not translate the example directly into a cabinet count or rigging design.
4. Ask for the actual curve-lock configuration
For a cabinet system, request the permitted angles and adjustment increments for the supplied hardware, including inward and outward directions. Establish whether every joint uses the same setting or the shape includes flat sections and transitions. Mark each joint setting on the assembly drawing.
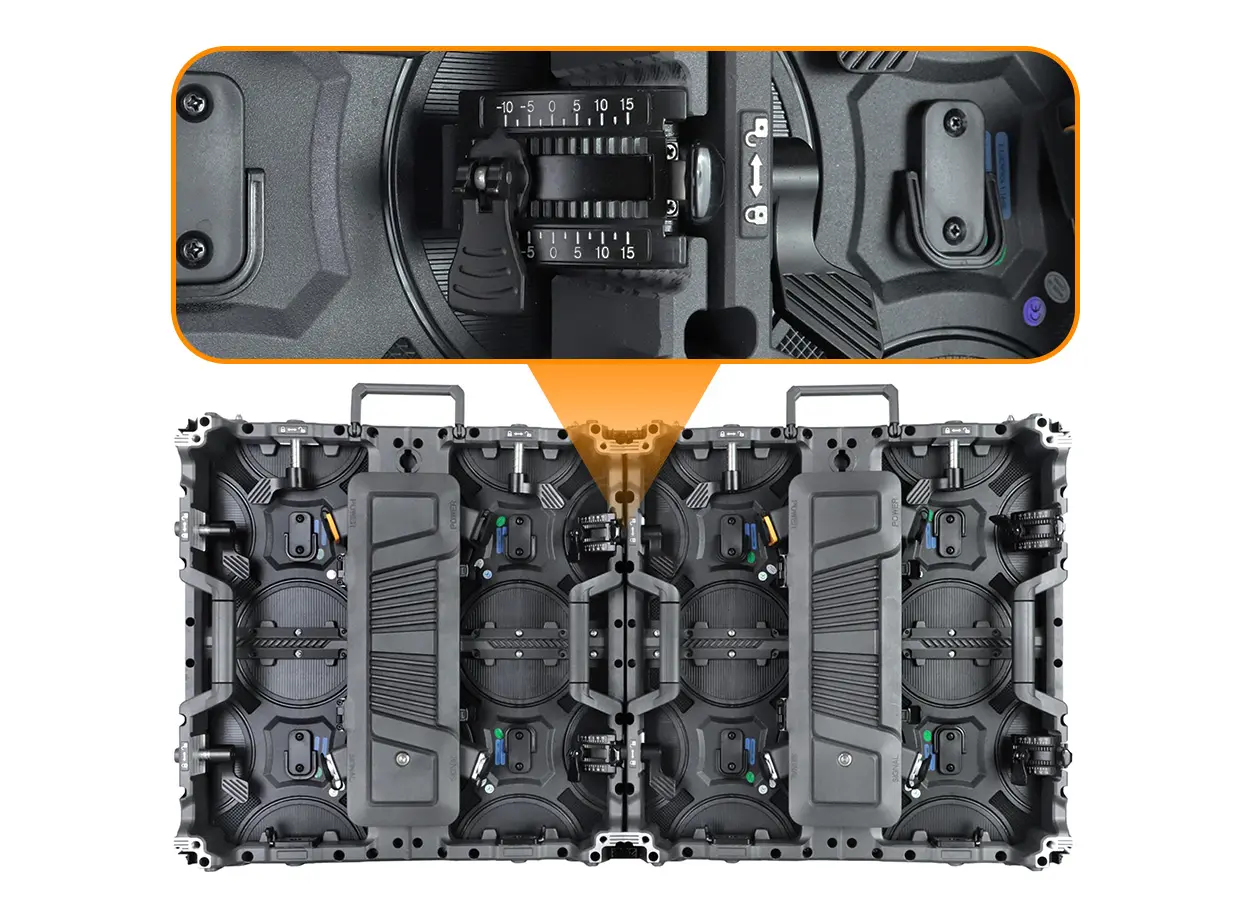
Ask for a demonstration of the intended assembled curve with the supplied cabinet version. Check edge alignment and the appearance of the joints from the audience positions. The controller, module batch and structural arrangement should match the proposal. A close-up of an adjustable lock proves neither the final radius nor the suitability of the complete support structure.
Keep mechanical acceptance separate from structural approval. An appropriately qualified installation team should approve the support, fixing or suspension arrangement for the actual venue and local conditions.
5. Define the pixel map and viewing positions
Give the creative team the native pixel width and height of the assembled surface, the module orientation and any transitions between display sections. A physical curve does not automatically require a special perspective effect, but artwork should be checked from the intended viewing positions.
For a wide concave presentation wall, identify the nearest central and side viewers. For a convex retail feature, identify the points where visitors first see text or a product image. Preview your own artwork on the proposed geometry; check small labels, faces, line drawings and content crossing joints.
If camera capture matters, include the camera frame rate and shutter settings in the demonstration brief. A stated refresh rate does not guarantee clean results for every camera configuration. Avoid approving the screen only from a supplier’s edited promotional video.
6. Compare quotes using one drawing and scope
Swipe within the table on a small screen.
| Item | What to specify | What to confirm |
|---|---|---|
| Geometry | Arc, chord, height, depth, radius reference and viewing arrow | Dimensioned assembled plan and elevation |
| System | Fixed flexible modules or adjustable rental cabinets | Exact model, format and approved bend or lock configuration |
| Structure | Wall, floor or suspended installation and venue constraints | Support design responsibility and included fabrication |
| Content | Native pixel map and viewing positions | Sample artwork on the proposed configuration |
| Service | Module, power supply, controller and cable replacement routes | Accessible service areas after installation |
| Delivery | Cases, matching spares, assembly drawing and training | Itemized supply scope and handover documents |
Front module access does not necessarily make every power supply or cable accessible from the face. Ask for the complete replacement route before enclosing a curved structure. Reserve enough working space for removal without forcing a flexible module beyond its approved bend.
Price comparisons are useful only when suppliers quote the same shape and scope. Separate display electronics from structure, control equipment, installation, shipping and matching spares. This prevents a low equipment-only quote being mistaken for a complete installed cost.
7. Questions buyers ask about curved LED walls
Does “6 m wide” mean arc length?
It might mean arc length or straight endpoint width. State both on the drawing, together with curve depth and height.
Can every rental LED cabinet form a curve?
No. Confirm the curve-lock option, permitted settings and compatibility for the quoted cabinet version.
Does a module’s bend-angle claim define its minimum radius?
No. Radius also depends on format, orientation, construction and support geometry. Obtain approval for the exact module and drawing.
Can I reuse standard rectangular artwork?
Often a rectangular pixel canvas is still used, but approve mapping, orientation and appearance from the intended viewing positions. Irregular shapes and transitions may need adapted artwork.
8. Send a drawing for a curved-wall quotation
Send your country, indoor or outdoor environment, screen height, arc or chord width, desired radius, viewing distance and purchase timeline. Attach a plan with the viewing direction and tell us whether the screen is fixed or repeatedly assembled for events.
For repeat event fleets, also review the rental cabinet size planning guide.
Product examples and manufacturer photos reviewed on October 14, 2026. The geometric example is illustrative; confirm final module limits, cabinet settings and structural design for the actual project.
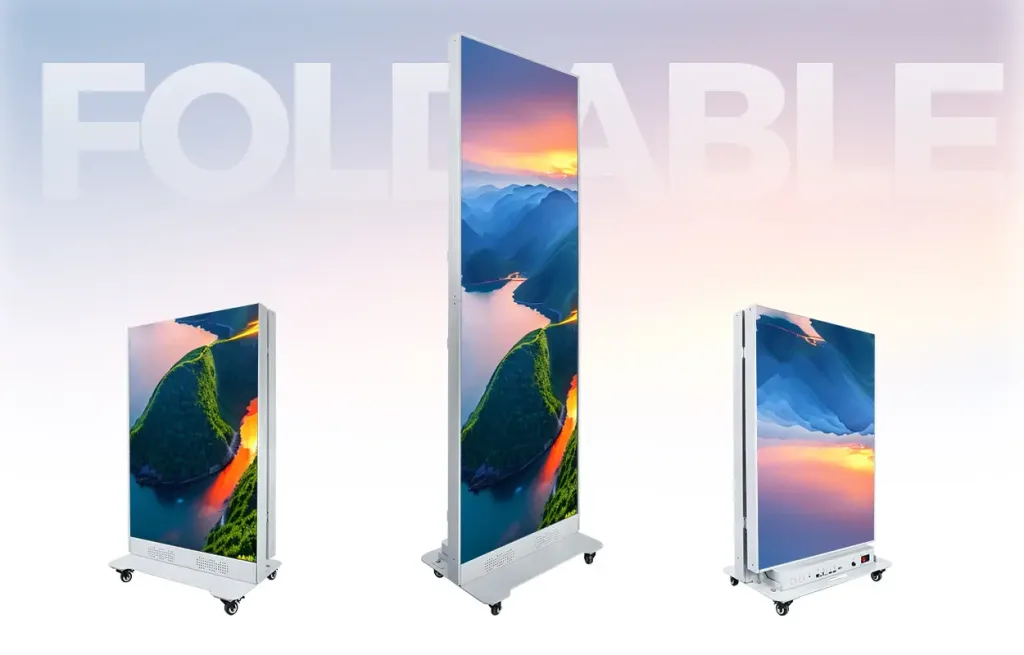 Foldable LED Display: Transport & Setup Buying Checklist