


Have you ever stood in awe watching a massive LED display at a concert, sports arena, or corporate event, wondering what makes those vibrant visuals work so flawlessly? The secret lies in a small but mighty component you’ve probably never seen: the LED receiving card.
Whether you’re setting up a small retail display or a stadium-sized video wall, choosing the right receiving card can make or break your entire project. In this guide, I’ll walk you through everything you need to know to select the perfect LED receiving card for your specific needs.
catalogue
1. What is an LED Receiving Card and Why is it Essential for Your Display?
An LED receiving card (sometimes called a receiver card) is the critical component that sits between your video source and the actual LED panels. While sending cards handle signal processing and distribution, receiving cards take that processed signal and translate it into instructions that drive individual LEDs on your display panels.
Imagine your LED display as an orchestra. The sending card is the conductor, interpreting the musical score (your video content), while the receiving card is the section leader who tells each musician (LED pixel) exactly when and how to play. Without this crucial component, your expensive LED panels would be nothing more than expensive, dark rectangles.

Why is it essential?
- Signal Translation: Converts digital video signals into panel-compatible formats.
- Panel Management: Controls how many panels your system can drive.
- Image Quality: Determines color accuracy, refresh rates, and overall visual performance.
- System Reliability: Affects stability, especially for large or critical displays.
2. How LED Receiving Cards Work?
At their core, LED receiving cards function as specialized signal processors that sit between your video source and LED panels. Here’s a simplified breakdown of the process:

Signal Reception: The receiving card connects to your sending card via Ethernet cable, receiving processed video data.
Data Processing: It interprets this data, organizing it according to the specific configuration of your LED display (resolution, panel arrangement, etc.).
Panel Driving: Using HUB75 connectors (or similar interfaces), the card sends precise instructions to each LED panel, controlling brightness, color, and timing for every pixel.
Feedback Loop: Advanced receiving cards continuously monitor performance, checking for errors and adjusting as needed to maintain optimal display quality.
For example, take the NovaStar DH7508-S: when it receives data from the sending card, it processes up to 512×512 pixels (for PWM ICs) or 512×384 pixels (for common ICs), distributing this information across its 8 HUB75E connectors to drive the connected LED modules. It simultaneously performs real-time monitoring of temperature, voltage, and signal integrity—ensuring your display performs flawlessly even during extended operation.

3. Key Features for a High-Quality Receiving Card
A high-quality LED receiving card is crucial for ensuring the stability, display quality, and lifespan of the entire screen. The difference between a high-quality card and a subpar one directly affects performance, so it’s essential to be discerning when making a selection.
A high-quality LED receiving card should have the following features:
- High Refresh Rate (≥3840Hz): Ensures a stable, flicker-free display, with no visible ripples when filmed with a camera.
- High Grayscale Level (16-bit or more): Provides smooth color transitions with no abrupt shifts.
- Solid Build Quality: Uses reputable chips and high-quality components, tested rigorously to ensure reliable performance and extra load capacity, ensuring stable operation over long periods without crashes.
- Powerful Software Support: Includes features like one-click debugging, remote monitoring, accurate fault detection, and brightness calibration.
4. How to Choose the Right Receiving Card for Your LED Display
Selecting the perfect LED receiving card isn’t one-size-fits-all—it depends entirely on your specific project requirements. Follow this practical decision framework:

Step 1: Determine Your Resolution Needs
Calculate your total pixel count:
- Small displays (under 100,000 pixels): Most entry-level cards will suffice
- Medium displays (100,000-300,000 pixels): Consider cards like the NovaStar DH7508 (256×256@60Hz)
- Large displays (300,000+ pixels): Opt for high-capacity cards like the DH7508-S (512×512@60Hz) or Linsn Mini913K (512×512)
Pro Tip: Always choose a card with at least 20% more capacity than your current needs to accommodate future expansion.
Step 2: Consider Your Environment
Indoor vs. Outdoor: Outdoor displays need cards with wider temperature tolerance (like the Colorlight E320’s -20°C to +70°C operating range).
Fixed vs. Mobile: Touring productions need ruggedized cards with superior shock resistance.
Humidity Exposure: For high-moisture environments, verify the card’s humidity tolerance (most quality cards handle 10-90% non-condensing).
Step 3: Evaluate Critical Performance Factors
Refresh Rate Requirements: Broadcast applications need ≥1920Hz; general signage can use lower rates
Color Depth Needs: 8-bit color (256 levels per channel) works for most applications; critical color work may need 16-bit+
Frame Rate Support: Ensure compatibility with your content’s frame rate (24/30/60fps or specialized rates)
Step 4: Assess Reliability Needs
Ask yourself:
- Can your display afford downtime? (If not, prioritize loop backup and dual program features)
- How accessible is your installation? (Hard-to-reach displays need maximum reliability)
- What’s your maintenance capability? (Advanced features require skilled technicians)
Step 5: Calculate Total Cost of Ownership
Don’t just compare sticker prices—factor in:
- Installation time (cards with mapping features save labor costs)
- Maintenance requirements (self-monitoring cards reduce service calls)
- Lifespan (quality cards last 5-7 years with proper care)
- Upgrade path (modular systems allow component replacement)
5. Popular LED Receiving Card Brands Compared: Nova, Colorlight, Linsn
When selecting an LED receiving card, brand reputation matters—not just for product quality, but for long-term support, compatibility, and ecosystem integration. Let’s compare the three industry leaders in the receiving card space:
NovaStar has established itself as the gold standard for professional LED display control systems, particularly renowned for their receiving card technology. What sets them apart is their obsessive focus on image quality and calibration precision—critical for high-end applications where visual perfection is non-negotiable.
Their receiving cards, like the DH7508 and DH7508-S series, feature industry-leading pixel-level calibration that eliminates those annoying bright or dark spots common in large LED installations. NovaStar’s ecosystem approach means their receiving cards work seamlessly with their sending cards and control software, creating a unified system that reduces compatibility headaches.

Colorlight
Colorlight has rapidly gained market share by delivering impressive feature sets at accessible price points—making professional-grade LED technology available to smaller businesses and emerging markets. Their receiving cards punch above their weight class with thoughtful features that address real-world installation challenges.
The Colorlight E320 exemplifies their approach: offering capabilities like 240Hz frame rates, cabinet highlighting for easy troubleshooting, and robust bit error detection—all at a price point significantly below premium brands.

Linsn
Linsn has carved a niche by focusing on ultra-compact, highly integrated receiving card solutions that solve specific physical installation challenges. Their Mini913K series represents their philosophy: doing more with less physical space while maintaining professional performance standards.
What makes Linsn stand out is their engineering focus on space-constrained applications. Their receiving cards often feature smaller form factors and innovative connector designs that fit where competitors’ cards simply won’t.

6. How to Install and Configure an LED Receiving Card
Installing an LED receiving card properly is crucial for optimal performance. Follow this step-by-step guide for a smooth setup:

Pre-Installation Checklist
Verify Compatibility: Confirm your receiving card supports your LED panel type (PWM vs. common IC)
Gather Tools: Small screwdrivers, cable ties, multimeter, and appropriate power supplies
Installation Process
Mount the Card: Secure your receiving card in the designated location (typically behind the LED panel). Most cards like the NovaStar DH7508-S have mounting holes for secure installation.
Connect Power: Attach the DC power supply (3.8V-5.5V for most modern cards). Critical tip: Only use one power connector even if multiple are available—never bridge power sources.
Network Connection: Connect the Ethernet cable from your sending card to the receiving card’s input port. For daisy-chained systems, connect the output port to the next receiving card.
Panel Connections: Attach HUB75 cables from the receiving card to your LED panels, matching the correct data groups. Pay attention to the pin definitions in your documentation—reversed connections cause display issues.
Additional Connections: Attach any LCD modules, temperature sensors, or other peripherals as required by your specific setup.
Configuration Steps
Initial Power-Up: Connect power first, then signal. Watch the indicator lights—green flashing once per second typically indicates normal operation (as with the DH7508 series).
Software Recognition: Launch your control software (NovaLCT for NovaStar, Colorlight software for E320). The system should automatically detect your receiving cards.
7. FAQs About LED Receiving Cards
8. Conclusion
Choosing the right LED receiving card isn’t just a technical detail—it’s the foundation of your entire display’s performance, reliability, and visual impact. Remember that the perfect receiving card perfectly aligns with your specific project requirements—not the most features or lowest price, but the optimal balance for your unique needs.
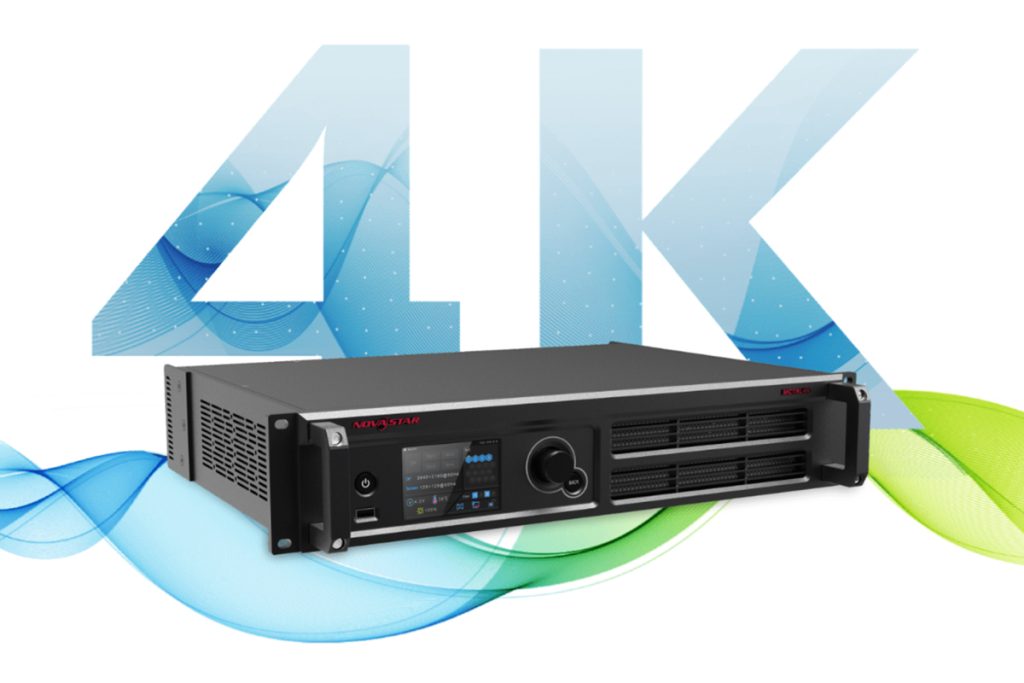 Novastar MCTRL4K LED Controller - Ultimate Guide & Setup Tips
 Why 16:9 Aspect Ratio Is the Global Standard For Every Screen?


