Related Posts


Looking for a reliable way to configure your NovaStar LED display system? NovaLCT is the official control software used by professionals worldwide—and getting started is easier than you think. In this guide, we’ll walk you through the Nova LCT download, installation, and essential setup steps for sending/receiving cards, so you can manage your LED screen with confidence.
catalogue
1.What Is NovaLCT and What Is It Used for in LED Display Systems?
NovaLCT is the official configuration software from NovaStar, designed to help users set up, manage, and maintain their LED display systems. If your LED screen uses any NovaStar hardware—such as a sending card (like MCTRL600 or VX4S), a receiving card, or a multimedia player (like TB6 or SMP series)—you’ll need NovaLCT to get everything working properly.
It’s important to understand that NovaLCT is not a video playback tool. You won’t use it to play content or schedule ads. Instead, it’s the software you use before your screen goes live—or whenever you need to adjust settings—to define how your LED display is built and how it behaves.

With Novastar software NovaLCT, you can:
- Define the physical layout of your screen, including size, module arrangement, and orientation.
- Detect and configure all connected NovaStar devices automatically.
- Adjust brightness, color uniformity, and grayscale performance for consistent image quality.
- Diagnose signal issues, check hardware status, and update firmware remotely.
- Save your entire setup as a configuration file (.scfg, .rcfgx, etc.) so you can back it up or apply it to another screen later.
The software supports both major types of LED control systems:
- In synchronous systems, where a computer sends live video to the screen through a sending card, NovaLCT configures output resolution, timing, and mapping between the source and the physical screen.
- In asynchronous systems, where a standalone NovaStar multimedia player runs pre-loaded content, NovaLCT sets up screen geometry, playback parameters, network settings, and brightness schedules—all without needing a PC connected during operation.
Because it’s free and officially provided by NovaStar, the Nova LCT download is the essential first step for anyone setting up or maintaining a NovaStar-based LED display. Once installed on a Windows PC, it becomes your central hub for making sure your screen looks right and runs reliably.
2.Which NovaStar LED Control Systems Work with NovaLCT?
Novastar software NovaLCT is designed to work with a wide range of NovaStar control hardware, covering both real-time (synchronous) and standalone (asynchronous) LED display setups. As long as your system uses official NovaStar sending cards, receiving cards, or multimedia players, NovaLCT can recognize and configure them.
The LED display software supports two main product families:
Synchronous Control Systems
These are used when your computer sends live video directly to the LED screen—common in live events, studios, and fixed installations that require low latency. Supported NovaStar sending cards include:
- MCTRL600, MCTRL4K, MCTRL300
- VX4S, VX6S, VX1000
- A8s, A9s, and other professional-grade controllers
With these devices, NovaLCT helps you set screen resolution, map output ports to physical cabinets, adjust timing parameters, and verify signal integrity—all before going live.


Asynchronous Multimedia Players
These systems run pre-loaded content without needing a constant PC connection—ideal for advertising screens, retail displays, or remote signage. NovaLCT fully supports NovaStar’s multimedia player series, including:
- TB6, TB7, TB8
- SMP100, SMP200, SMP300, SMP400
- UHD Jr, UHD Pro, and other network-enabled players
For these devices, NovaLCT lets you define screen layout, schedule brightness changes, configure network settings, manage playlists remotely, and update firmware over LAN or Wi-Fi.
In addition, Novastar software NovaLCT works with all standard NovaStar receiving cards (such as MRV328, MRV412, RV908, etc.), automatically detecting their position in the screen and applying calibration data via RCFG files.
3.NovaLCT Download and Installation on Windows (Software & Driver Setup)
To start using NovaLCT, you first need to download and install the correct version of the Novastar software on a Windows computer.
The latest NovaLCT download form
Which Version Should You Download?
- If your LED screen uses a sending card (like MCTRL600, VX4S, etc.) connected directly to a PC for live video output, download:“NovaLCT for Synchronous Control System”
- If your screen runs on a standalone multimedia player (like TB6, SMP300, UHD Pro, etc.), download:“NovaLCT for Multimedia Player”
Both versions are free and available only from the official NovaStar website (http://www.novastar.tech). Avoid third-party sites—unofficial downloads may contain outdated files or security risks.
How to Install NovaLCT on Windows
- Go to the NovaStar support page → Find “Software” → Select your product series (e.g., “Control System” or “Multimedia Player”).
- Download the correct NovaLCT package (usually a .zip file).
- Extract the folder to a location like C:NovaLCT.
- Run “Setup.exe” as Administrator – this installs the core software and necessary drivers.
- Follow the on-screen prompts – no license key or activation is required.

Driver Setup for Hardware Recognition
After installation, connect your NovaStar device (sending card or player) to your computer via USB or Ethernet. Windows should automatically recognize it using the drivers installed with NovaLCT.
If the device isn’t detected:
- Open Device Manager and check for unknown devices under “Other devices”
- Reinstall drivers manually from the Driver folder inside your LED display software NovaLCT installation directory
- Make sure your Windows is up to date (Windows 10/11 64-bit is recommended; Windows 7 is no longer supported in newer versions)
4.How to Connect and Configure LED Sending Cards in NovaLCT (Step-by-Step)
Step 1: Hardware Connection
- Connect your PC to the sending card using a are within seconds.
- USB or Ethernet cable. Ensure all devices are powered on and functioning properly.

Step 2: Log In
- Open the LED display software NovaLCT.
- Go to User > Advanced Synchronous System User Login.
- Enter the default password (admin) and click Login.

Step 3: Configure Input Source
- Navigate to Settings > Screen Configuration.
- Select the communication port connected to your sending card.
- Set the input source type, resolution, refresh rate, and bit depth.
Recommended input source bit depth: 8-bit.
Ensure the sending card and screen resolutions match for pixel-to-pixel display.
- Click Send to apply the settings to the hardware.
5.Receiving Card Configuration in NovaLCT: RCFG Files and Smart Settings
Option 1: Load Pre-Saved RCFG Files
- On the Receiving Card tab, click Load from Cloud (VNNOX Care) or Import.
- Select the .rcfgx or .rcfg file corresponding to your module specifications.
- Send the configuration to the hardware via Ethernet or physical address.
Option 2: Manual Configuration Using Smart Settings
- Click Smart Settings on the Receiving Card tab.
- Follow the guided steps:
Set Module Chip, Data Type, and Pixel Quantity.
Configure Row Decoding Type and Hub Mode.
- Use the grid to map flashing pixels and finalize the configuration.

6.Saving, Sending, and Managing Configuration Files in NovaLCT
Step 1: Hardware Connection
- Connect your PC to the NovaStar sending card using a control cable (USB or Ethernet). You can connect to multiple sending cards if needed.
- Ensure all devices are powered on. If the connection is normal, Novastar software NovaLCT will automatically detect and connect to the sending card, displaying its quantity and status in the main window.
Step 2: User Login
- Open the LED display software NovaLCT.
- If you only need to perform basic operations (like simple monitoring), the software can be used directly without login once the sending card is connected.
- To access advanced configuration functions (screen setup, calibration, etc.), you must log in:
Go to User > Advanced Synchronous System User Login.
Enter the password (default: admin) and click Login.
- Click Send to apply the configuration to the hardware immediately.
- Crucial: Click Save to save the input source configuration permanently to the sending card’s memory (prevents loss after power cycle). You will be prompted to optionally save a backup file to your local PC.
7.Common Daily Operations in NovaLCT for LED Display Maintenance
Basic Screen Configuration
Access Configuration
- Go to Settings > Screen Configuration in the menu bar.
- Or click the “Screen Configuration” icon on the toolbar.

Configure Input Source (Sending Card)
- Set resolution, refresh rate, and bit depth.
- Click Send to apply to the hardware.
Light the Module (Receiving Card)
- Click the Receiving Card tab.
- Use the “Smart Settings” wizard to configure module parameters.
- Alternatively, load an existing configuration file (.rcfgx/.rcfg).

Connect the Screen
- Click the Screen Connection tab.
- Set the cabinet layout (Standard/Complex screen).
- Logically connect the receiving cards/cabinets.
Save Configuration
- Click Save to write the configuration to the hardware.
- Optional: Back up to local storage or the cloud (VNNOX Care).
Brightness & Color Adjustment
Manual Adjustment (For Quick Daily Changes)
Access Adjustment Interface
- Go to Settings > Brightness in the menu bar.
- Or click the “Brightness” icon on the toolbar.
Adjust Basic Parameters
- Brightness Slider: Adjust overall brightness.
- Gamma: Modify the grayscale curve.
- Color Temperature: Choose a preset or set a custom value.
- Color Space: Select PAL/NTSC or define a custom space.
Save Settings
Click Save to HW to save to the hardware.

Automatic Adjustment (Based on Ambient Light)
Access Auto Adjustment
- In the Brightness page, select Auto Adjustment.
- Click Wizard Settings.
Set Adjustment Rules
- By Time Schedule: Set brightness levels for different times of day.
- By Ambient Light: Connect a light sensor and set a brightness mapping table.
Enable Auto Adjustment
- Click Save to activate the rules.
- Choose between Software mode (requires connected PC) or Hardware mode (sending card runs independently).
Advanced Color Features
- Image Booster Engine: For professional calibration using a colorimeter (e.g., with A8s-N, A10s Pro receiving cards).
- 18bit+/22bit+: Enhances grayscale performance.
- HDR Settings: Supports HDR10/HLG input sources.

Monitoring Screen Status
Key Monitoring Aspects:
- Sending/Receiving card operational status.
- Temperature, voltage, fan speed.
- Module abnormalities (dead pixels, communication errors).
- Network connection status.
Operating Steps:
Open Monitoring Interface
- Go to Tools > Monitoring in the menu bar.
- Or right-click the taskbar icon and select Open MonitorSite.
View Monitoring Information
- Select monitoring items from the left panel (Devices, Temperature, Voltage, etc.).
- The topology diagram shows device connection status.
- Abnormal items are highlighted in red/yellow.
Configure Monitoring Parameters (Optional)
- Click Configuration to enter settings.
- Refresh Period: Set automatic refresh interval.
- Alarm Thresholds: Set limits for temperature, voltage, etc.
- Email Notification: Configure alerts for abnormalities.
Module Monitoring (Requires modules with TBS614 chip)
- In the monitoring interface, click Module Monitoring.
- View module temperature, voltage, bit error rate.
- Set alarm thresholds.
8. FAQs
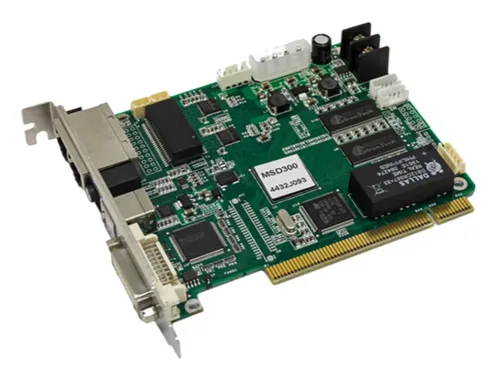
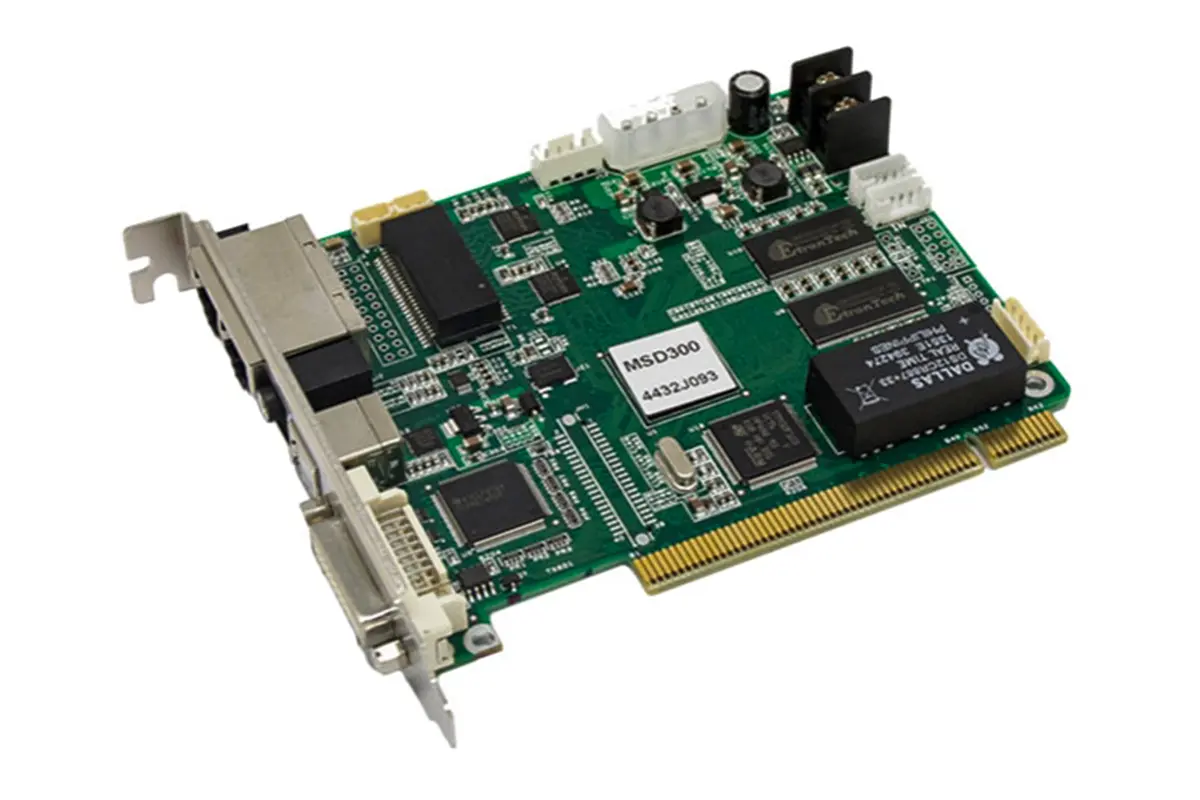
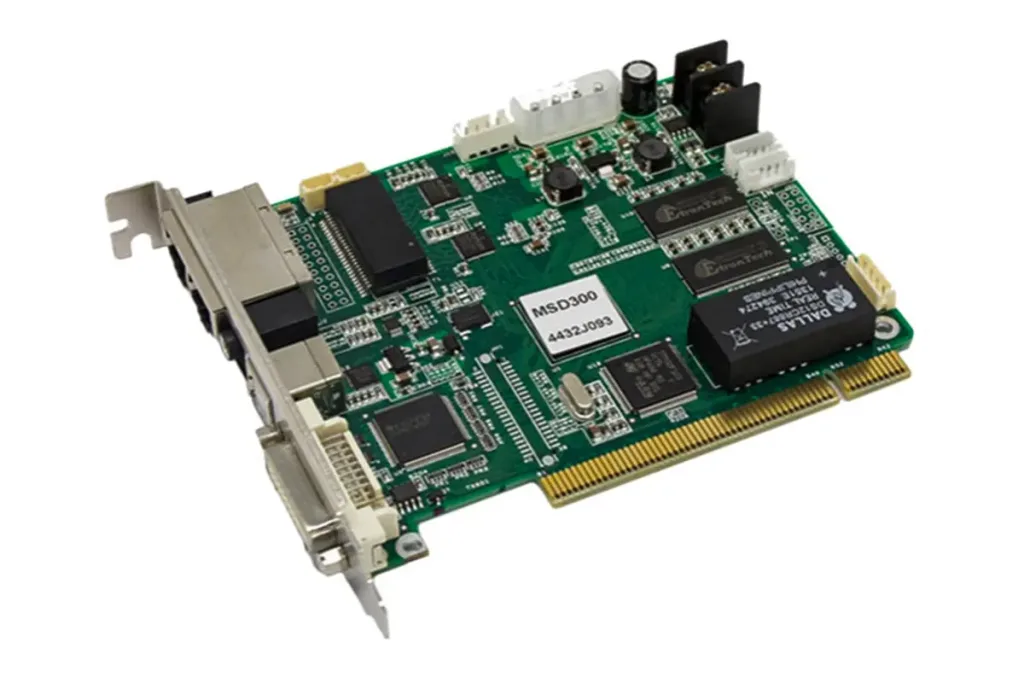 NovaStar MSD300 Sending Card Technical Guide For LED Display Systems